
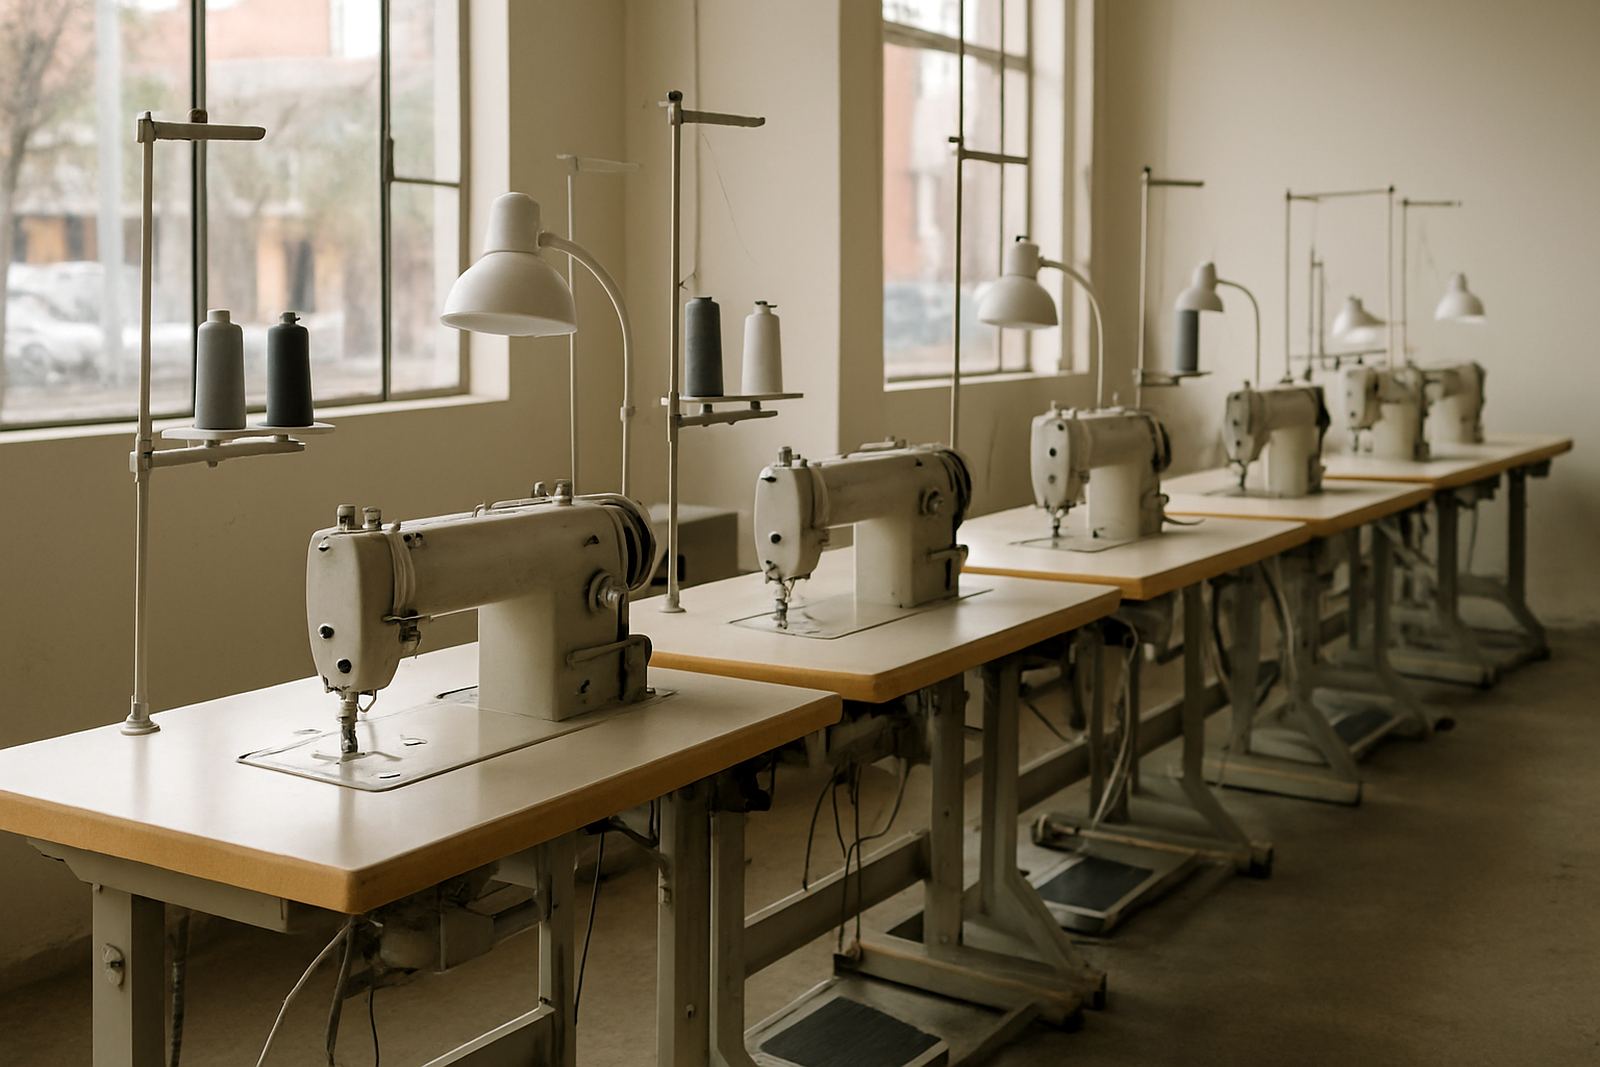
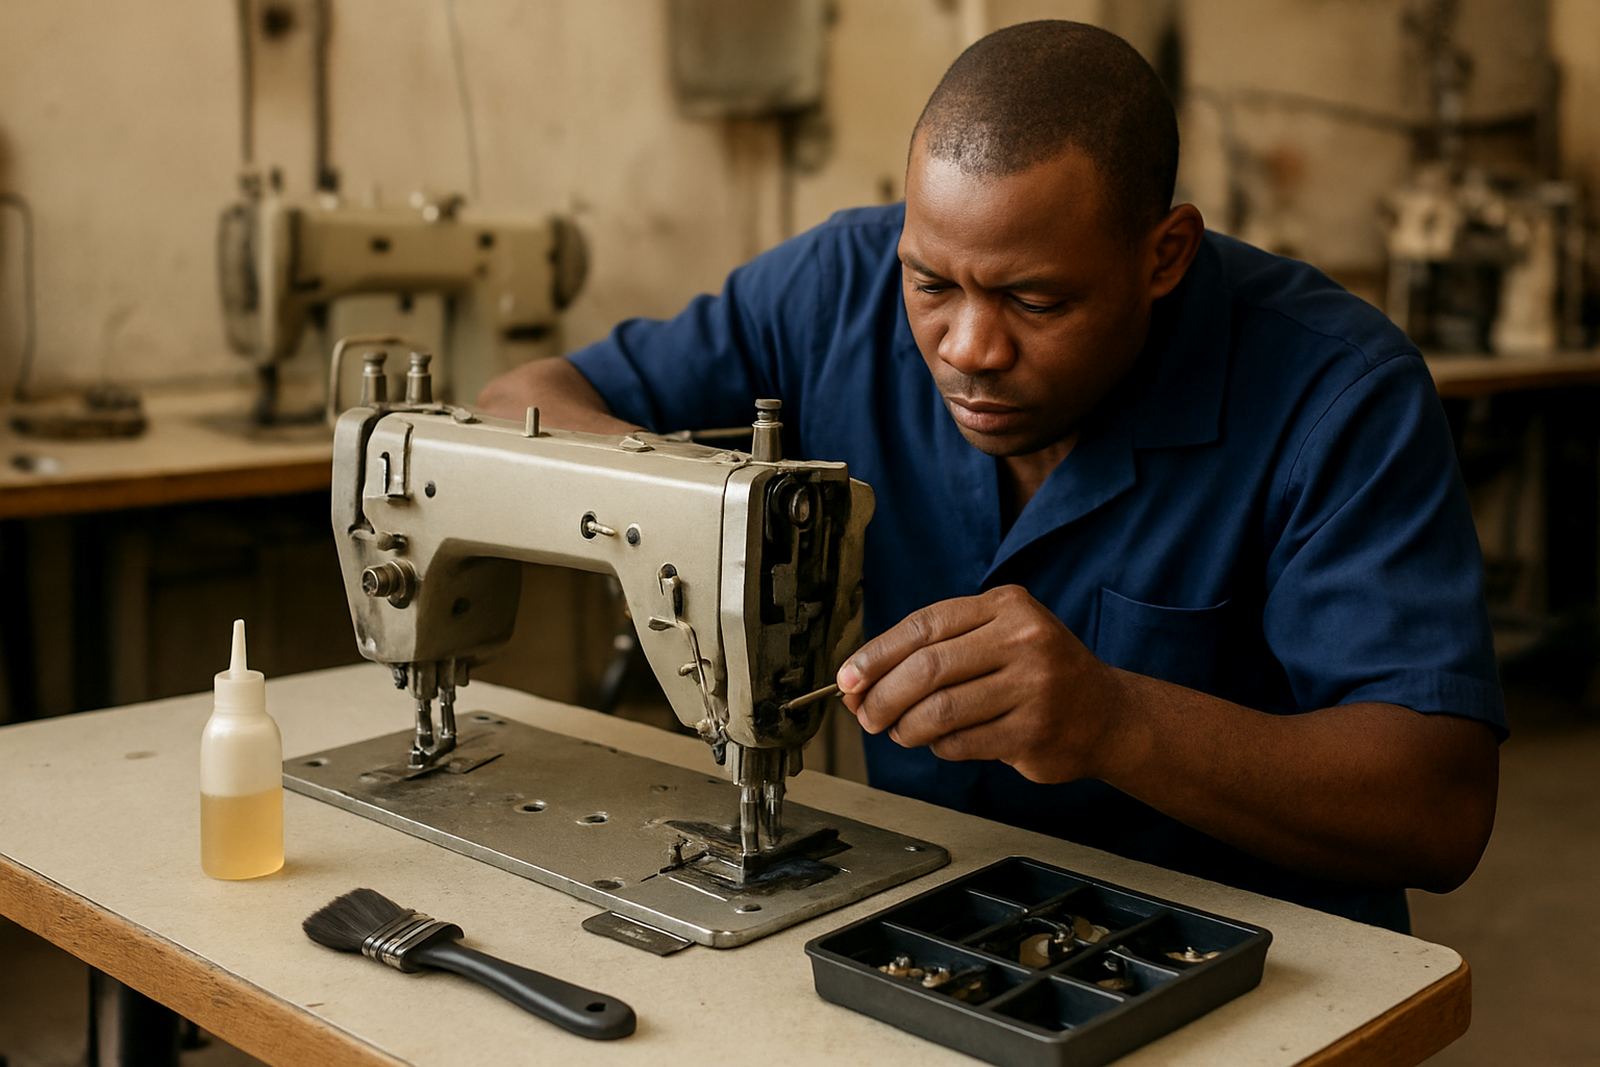
Start With a Clean Machine After Every Shift
Dust, thread fluff and trimmed fabric ends build up fast, especially in busy workrooms. A quick clean at the end of the day helps stop grit from working into the hook, feed area and tension points. Switch the machine off at the wall before you begin, then use a soft brush or a small vacuum nozzle to lift away lint from the bobbin area, needle plate and under the presser foot.
Do not blow dust back into the machine with compressed air unless you know exactly where it is going. It can drive dirt deeper into the mechanism and onto the motor or control board. On embroidery machines, give extra attention to the thread path, trims and the area around the hoop arm because fluff gathers there quickly.
- Brush out lint daily in busy factories and once a week at lighter home use
- Wipe the machine bed with a dry lint free cloth
- Keep scissors, offcuts and loose pins away from moving parts
Use the Right Needle and Replace It Before It Bends
A blunt or bent needle is one of the most common causes of poor stitching. If the point is damaged, you can get skipped stitches, thread breaks and fabric snags. Change needles regularly and always match the needle type to the fabric and thread weight. For thick denim, stretch fabrics or embroidery work the wrong needle can cause trouble very quickly.
When fitting a needle, make sure it is fully seated and facing the correct direction. Tighten the clamp properly but do not force it. If the machine starts making a tapping sound or leaves small loops underneath, stop and check the needle first before adjusting tension.
- Change needles after every big job or when the point looks dull
- Use the correct size for the fabric and thread
- Keep spare needles in a dry container, not loose in a drawer
Keep the Thread Path Smooth and Tension Stable
Thread problems often come from small issues along the route from cone to needle. Make sure thread stands are stable, guides are clean and cones are not rubbing against sharp edges. If thread is catching on a chipped guide or a rough spool pin, it will show up as inconsistent tension at the needle.
Check both upper and bobbin tension only after the machine is threaded correctly. Avoid over-tightening thread discs because that can flatten thread and increase breakage. On embroidery machines, use good quality thread and make sure the thread path is clear right through to the needle bar. A quick rethread can solve more faults than many people expect.
- Rethread the machine if the thread snaps twice in a row
- Check cone position and thread stand height
- Look for rough spots on guides, discs and spool holders
Oil and Lubrication Need the Right Amount
Some industrial machines need regular oiling and others use sealed or limited lubrication points. Follow the machine’s proper oiling points and do not guess. Too little oil causes friction and heat while too much oil can stain fabric or collect lint. In a hot Joburg workroom a machine can dry out quicker than expected, especially if it runs all day.
Use clean machine oil only where it is meant to go. Wipe off any excess around the hook, race and oiling points so it does not travel onto thread or garments. If you see a machine sounding dry, running stiff or leaving oil marks, it needs attention before the fault gets worse.
Protect Machines From Power Cuts and Voltage Swings
Load-shedding and unstable supply can be hard on motors, computerised controls and embroidery systems. Always switch machines off properly before power returns, and do not keep cycling the switch during outages. Sudden restarts can strain control boards and motors. If a machine has a power pack, drive unit or electronic panel, keep it on stable power protection where possible.
When the power comes back, wait a moment before restarting. Check that the machine has not lost its settings, and listen for unusual noise before continuing production. If the machine runs on a servo motor or has digital settings, note any changes so the workshop can test them properly later.
- Switch off at the wall during outages
- Use proper surge protection where possible
- After power returns, test stitch slowly before full production
Handle Fusing Presses and Pressing Stations With Care
Fusing presses and pressing stations need regular cleaning because adhesive residue can build up on the platen and covers. If glue is left to harden, it can transfer to fabric and create uneven heat. Let the machine cool before wiping it down, and use the correct cleaning method for the surface. Never scrape a hot platen with metal tools.
Check temperature settings and pressure regularly, especially in school uniform work or small bulk runs where the same press is used all day. If the heat is uneven, the timer drifts or the pressure feels soft, stop and have it checked. A press that is not set correctly can cause rejection at the finishing stage.
- Wipe adhesive build-up before it hardens fully
- Confirm temperature and dwell time for each fabric type
- Keep steam, moisture and loose thread away from control areas
Store Accessories and Spare Parts So They Last
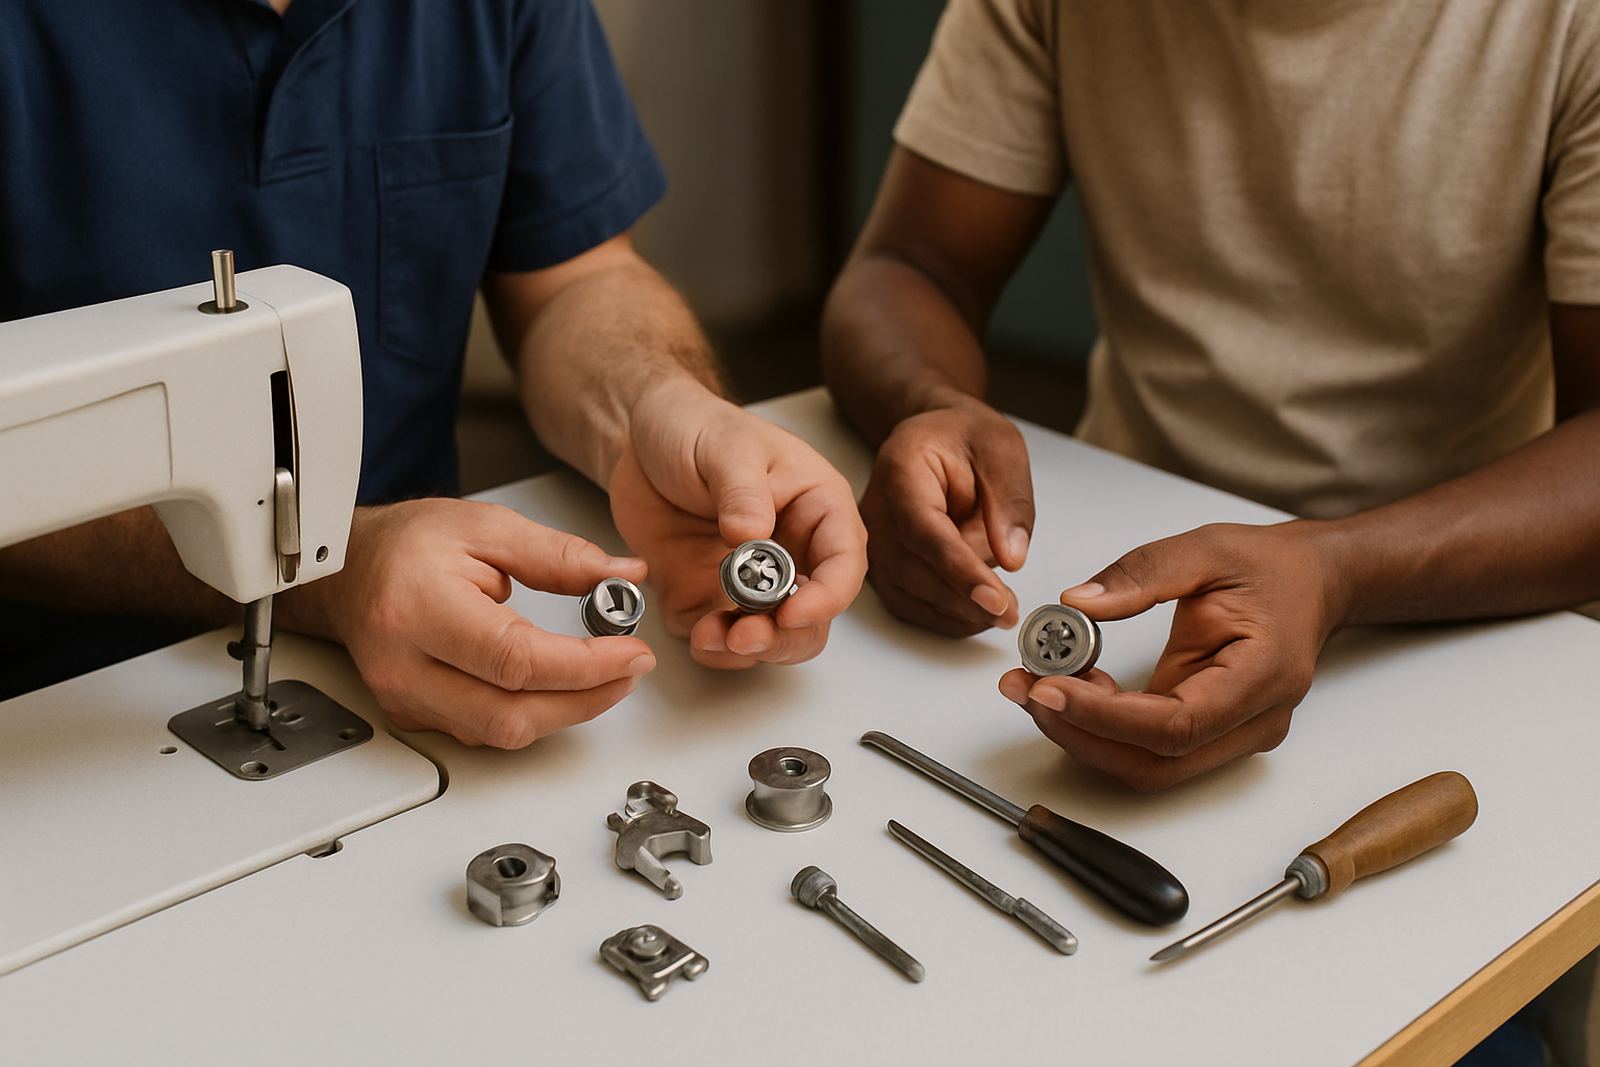
Needles, bobbins, feet, attachments and spare parts should be kept clean, dry and sorted by machine type. Moisture in coastal areas can cause rust on small parts quickly, and dusty storage in workshop corners can lead to wear before the part is even used. Keep items in labelled containers and do not mix parts from different machines unless you have checked compatibility.
If you are using attachments for zips, binding, hems or embroidery, inspect them before fitting. A damaged foot or bent guide can affect stitch quality immediately. For any part that looks worn, missing a screw or sitting loose, set it aside for workshop review rather than forcing it into service.
- Store parts in sealed containers away from humidity
- Label attachments by machine model or function
- Do a quick visual check before fitting any spare part