Why knits need more than one machine
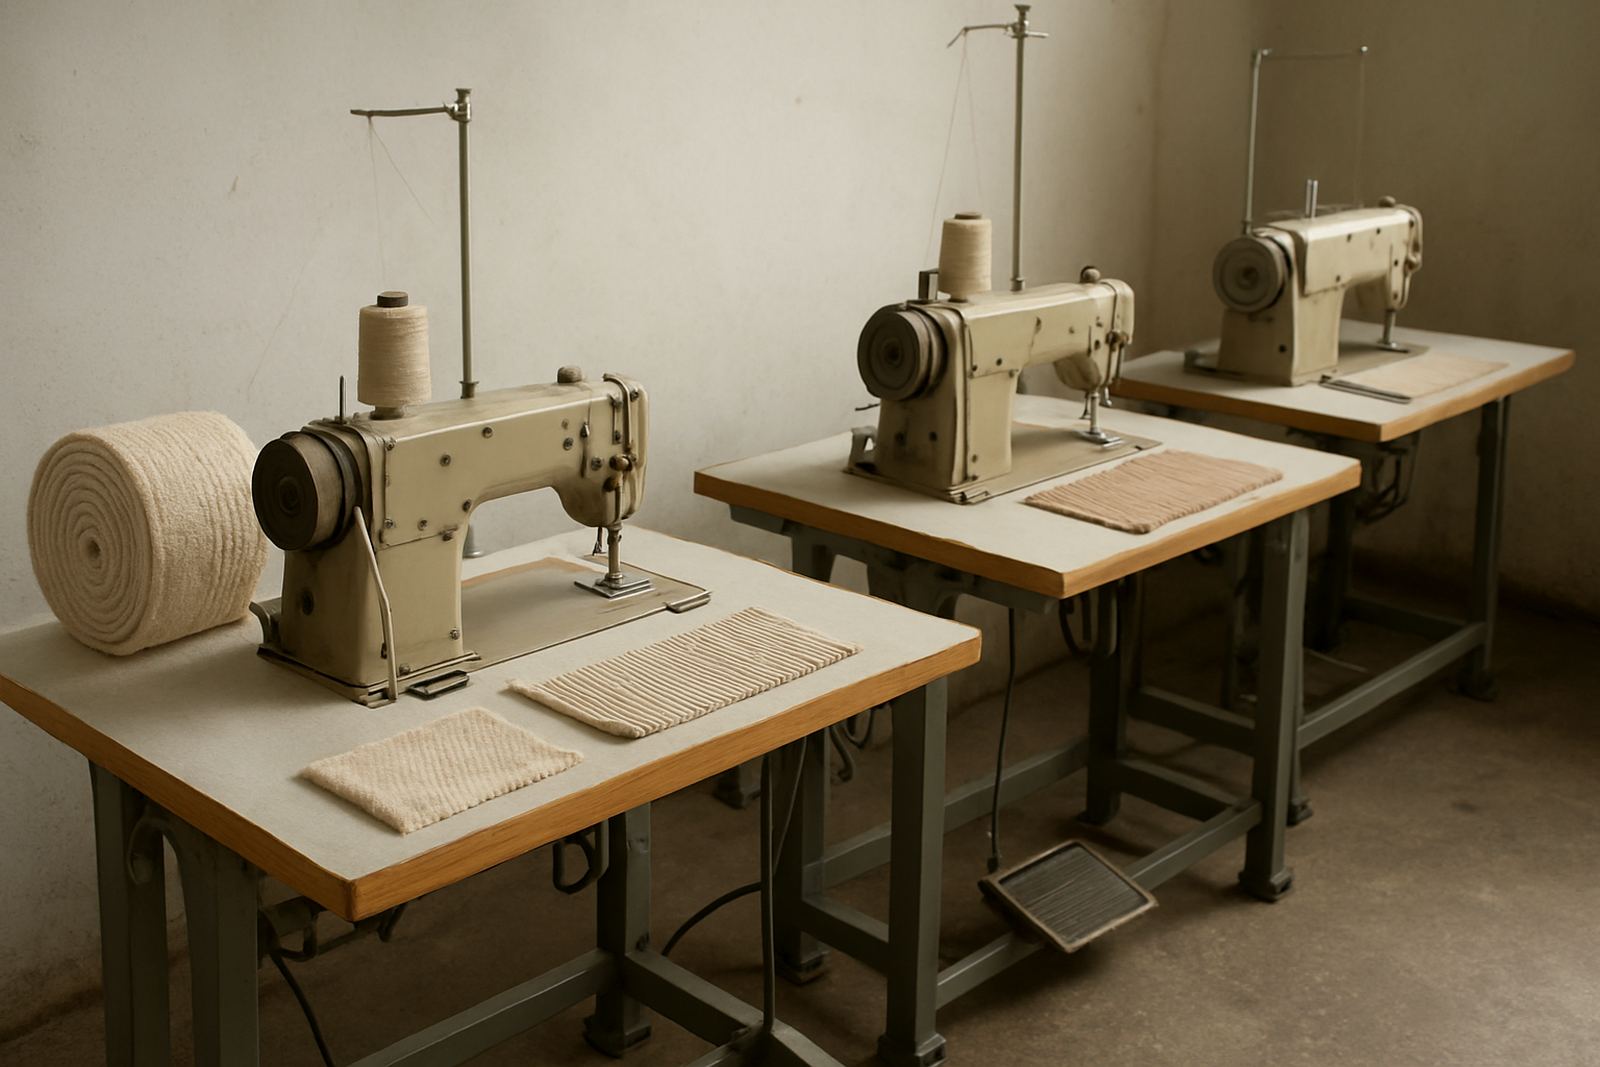
Stretch fabrics behave differently from woven fabric. A plain straight stitch can work for certain construction steps, but on its own it often fails on seams that need to move with the garment. For most knit work you need a plan that covers seaming, finishing and hemming. In a small workroom in Fordsburg or a factory floor in Germiston, that usually means a straight stitch machine for selected tasks, an overlock for joining and trimming, and a coverseam for hems and top finishing.
The right choice depends on the fabric weight, the amount of stretch, and how fast your team must sew. Thin rib knits, fleece, interlock and lycra blends all behave differently. If the feed, needle system and thread tension are not matched properly, the fabric tunnels, curls or skips stitches. That is why we look at the full process, not only the machine on its own.
Match the machine to the knit job
Start with the garment type and the seam it must carry. A school tracksuit top in Soweto does not need the same setup as a running vest or a fitted fashion top for retail in Pretoria. For general knit work, this is the usual breakdown:
- Straight stitch machine for topstitching, button stands, binding prep and controlled seams where the fabric is stabilised.
- Overlock machine for joining panels, trimming edges and keeping stretch in the seam.
- Coverseam machine for hems, neck finishes and sporty topstitch effects on stretch garments.
- Needle feed or walking-style support for slippery or layered knit sections.
If the work includes embroidery on jerseys or logo panels, the fabric must be stabilised first. Without that step, even a good embroidery machine can distort a knit panel. Our team in Johannesburg CBD often checks hooping method, backing choice and stitch density before the job starts.
Set up the machine before you sew a single seam
Most trouble on knits comes from poor setup, not the fabric itself. Before production begins, check the needle size, thread weight, presser foot pressure and stitch length. A needle that is too thick can damage fine knit fibres, while too much pressure marks the cloth. Too short a stitch can make the seam stiff, and too long a stitch can reduce seam security.
We recommend a short test run on offcuts from the same roll. Sew at the intended speed, then stretch the seam by hand. If the stitches break, the thread selection or tension needs attention. If the seam waves, the feed settings or differential action may be off. For factories in Alberton and Randburg, this quick check saves a lot of rework on production day.
- Use the correct needle point for knit fabrics.
- Test thread tension on at least two sample pieces.
- Check seam stretch by pulling the sewn sample gently.
- Inspect the underside for skipped stitches or loops.
Common sewing faults on stretch fabrics
Stretch garments show faults quickly. A hem that looks fine on the table may ripple after the first wash. A seam that feels secure may pop when the garment is worn. The most common causes are wrong stitch formation, dull needles, poor differential feed, damaged loopers, or a motor running too fast for the operator. During load-shedding recovery, some workshops also restart machines before checking the stitch path and thread feed, which can lead to more faults.
If the seam is tunnelling, try reducing thread tension or changing the stitch balance. If the edge is wavy, adjust the feed so the fabric moves evenly. If stitches skip on thicker rib or fleece, replace the needle first before changing everything else. Small corrections often solve the issue faster than a full strip-down. Our workshop team sees this often on machines used for school uniforms, dancewear and T-shirts.
When to use straight stitch, overlock or coverseam
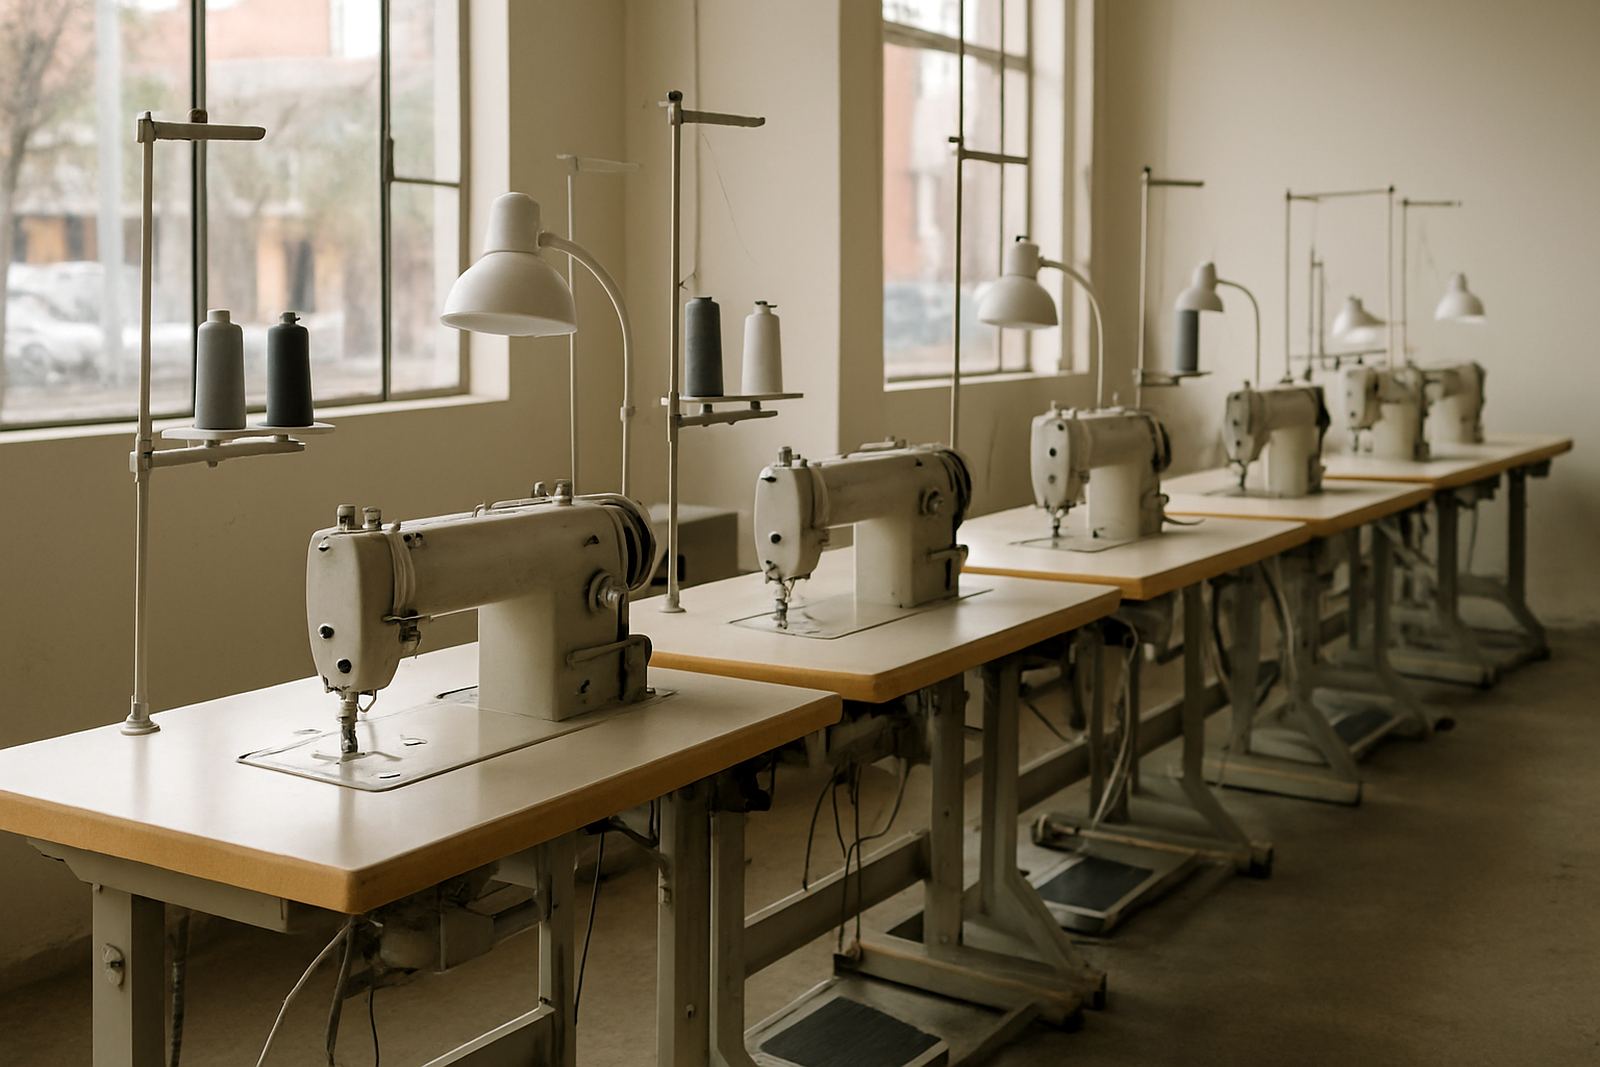
There is no single machine that does every knit job well. A straight stitch machine is still useful for stabilised seams, facings and detail work. An overlock gives speed and edge control, which is why it is the workhorse on many knit lines. A coverseam gives a neat, elastic hem that suits activewear, loungewear and many fashion garments.
Some workrooms try to force one machine to do all three jobs, then struggle with finish quality. A better approach is to plan the garment route before cutting begins. That means deciding which seam goes where, who handles the trimming, and where topstitching is needed. For production in Mayfair or Pretoria, this planning helps keep the line moving and reduces changeover time.
- Use straight stitch for controlled construction steps.
- Use overlock for joining and edge finishing.
- Use coverseam for hems that must stretch and recover.
- Keep a test sample from each fabric batch for reference.
Service checks that keep knit work consistent
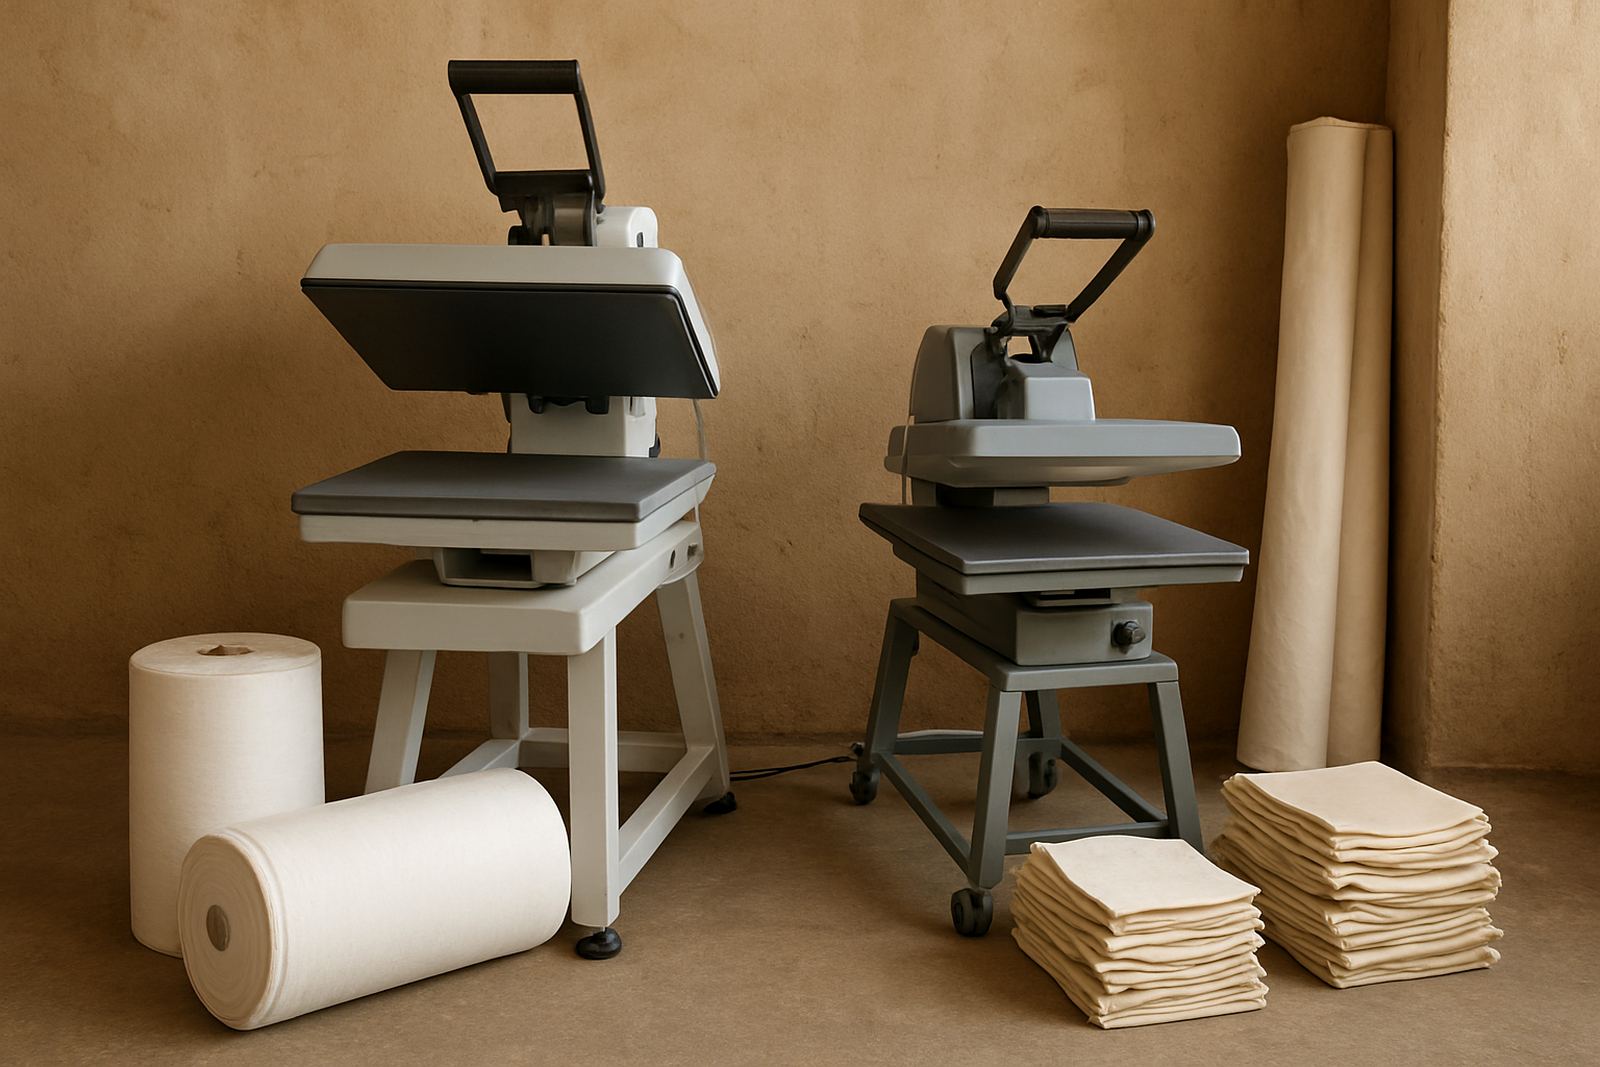
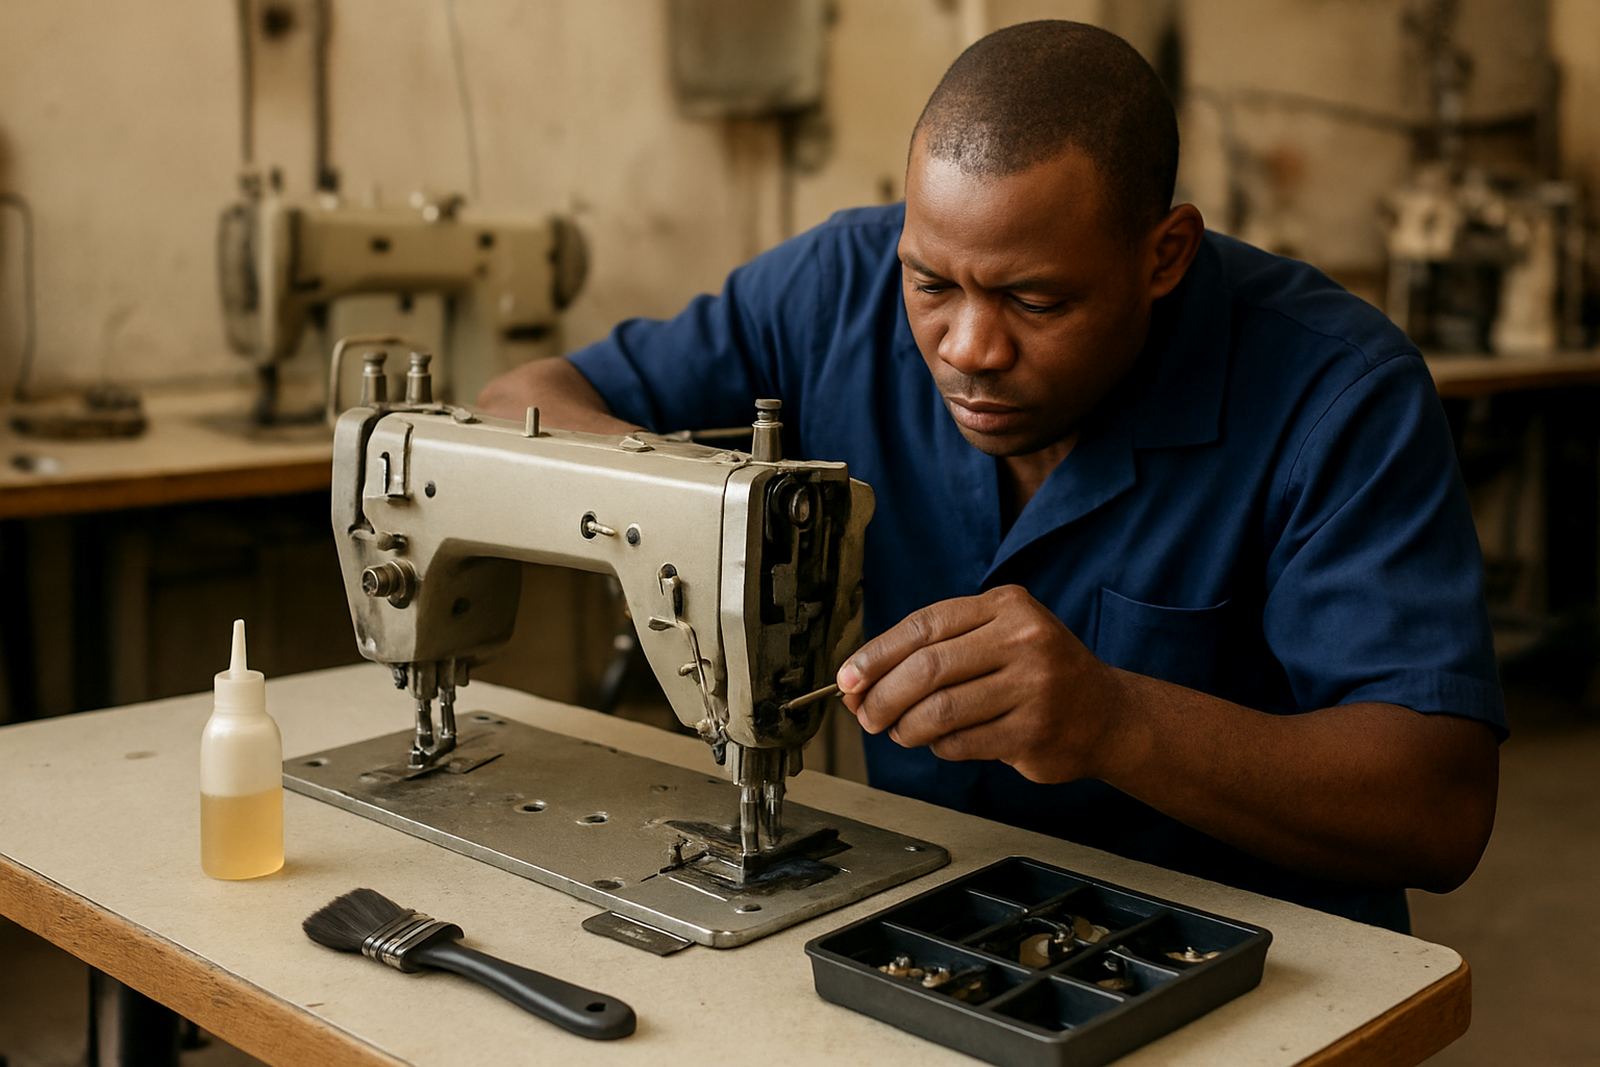
Knits expose wear in a machine faster than many woven jobs, especially where the workshop runs long hours. Regular servicing keeps stitch quality steady and avoids surprises in the middle of a run. We check timing, feed mechanisms, motor response, thread paths, needle bars and the condition of guides and feet. On embroidery units and fusing presses, we also inspect heat and pressure behaviour because knit fabrics can react badly to uneven settings.
For customers across Gauteng, the best maintenance habit is simple: clean lint daily, oil where required, replace worn needles often, and book a proper service before the machine starts making noise or missing stitches. If a line handles a lot of stretch fabric, it is worth keeping spare needles, loopers and feet in stores. That small stock saves time when orders are tight and the workshop is busy.
A practical pre-production checklist for knit jobs
Before you start cutting and sewing, run through a basic checklist. It helps whether you are sewing in a home room, a school workroom, or a busy factory. If the order is for uniforms, fashion basics or promotional wear, the same discipline applies.
- Confirm the fabric type and stretch level.
- Choose the correct machine for each seam.
- Test stitch quality on offcuts from the same batch.
- Check needle, thread and presser foot settings.
- Prepare spare parts and consumables before production starts.
- Train the operator on seam handling and fabric feeding.
If you are setting up a new knit line or sorting an existing one, our Johannesburg CBD team can help with machine installation, workshop repairs, operator training and workroom planning. We supply, set up and service industrial and household sewing machines, embroidery machines and fusing presses for clients in Soweto, Germiston, Fordsburg, Mayfair, Pretoria, Alberton and Randburg.