
Start With the Room, Not the Machine List
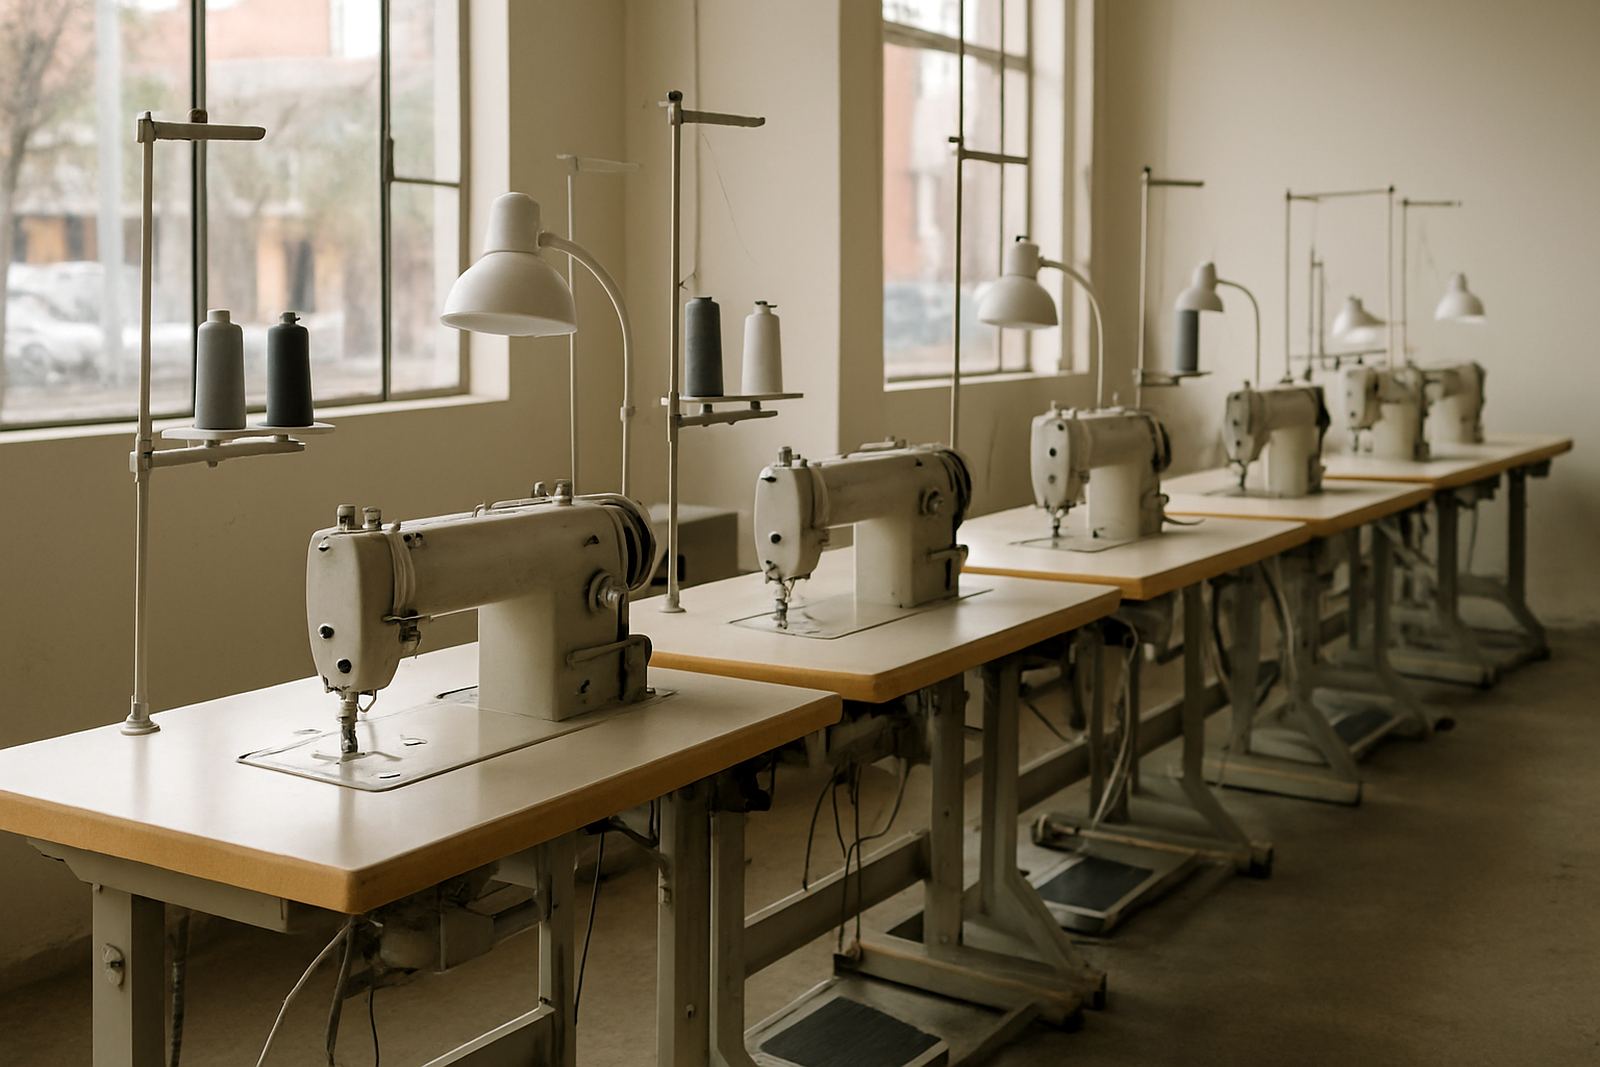
Before you choose machines, look closely at the room itself. Measure the floor space, check the number of power points, and note where windows, doors and walkways sit. In many Johannesburg CBD and Gauteng schools the sewing room has to share space with storage or other subjects, so the layout should keep learners moving in one direction and keep teacher sight-lines clear.
A practical room plan usually works better than a long wish list. Leave enough space for each learner to sit comfortably, to reach tools without crowding, and to move fabric without knocking the next person. If the room is used by different grades, keep the same layout every time. That reduces confusion and helps with supervision.
- Count learners per class and then add one spare seat for demonstrations.
- Mark a clear teacher position where every station can be seen.
- Keep storage against the wall, not in the centre of the room.
- Check whether the room needs extra plugs, lighting or lockable cupboards.
Choose Machines That Match the School Day
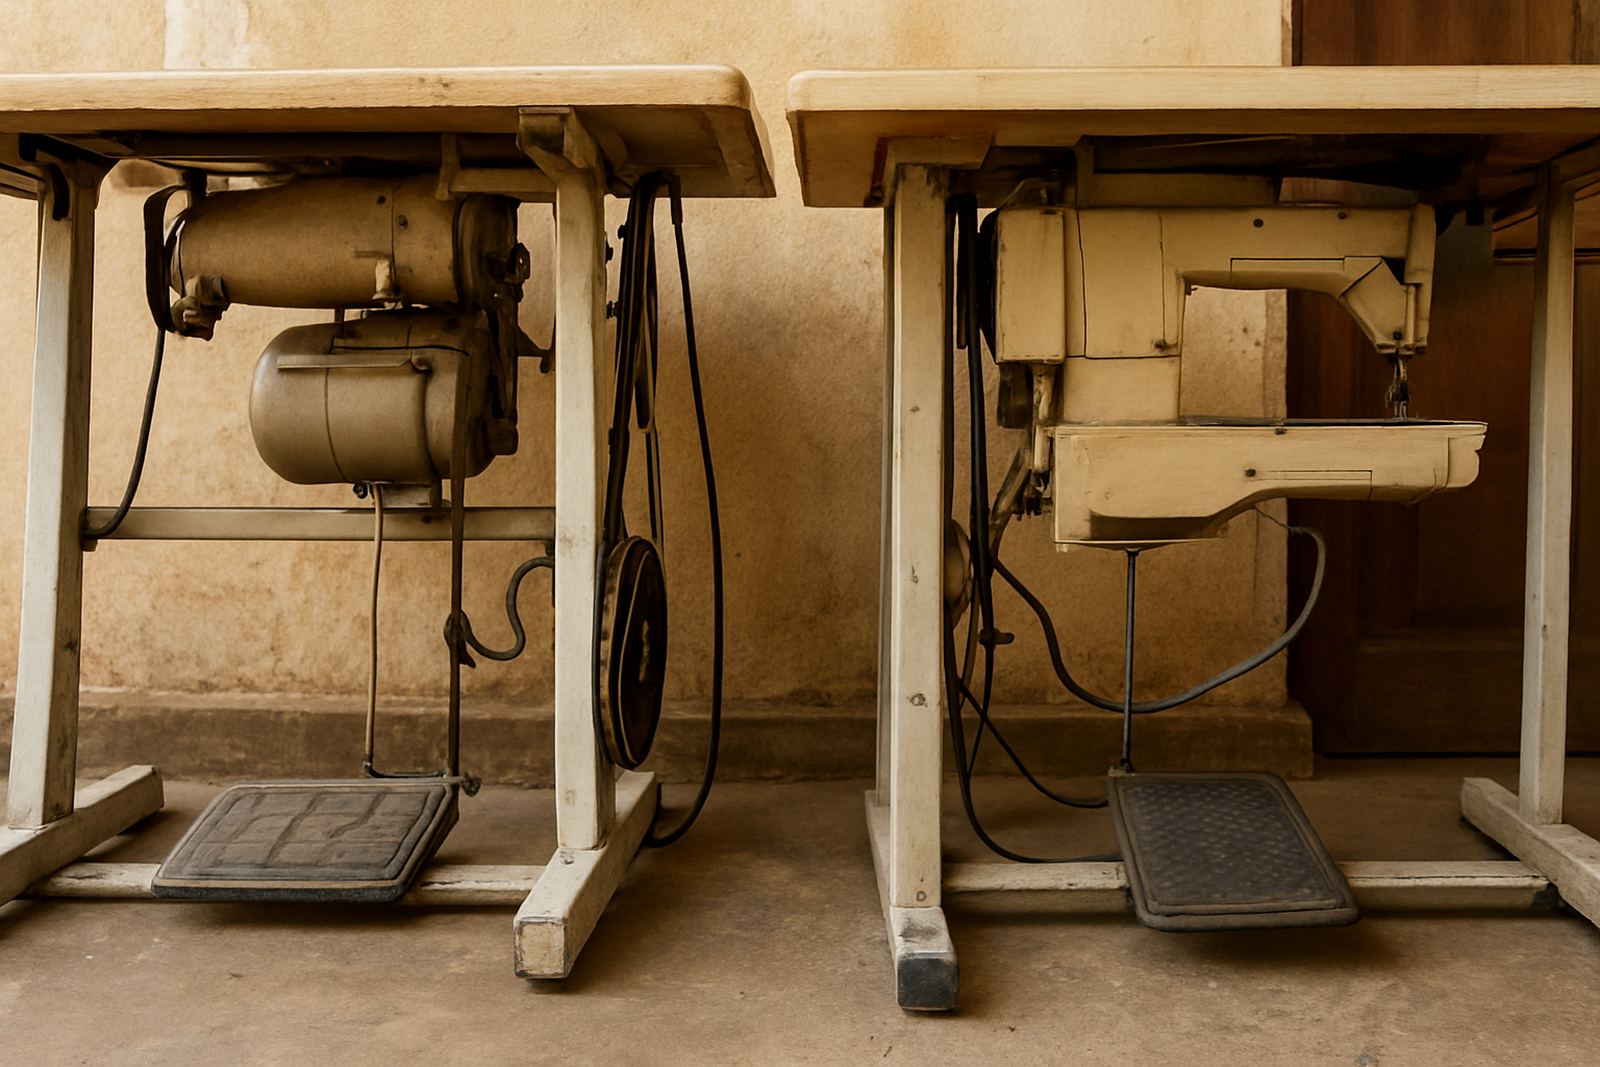
For schools, the best machine is usually the one that stands up to repeated use and still remains simple enough for a learner to understand. Heavy industrial machines suit frequent classes and thicker materials, while household models can work well for lighter school programmes, after-hours clubs and beginner training. The right mix depends on the type of work being taught, from basic seams and hems to simple garment making.
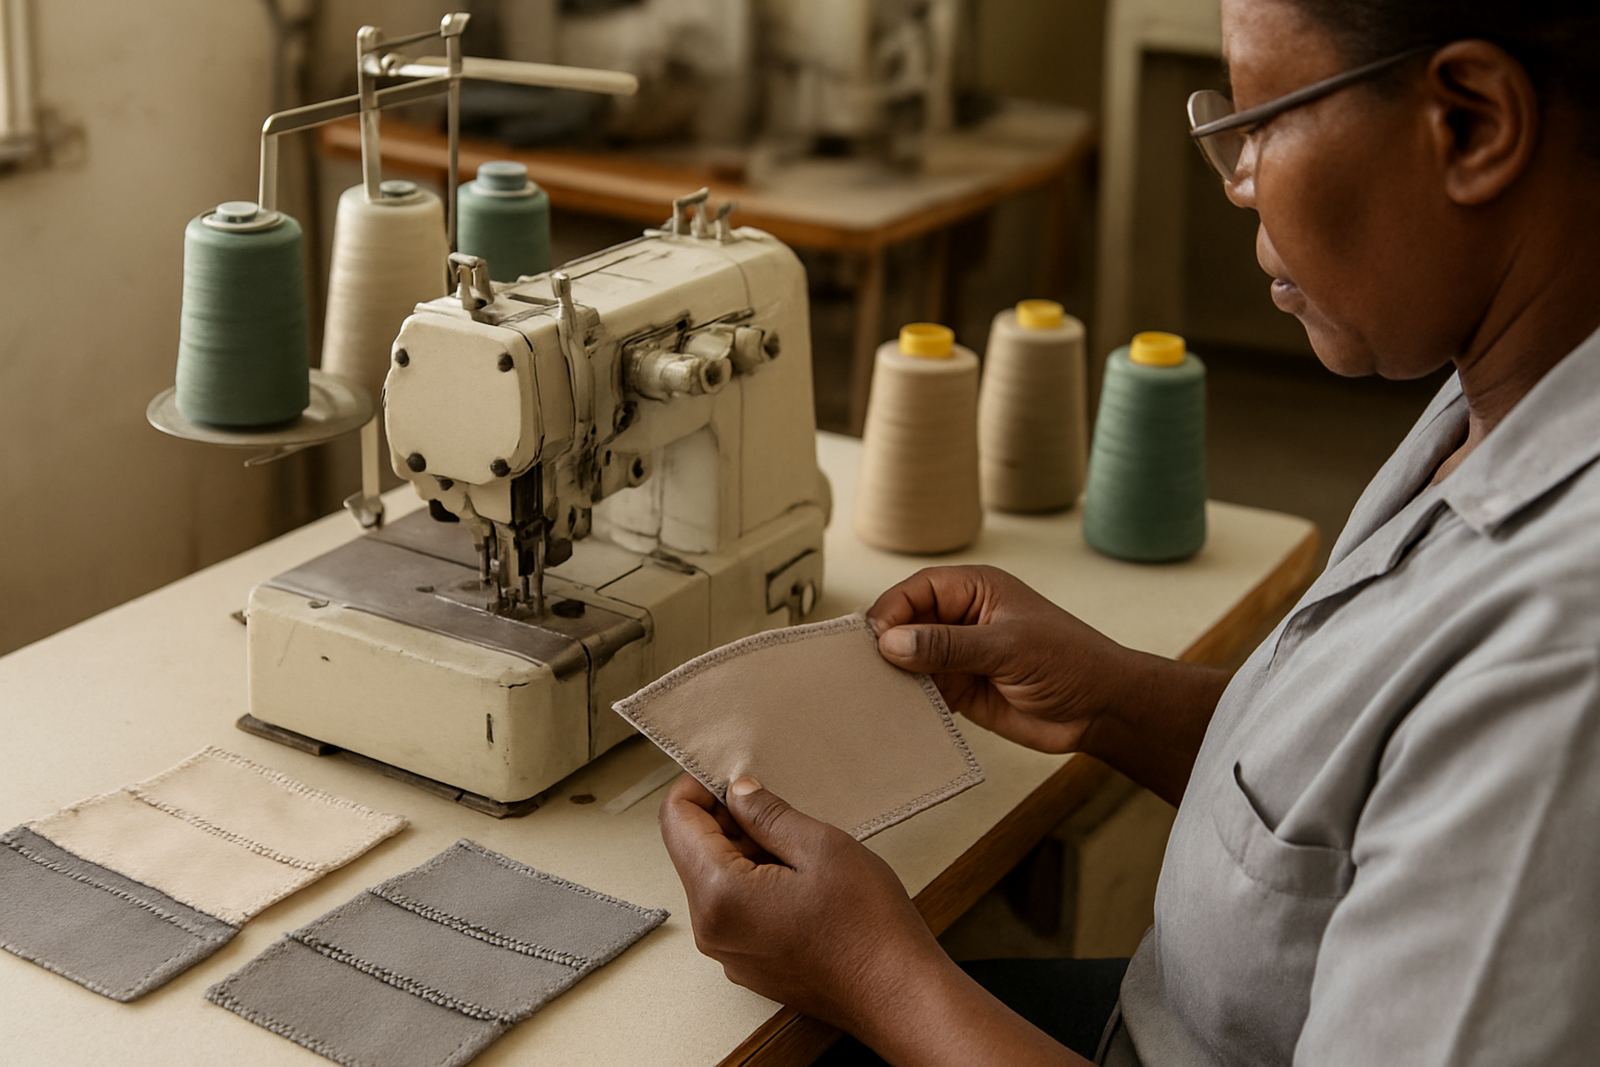
Look for controls that are clear, threading that is not fiddly, and parts that can be serviced locally without long delays. In a school setting, ease of use matters as much as stitching speed. If a machine is too complex, class time gets lost to adjustments instead of teaching. For embroidery rooms or advanced textile classes, one computerised embroidery machine can be enough as a teaching unit, provided the class is small and supervision is tight.
- For beginners, prioritise straight stitching, zigzag and simple tension adjustment.
- For senior classes, consider a mix of general sewing machines and one or two specialist units.
- Ask whether the machine can be kept running during power interruptions with suitable power protection.
- Choose models with readily available needles, bobbins, feet and basic spares.
Build for Supervision and Safe Handling
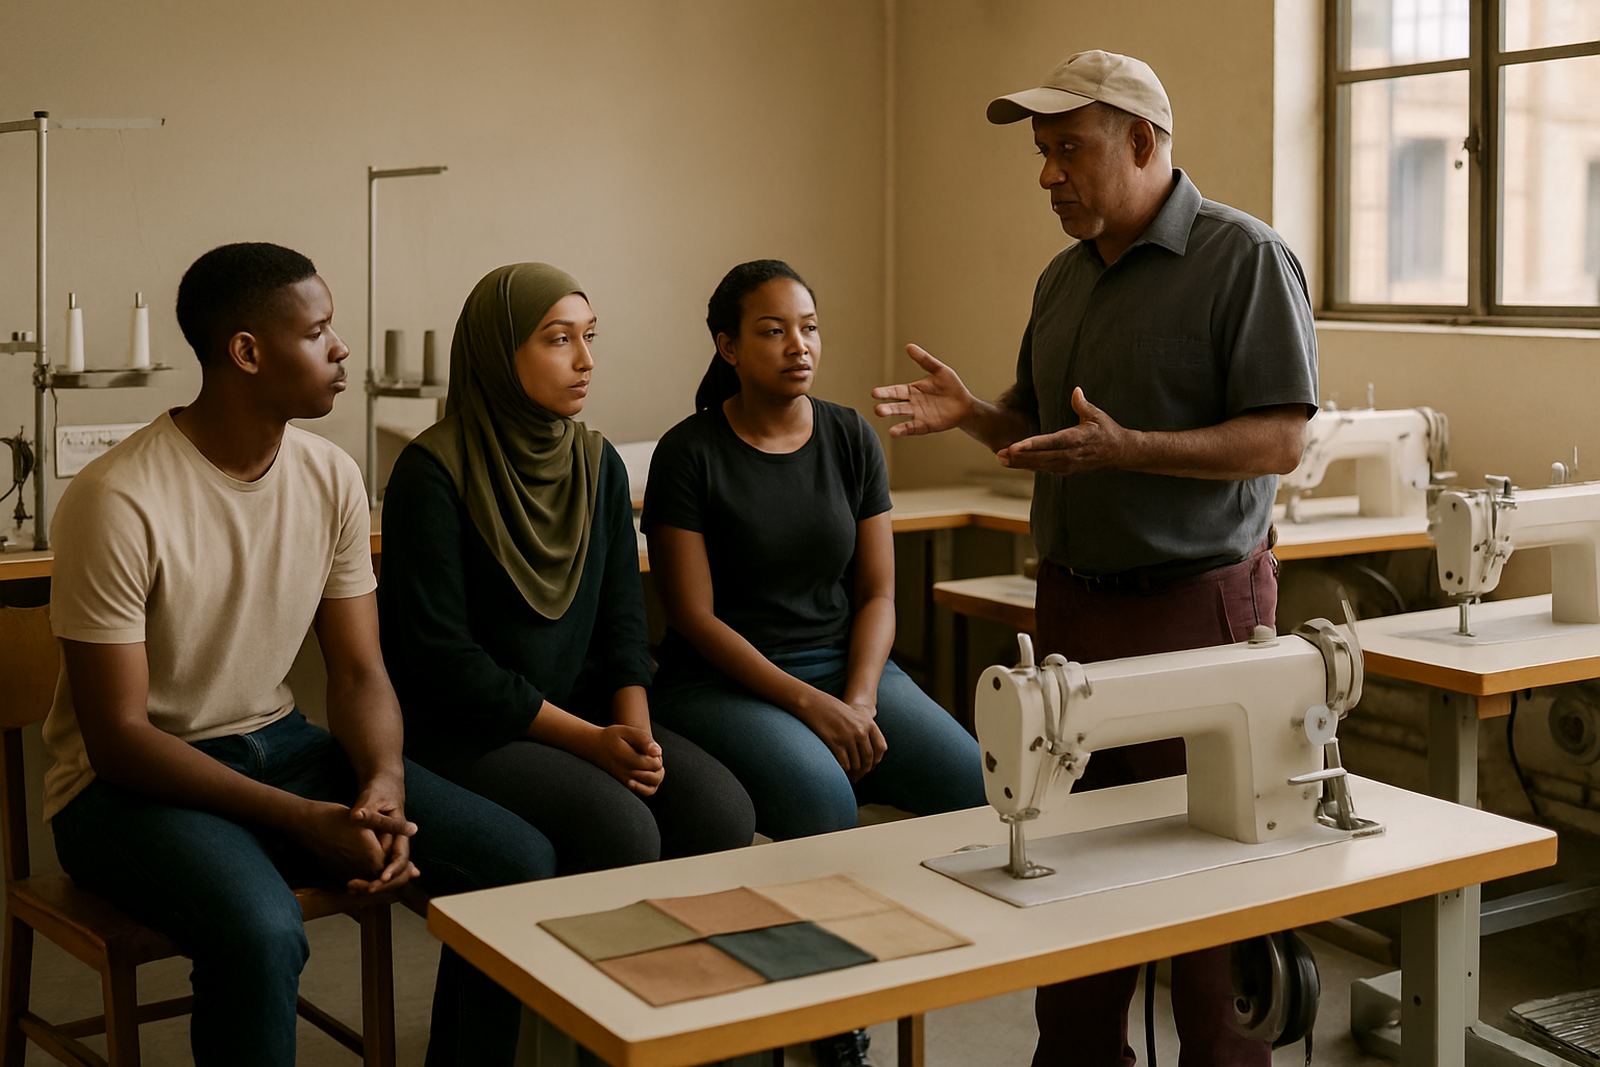
A school room must be easy to watch, especially when learners are new to machine use. Place machines so the teacher can move between stations without squeezing through narrow gaps. Keep ironing, pressing and cutting areas separate from stitching areas where possible, because that lowers the risk of burns, blade accidents and tangled movement. If learners must pass each other often, the room will become noisy and disorganised very quickly.
Safety rules should be visible and repeated often. Keep cords neat, don’t leave machine covers where someone can trip, and make sure learners know where to switch machines off before threading or cleaning. In schools around Soweto, Germiston or Pretoria, where different grades may share the room, a short routine at the start and end of each lesson helps keep everyone on track.
- Use one-way movement for cut, sew, press and pack.
- Keep scissors, pins and blades in a controlled storage point.
- Post simple rules for machine use and cleanup near the entrance.
- Assign one learner to each station, unless the lesson is set up for pairs.
Plan for Maintenance the School Can Manage
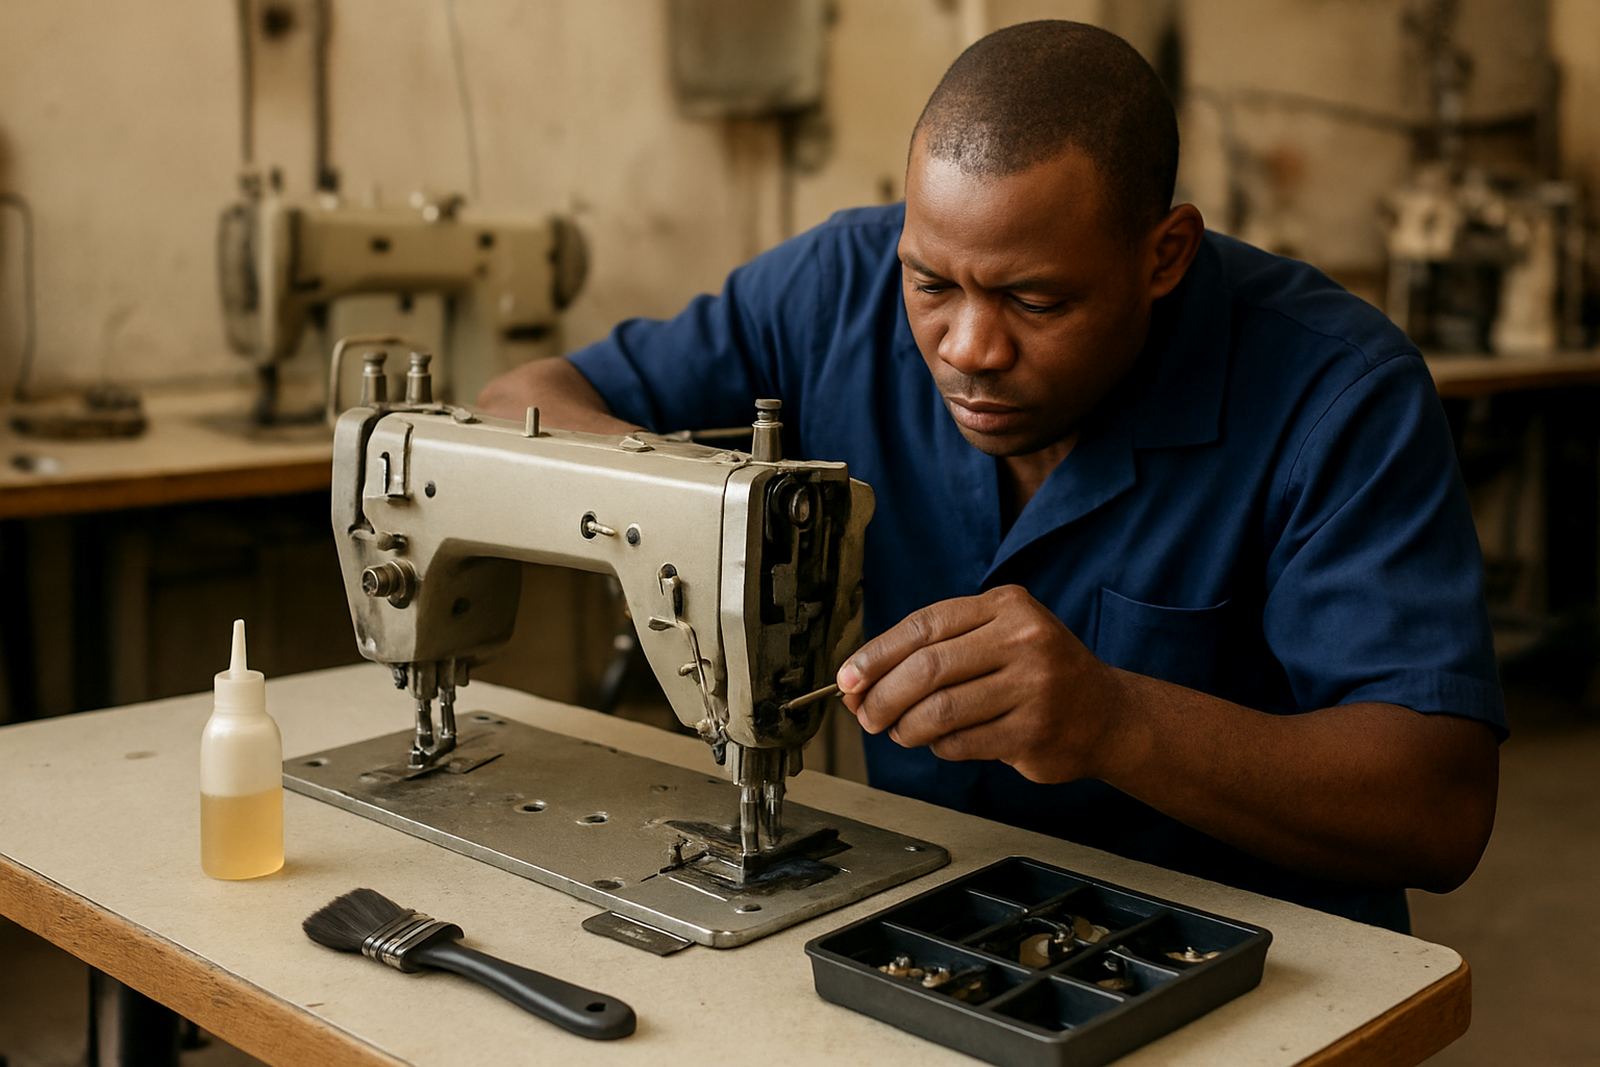
Simple maintenance is one of the most important buying factors. A school room should not depend on constant specialist attention for small issues. Machines need regular cleaning, oiling where required, tension checks and the occasional timing adjustment. If the room is well run, many small faults can be prevented before they interrupt a term.
Choose equipment that can be serviced on site or collected for workshop repair without causing long class delays. Keep a small parts list for each machine type, including needles, bobbins, lamps, belts and common attachments. In a busy school room, lost time usually comes from missing little parts rather than major breakdowns. A simple logbook also helps, because it shows when the last service was done and which machine needs attention next.
- Set a cleaning and servicing schedule for weekly, monthly and termly tasks.
- Keep one record card per machine with model details and service dates.
- Store thread, oil, needles and attachments in one locked place.
- Remove damaged cords, worn belts or broken feet straight away.
Think Through Power, Space and Load-Shedding
Many schools in Gauteng work under changing power conditions, so the sewing room should be planned with that in mind. Check whether the room can handle the electrical load if several machines are used at once, and whether the teaching plan can cope with interruptions. If the school already struggles with lighting or overloaded circuits, it is better to address that before buying more equipment.
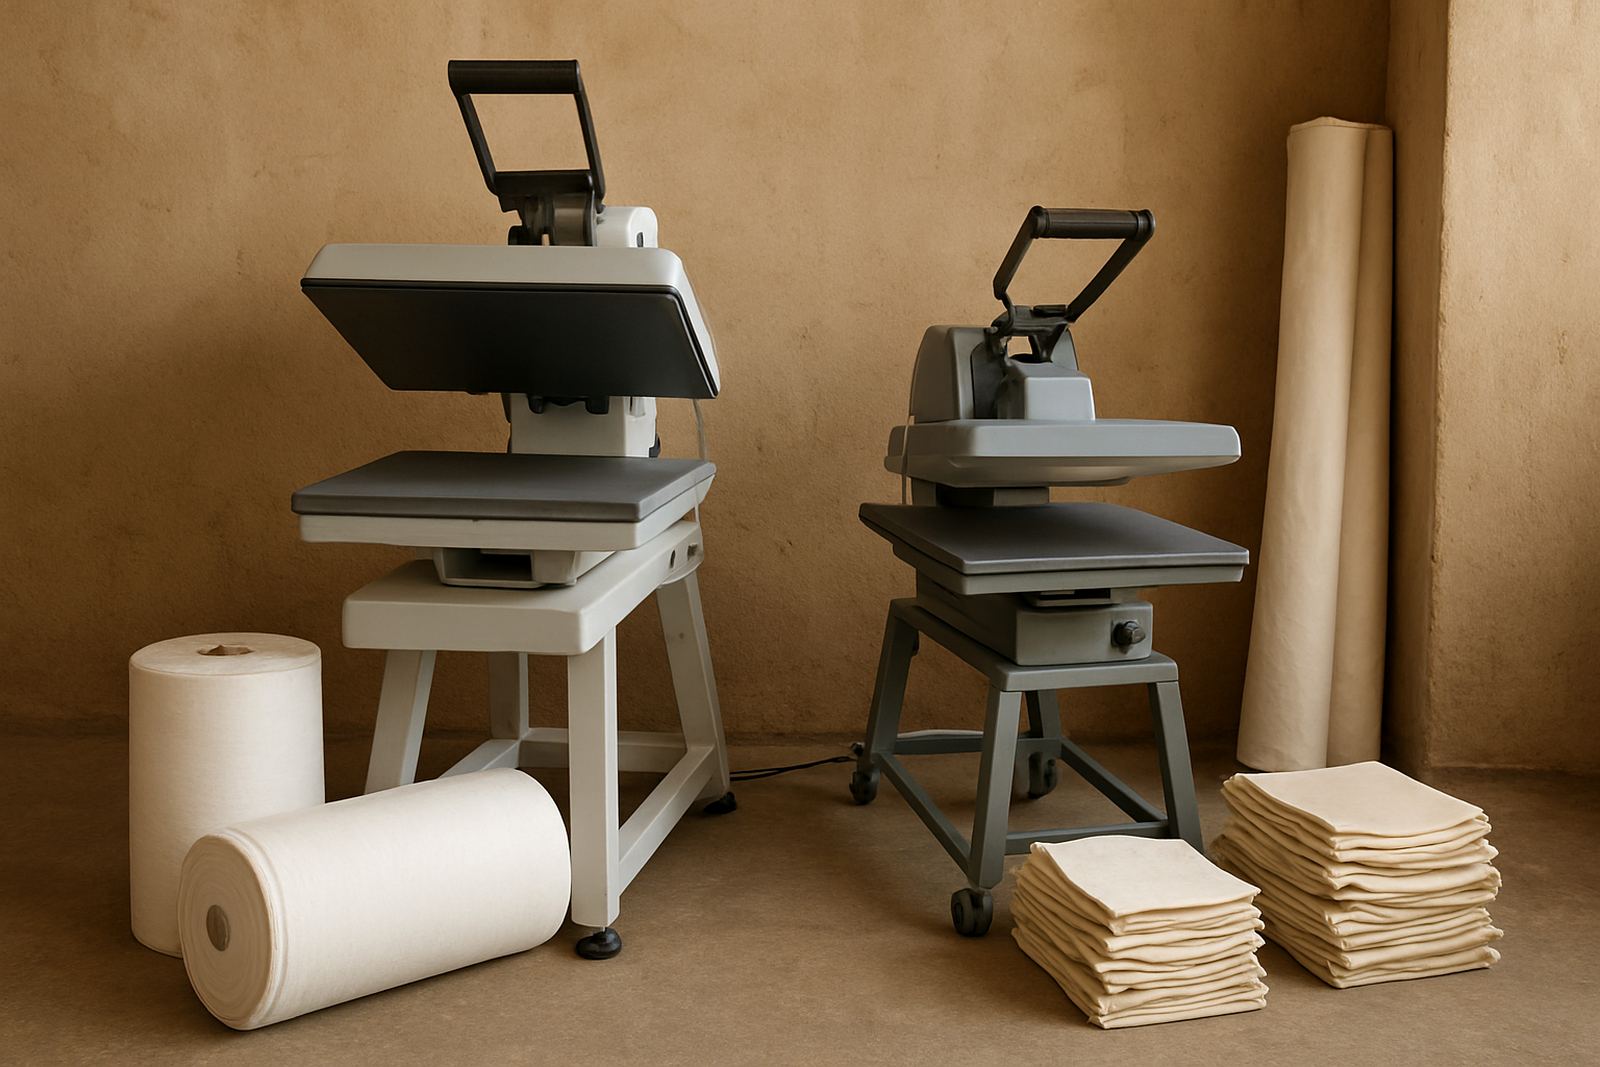
Ask how the room will function during load-shedding. Some classes can continue with hand tools, cutting, pattern work or theory, while others may need backup power for selected machines only. Fusing presses and pressing stations also draw attention because they need stable use and sensible placement. Good room planning prevents learners from standing around waiting for power to return and helps the teacher keep momentum.
- Test sockets, extension use and circuit capacity before installation.
- Keep a small portion of the lesson plan that can continue without electricity.
- Allow space for safe storage of equipment when the room is closed.
- Place pressing equipment where heat and steam will not affect other stations.
Use a Buying Checklist Before You Place the Order
A school should buy with a checklist, not by guessing what looks good on the day. Start with learner numbers, lesson type and room size, then move to machine type, support needs and spare parts. Once that is clear, it becomes much easier to compare options and avoid buying equipment that is too complicated, too large or difficult to maintain.
It also helps to involve the people who will use the room every week. A teacher may know that a certain machine is easier for beginners, while a workshop lead may know which parts fail most often. When a school buys carefully, it usually gets better value over the life of the equipment, not only on the day of purchase.
- Will this machine suit beginners, advanced learners or both?
- Can it be installed and explained quickly to staff and learners?
- Are spares, attachments and service support available locally?
- Will the room still work properly during power interruptions?
- Can the school manage cleaning, storage and supervision with current staff levels?
A Good School Room Lasts Because It Is Simple
The best school sewing room is not the one with the most equipment. It is the one that keeps learners busy, keeps the teacher in control, and keeps maintenance straightforward. Durability matters, but so does how easy the room is to understand on a busy Monday morning when the class starts late and the timetable is tight.
When schools across Johannesburg, Fordsburg, Mayfair, Alberton or Randburg choose practical machines and a clear layout, the room becomes easier to manage term after term. That is what makes the difference between equipment that gathers problems and equipment that supports real learning.