
Why curved binding goes wrong on the work table
Most trouble starts before the machine is even threaded. A binding strip that is too narrow, too stiff or cut in the wrong direction will fight the curve and cause ripples, twisting or uneven edge cover. On a straight seam you can get away with a bit of force. On a curve, force usually shows up as puckering.
Curves also expose small faults in the machine setup. If the feeding is uneven, the presser foot pressure is too heavy, or the operator is pulling the work instead of guiding it, the binding will stretch on the outside edge and bunch on the inside. That is why curved binding must be treated as a combination of cutting, feeding and finishing, not just stitching.
In our Johannesburg CBD workshop we often see garments and soft goods from factories in Fordsburg, Mayfair and Germiston where the sewing machine itself is fine, but the binding process has never been matched to the shape. Once the strip, guide and tension are sorted, the same job becomes much easier to repeat.
Choosing the right strip for a clean curve
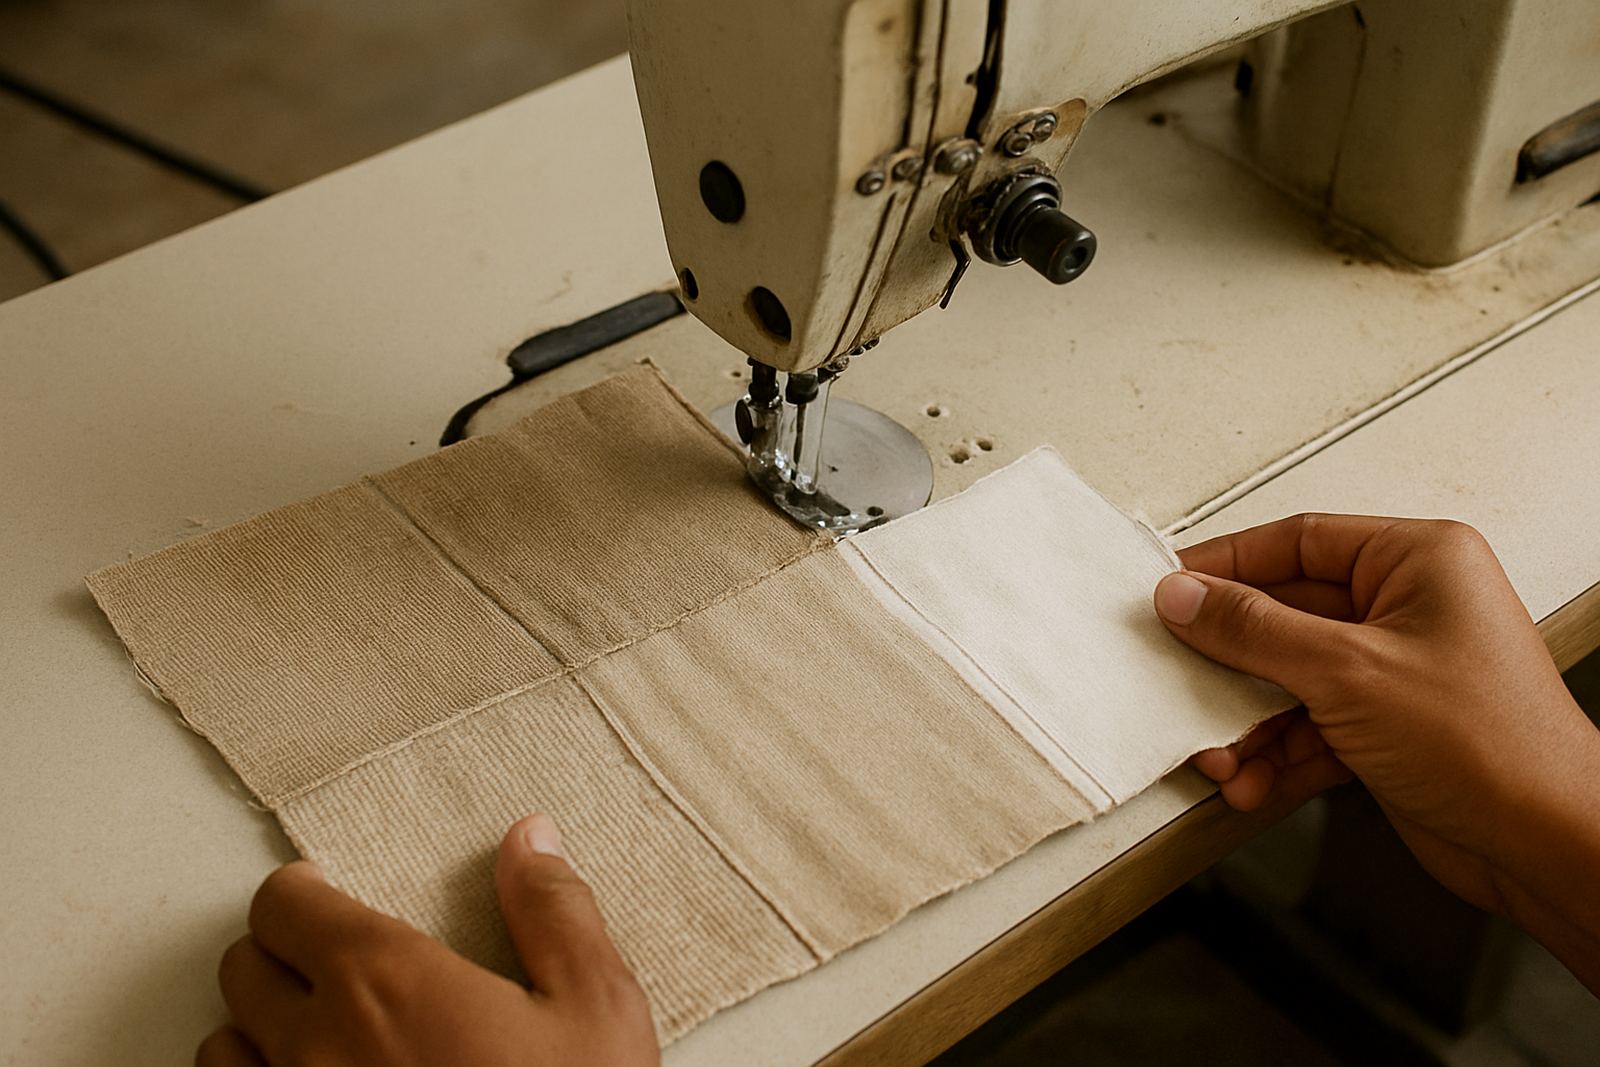
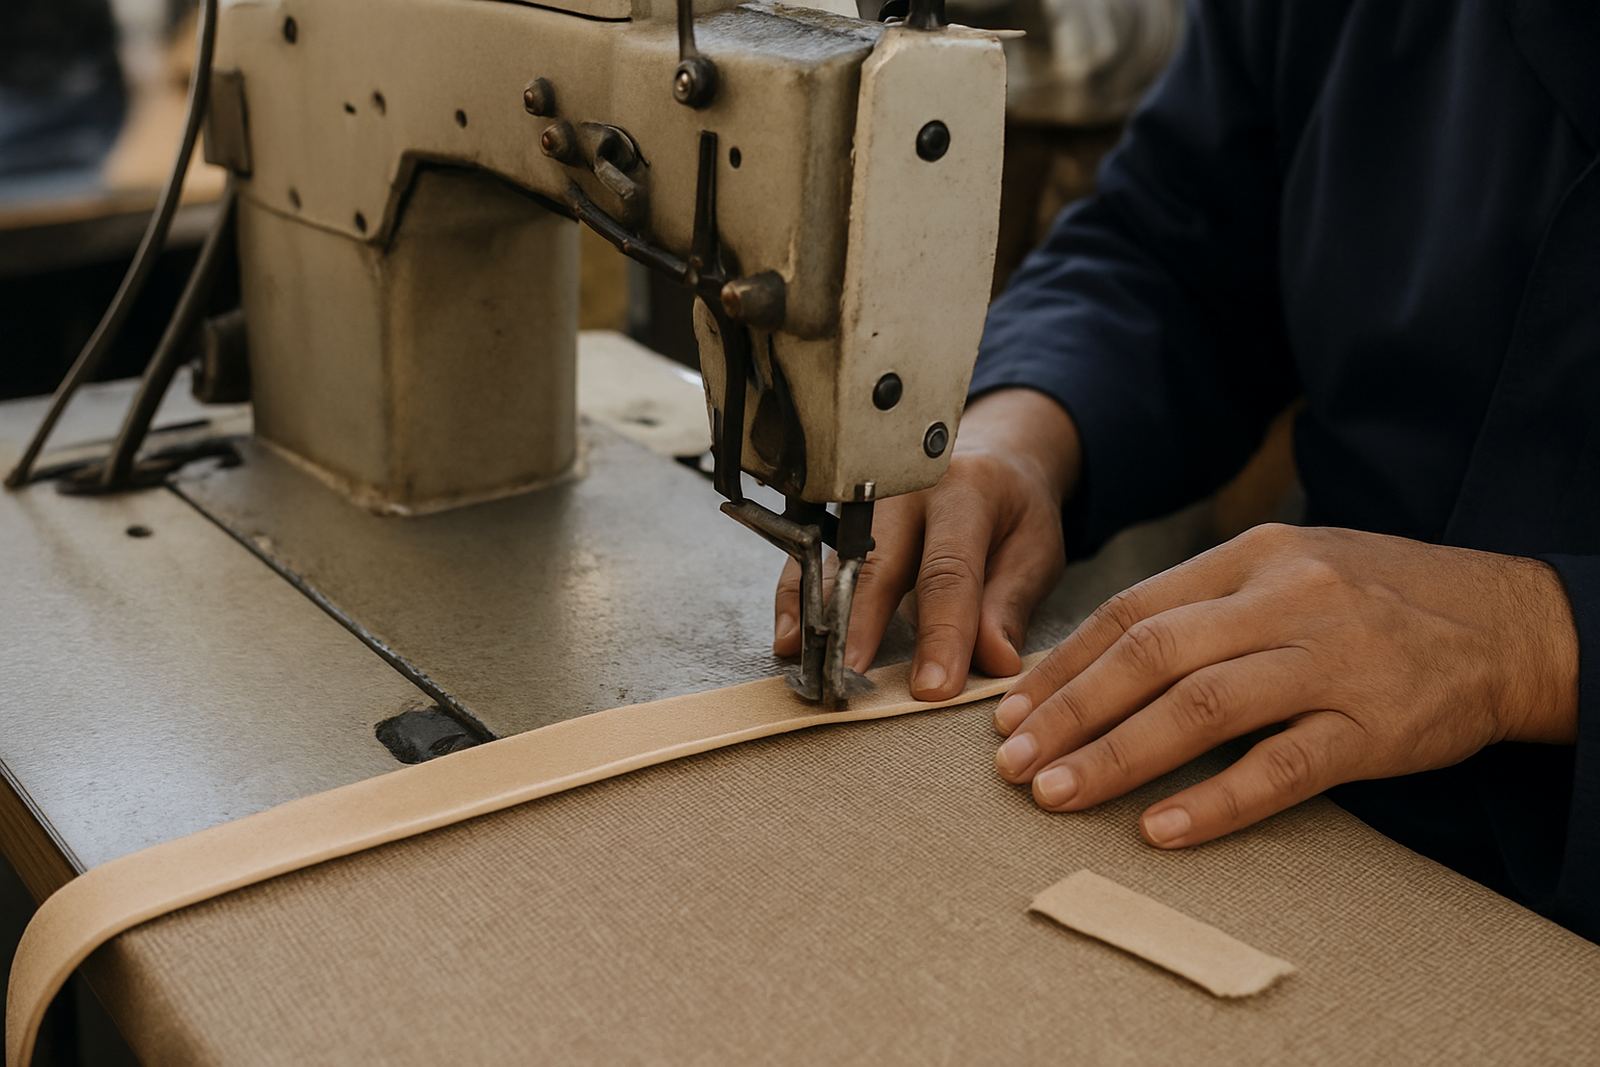
The strip has to do the bending, so start there. For gentle curves, a straight-cut strip may be enough if the fabric is light and the operator is steady. For tighter curves, bias-cut binding is usually the safer choice because it gives more give and follows the shape with less strain. The strip width must suit the binding folder, the seam allowance and the final look you want.
For school uniforms, aprons and workwear, a strip that is too wide can create bulk at the curve and slow the operator down. For bags, covers and heavier items, a narrow strip can disappear into the seam and leave the edge unprotected. A proper trial on offcuts saves time later. If the material is coated, padded or thick, test the strip before starting a full batch.
As a rule, look at the edge from three sides: the face, the fold and the underside. The strip should sit flat without twisting. If the binding is being turned around a corner or a shaped neckline, pre-pressing the strip and trimming the edge cleanly can help a lot, especially in humid weather along the coast or on damp winter mornings in Gauteng.
Machine set-up that supports steady feeding
Curved binding is easier when the machine is set up to feed without fighting the operator. Check presser foot pressure first. If it is too heavy, the work drags and the curve becomes jerky. If it is too light, the layers can wander. Needle choice matters too. A sharp needle suits woven fabric and most binding jobs, while a ball point may be better for knit edges that would snag or run.
Motor control also counts. A machine with smooth low-speed control lets the operator make small adjustments through the curve. On older machines, a motor conversion can help when the existing setup starts with a jump or loses control at slow speed. Timing and stitch formation must be correct as well. If the stitch is inconsistent, the binding will look uneven even when the operator is doing everything right.
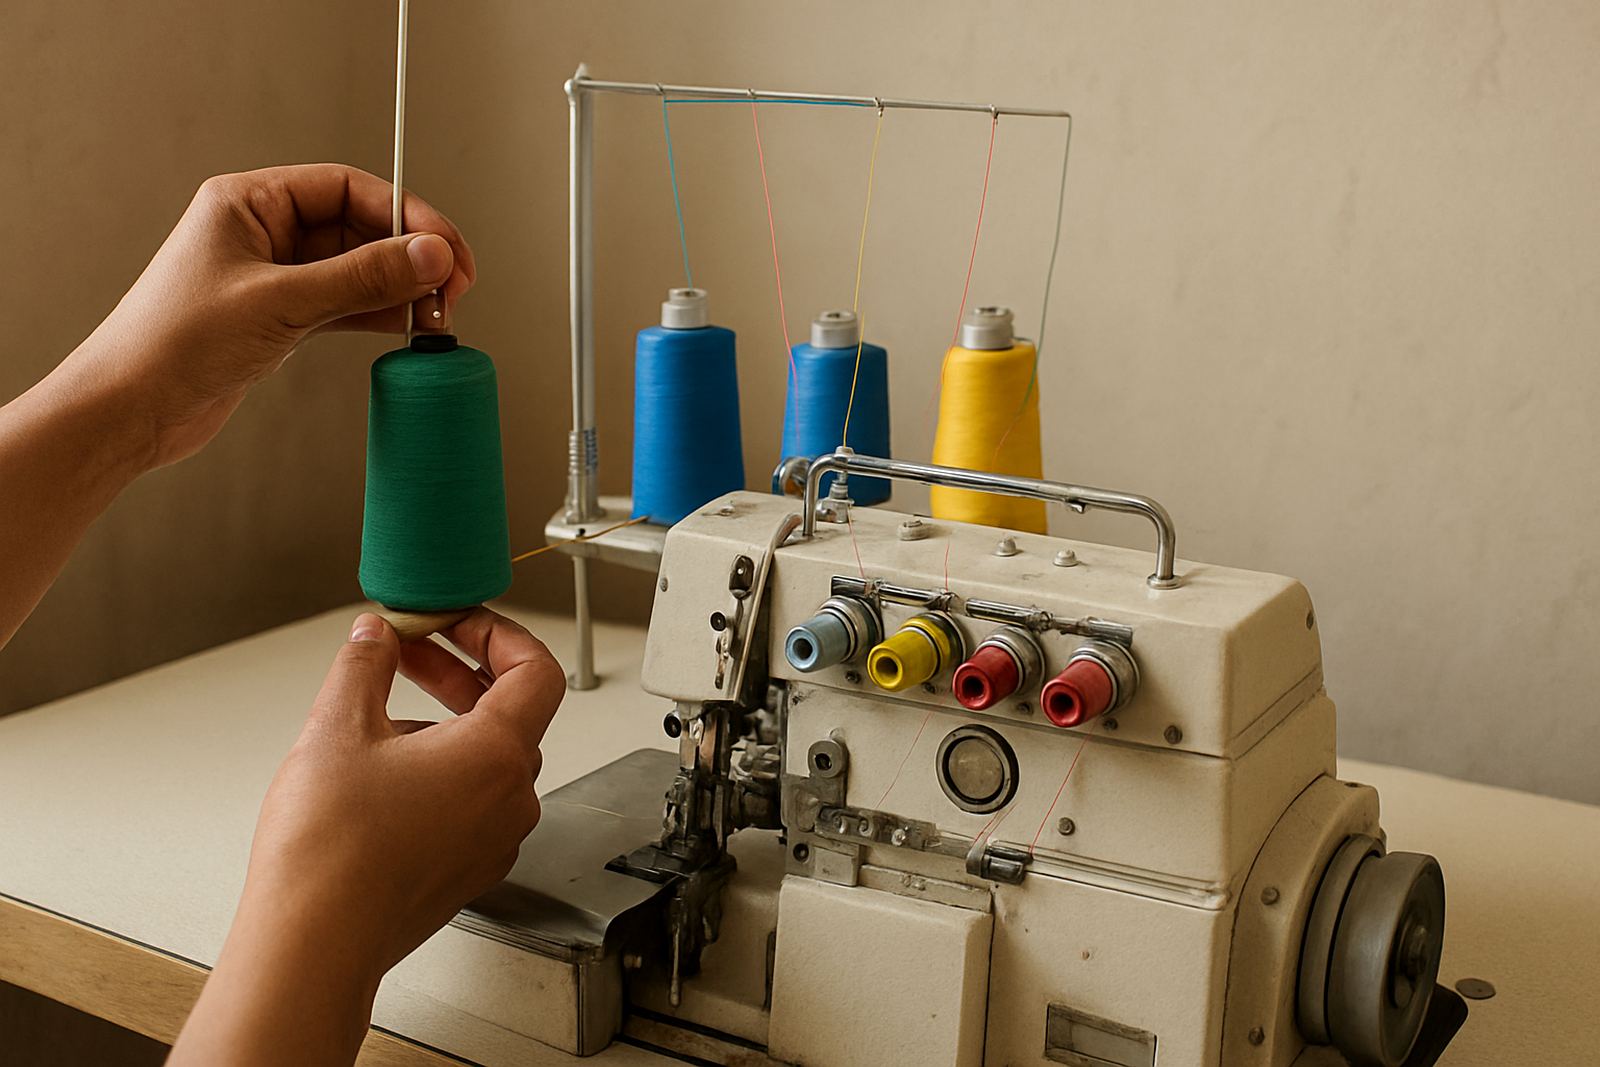
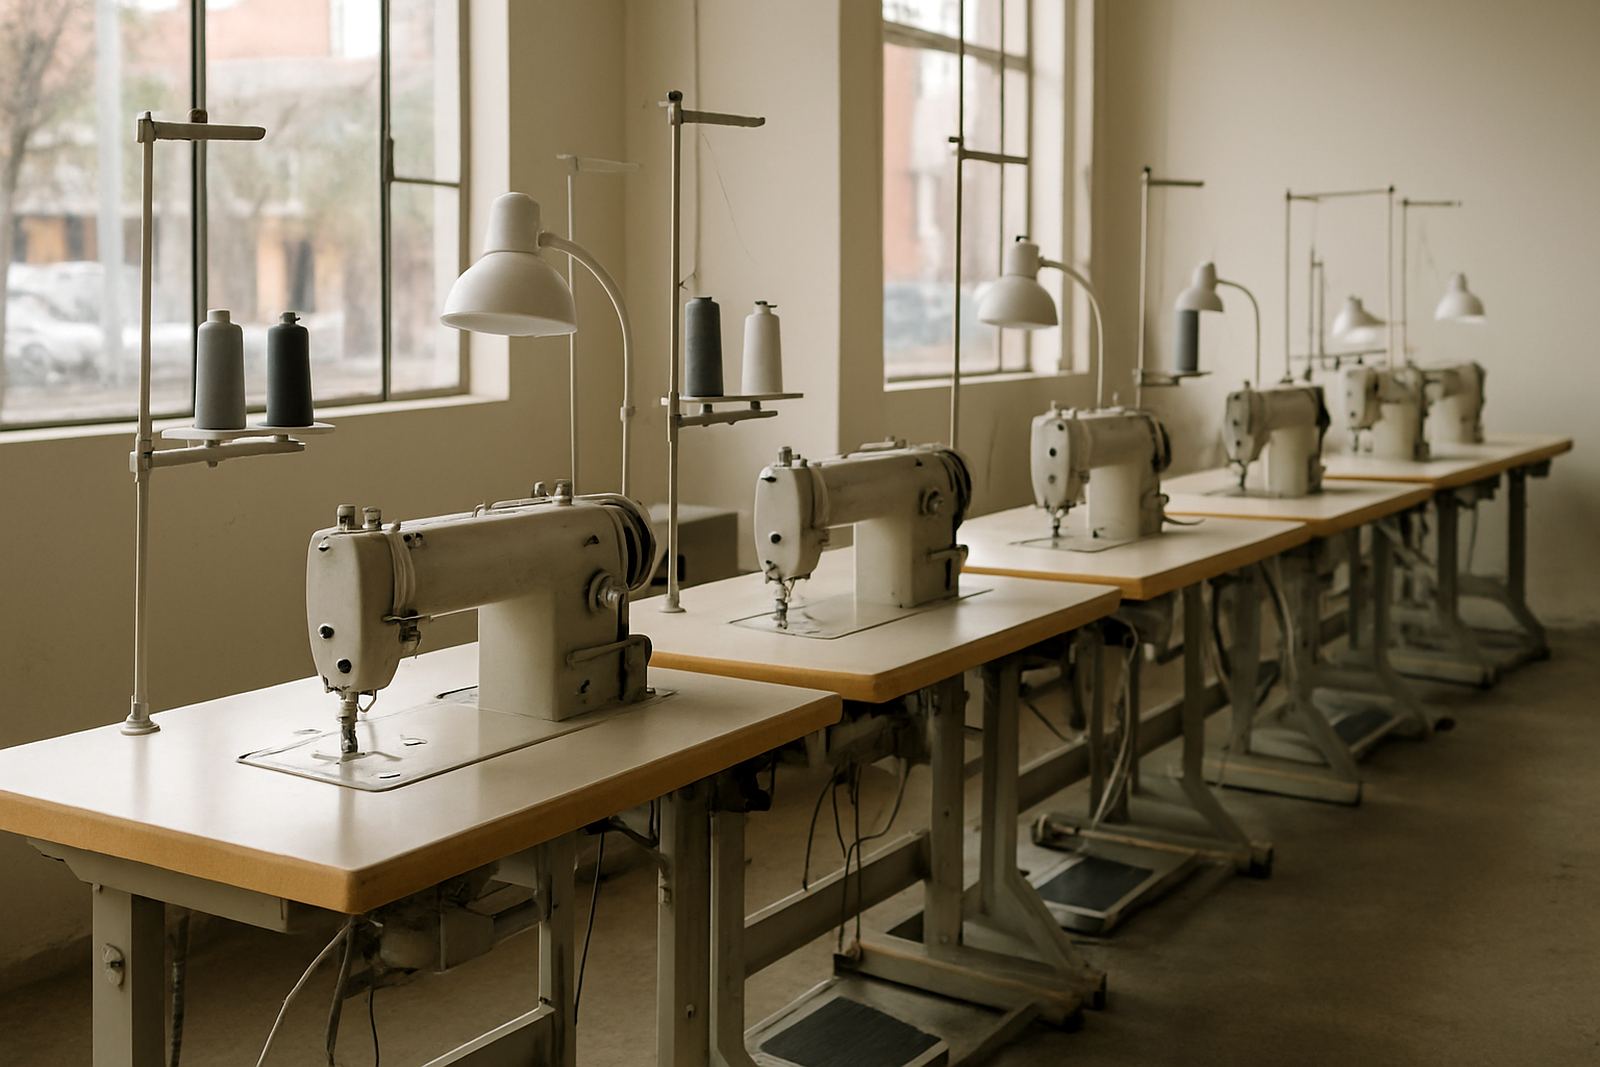
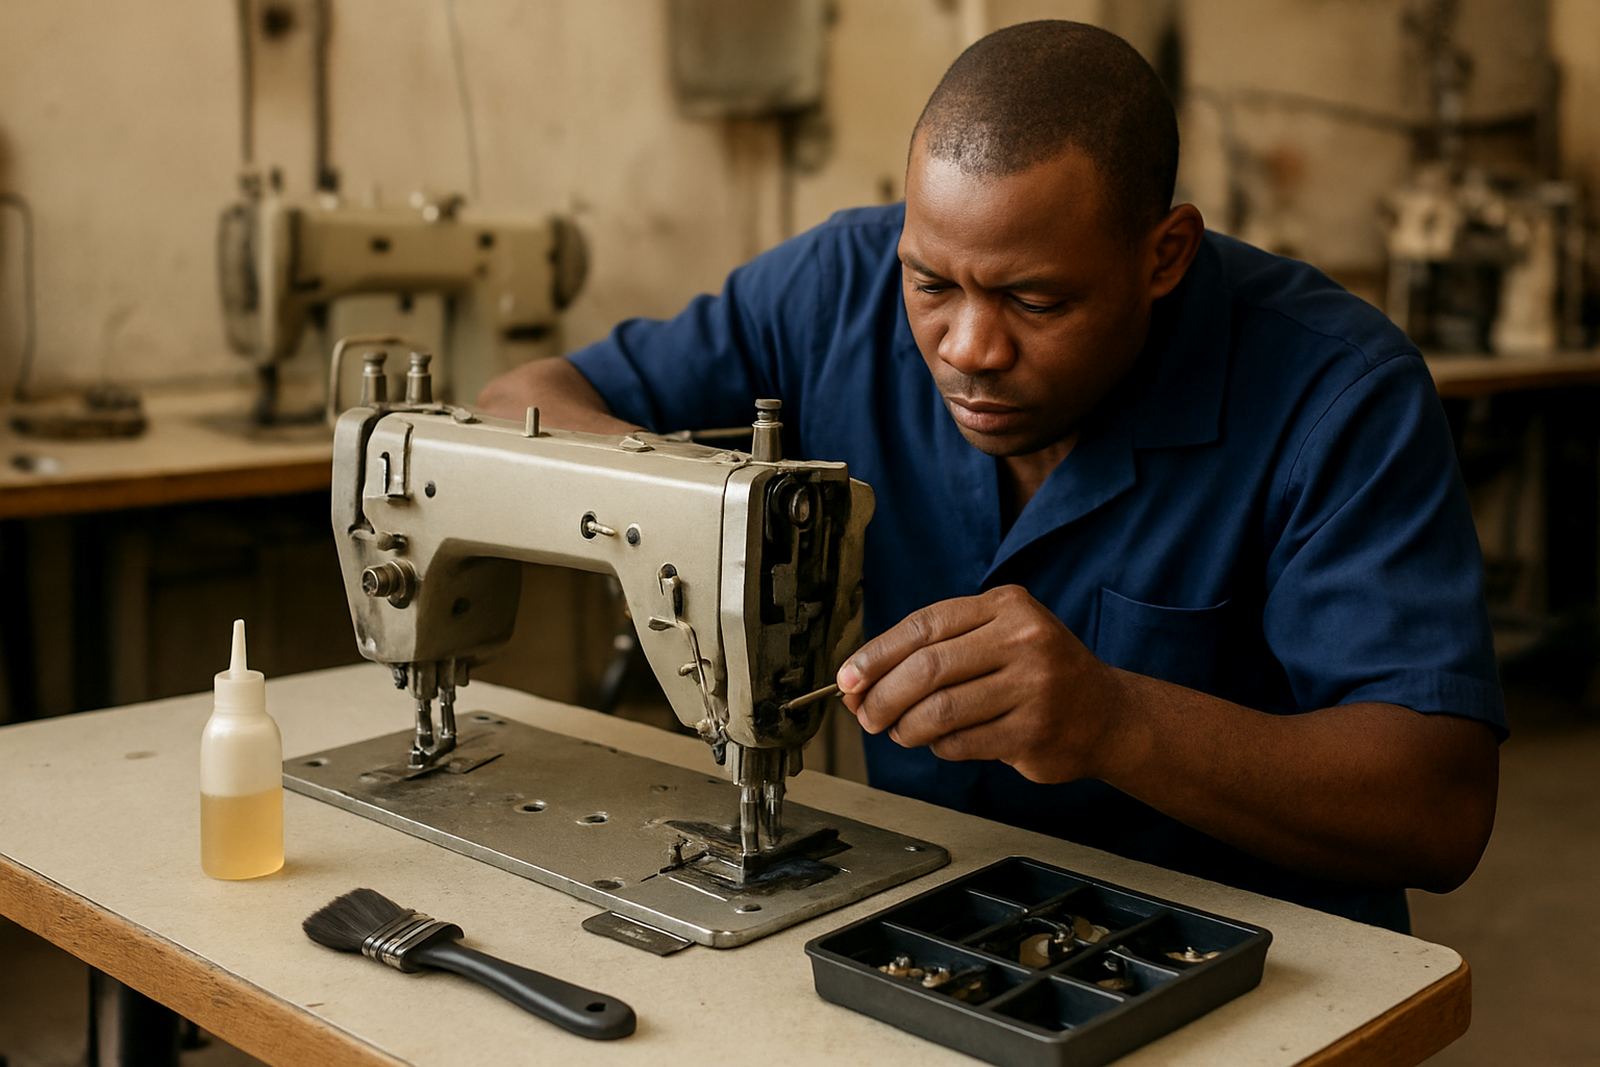
For businesses in Soweto, Pretoria and Alberton, we often recommend a quick servicing routine before a binding run that must look uniform across several hundred pieces. A clean hook area, correct thread path and balanced tension reduce stops, especially when power interruptions have affected workshop rhythm and machines have been switched on and off several times in a day.
How the operator should guide a curved edge
The operator should guide, not drag. That is the main habit to build. Feed the work in small controlled movements and let the machine do the stitching. On a convex curve, slightly ease the edge into the binder. On a concave curve, keep the material flat so it does not fold under itself. The hands should move the work a little ahead of the needle, not behind it.
Shorter runs are often better than long forced runs. Stop and re-set the angle when needed. If the strip starts to twist, do not try to correct it by yanking from the back. Lift, flatten and restart. This is especially important on garments for schools and tailors, where a small visual fault stands out across a full production batch.
It helps to train operators on a sample curve before moving to the full order. A simple practice line on scrap material can show whether the folder, stitch length and hand movement are working together. One of the quickest ways to improve output is to reduce guesswork at the machine.
Where curved binding shows up in local production
In Johannesburg and the surrounding areas, curved binding is common in many different jobs. Tailors in Fordsburg and Mayfair use it on necklines, armholes and collars. Soft goods workshops in Germiston and Randburg use it on bags, covers and padded items. Schools and uniform makers need neat binding on aprons, sportswear details and practical items that must survive repeated washing.
We recently handled a workshop setup for a small production team working between the CBD and Pretoria. Their biggest issue was not thread quality or fabric quality, it was consistency. One operator could finish a neat curve and the next piece would show waviness. After adjusting the folder, checking the machine feed and giving the team a simple work sequence, the finish became much more even across the batch.
That is the value of matching the machine to the task. A good binding result is rarely the product of speed alone. It comes from the right strip, the right settings and a clear method that every operator can follow.
When to call for servicing or setup help
If your curved binding keeps slipping, skipping stitches or gathering at the inside edge, the problem may be mechanical rather than operator related. Worn feed components, poor tension, loose guides or a tired motor can all make the same job harder than it should be. A workshop service can put the machine back into proper working order before the next order comes in.
Our team handles machine installation, on site repairs, workshop repairs, routine servicing, timing adjustments, motor conversions, embroidery setup, parts sourcing and operator training across Johannesburg CBD, Fordsburg, Mayfair, Soweto, Germiston, Pretoria, Alberton and Randburg. For curved binding work, we also look at the workroom layout, the path of the material and whether the binder is the right size for the job.
If your factory, school workshop or home sewing setup is dealing with curved edges every week, a proper setup can save time, reduce waste and improve the finish without changing your whole process. The work becomes easier when the machine and the method are working together.
A practical finish starts with control, not pressure
Curved binding rewards patience. When the strip is suitable, the machine is correctly set and the operator guides with a light hand, the finish becomes neat and repeatable. That matters whether you are binding one sample piece or turning out a full batch for a factory order.
In practice, the best curved binding is not about pushing harder. It is about controlling the feed, respecting the shape and keeping each step simple enough to repeat. Once that is in place, even tricky curves on necklines, armholes and shaped panels become manageable.