
Why the threading order matters on an overlocker
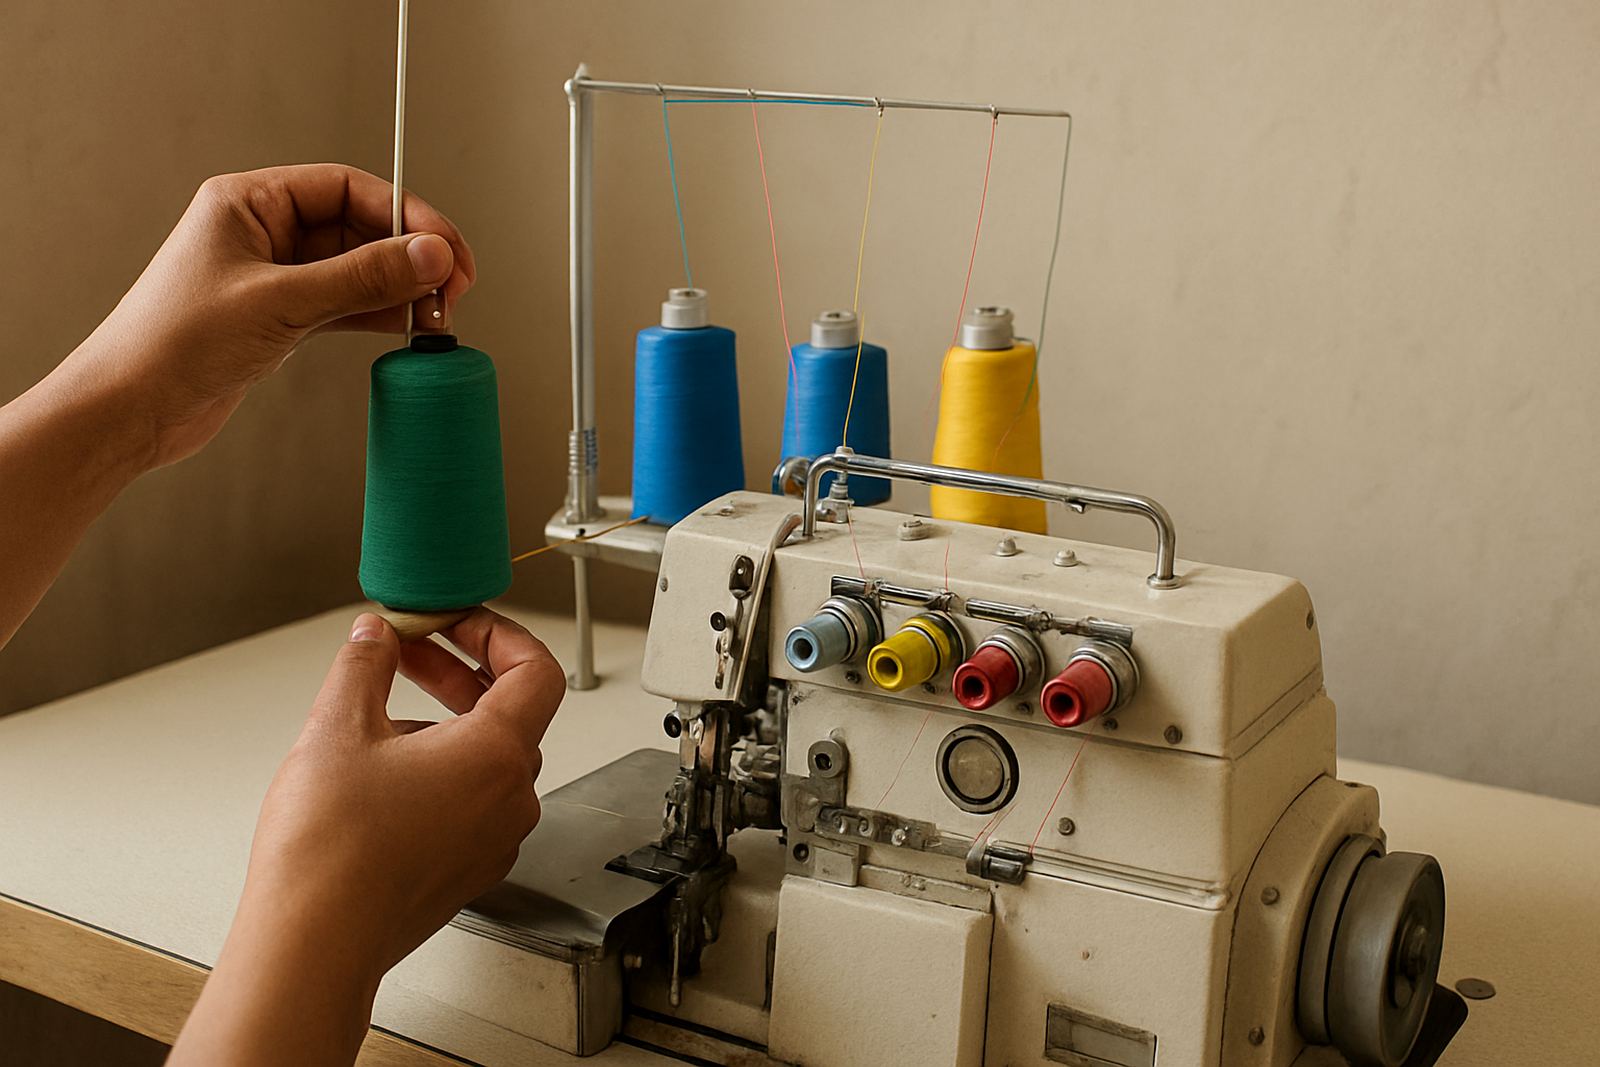
An overlocker works differently from a straight stitch machine because it uses loopers as well as needles to bind and trim the edge of the fabric. If one thread is not seated correctly before the next one is pulled through, the tension balance changes and the stitch will not form properly.
We often see this in Johannesburg CBD workshops after a power cut or a rushed changeover. Someone restarts the machine, pulls on the thread tails too hard, then wonders why the lower looper keeps snapping. The machine is usually fine, it’s the threading sequence that has been disturbed.
- Threading order affects how the loopers catch each other.
- Wrong sequence can cause skipped stitches and loose edge loops.
- Correct order reduces strain on needles, loopers and tension discs.
A simple threading sequence to follow every time
Most overlockers thread from the upper section down toward the looper path, but the exact route depends on the machine model. The safest habit is to follow the printed guide on the front cover and to thread with the presser foot raised so the tension discs are open.
If a thread breaks, do not just pull a new one through the old line. Remove the broken thread completely and start again in the proper order. That extra few minutes saves a lot of frustration later.
- Raise the presser foot before threading.
- Set the needles and loopers in the correct threading order for your machine.
- Check that each thread sits in every guide and tension point.
- Leave thread tails long enough before sewing on scrap fabric.
What poor loop formation looks like in the workroom
Poor loop formation is easy to spot once you know what to look for. The edge may curl unevenly, the thread may look slack on one side, or the stitch may sit tight on top but loose underneath. On a school uniform job, that can mean seams that do not hold up after the first wash.
In a factory setting, poor loop formation causes more than ugly finishing. It slows production, creates rework and can lead to thread waste across many garments. If the machine is cutting the fabric cleanly but the edge is not wrapped properly, the threading order and tension setting both need attention.
- Uneven loops on the fabric edge.
- Thread snapping near the tension area.
- Loose or twisted stitches after a short run.
- Fabric curling more than usual at the seam edge.
Local example from a busy Gauteng sewing room
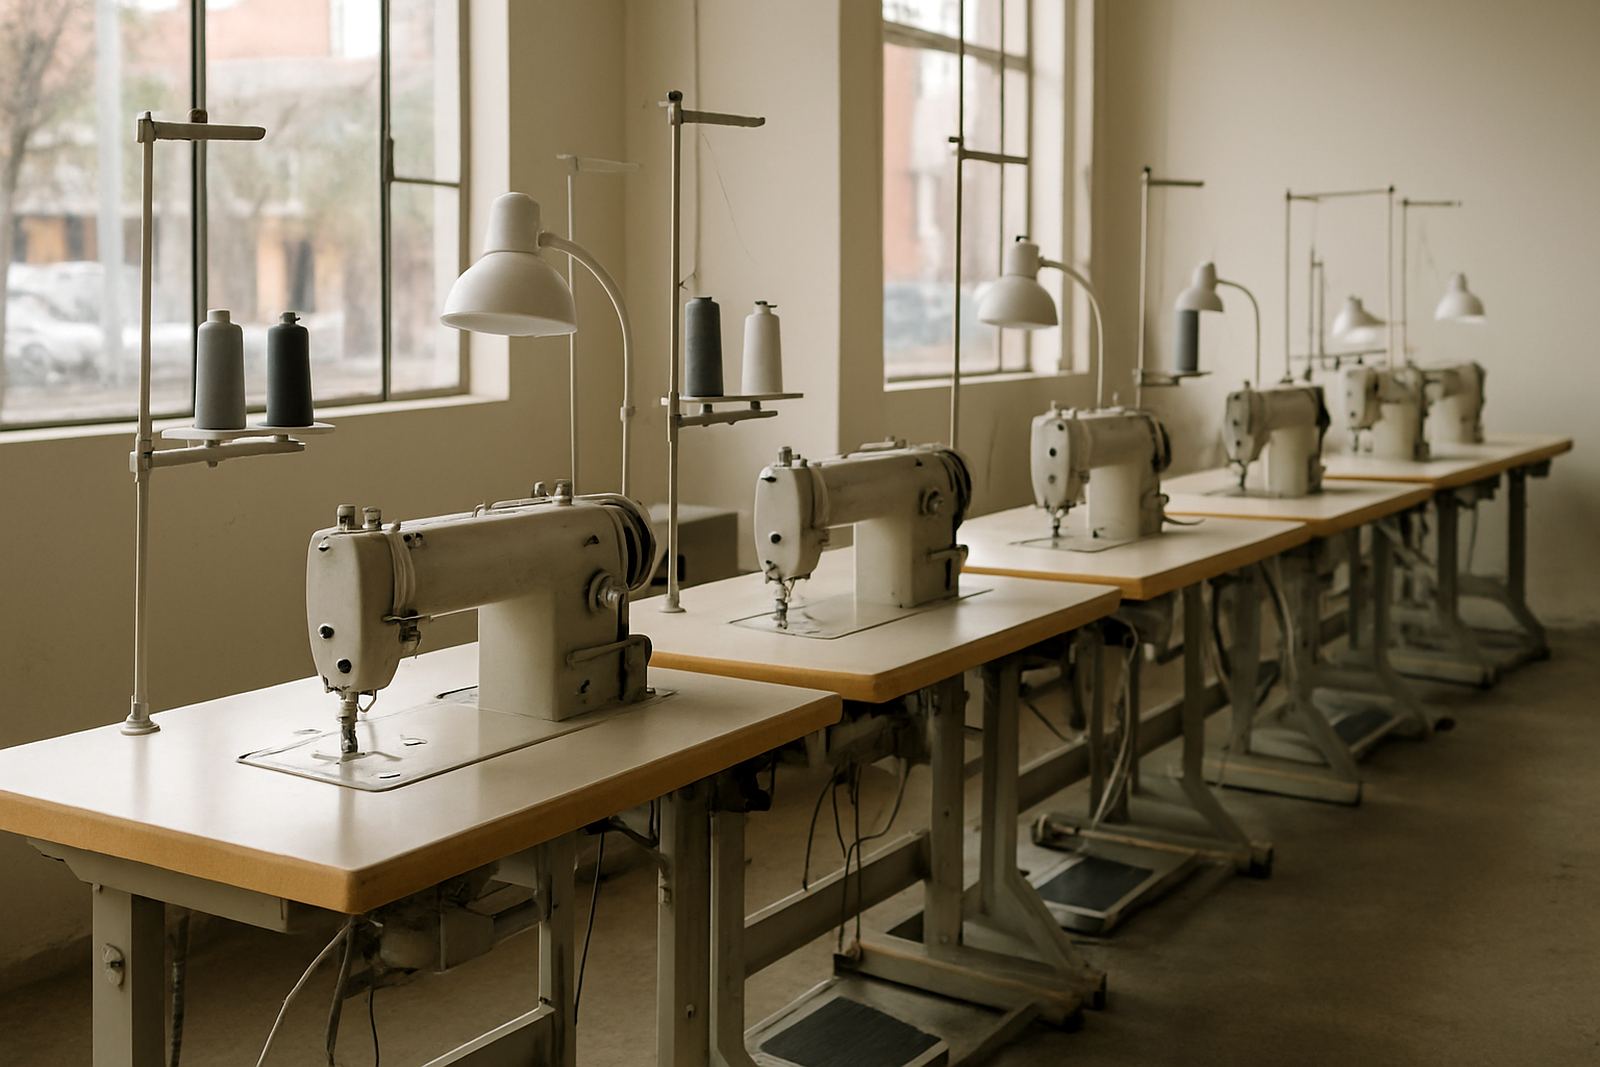
A small tailoring shop in Fordsburg came to us after an overlocker kept breaking thread every time they changed from light suiting to thicker knit fabric. The machine had not failed. The real issue was that the operator was rethreading one strand at a time, out of order, after each colour change.
Once the threading routine was corrected and the tensions were reset for the new material, the stitch became stable again. The team also learned to keep a short test strip by the machine so they could check the loop formation before starting a full order. That sort of habit makes a real difference when the workroom is under pressure.
For shops in Soweto, Germiston or Pretoria dealing with mixed fabric types, the same principle applies. One machine may handle schoolwear in the morning and stretch fabric in the afternoon, so the threading routine must be consistent every single time.
Checks to make before you blame the machine
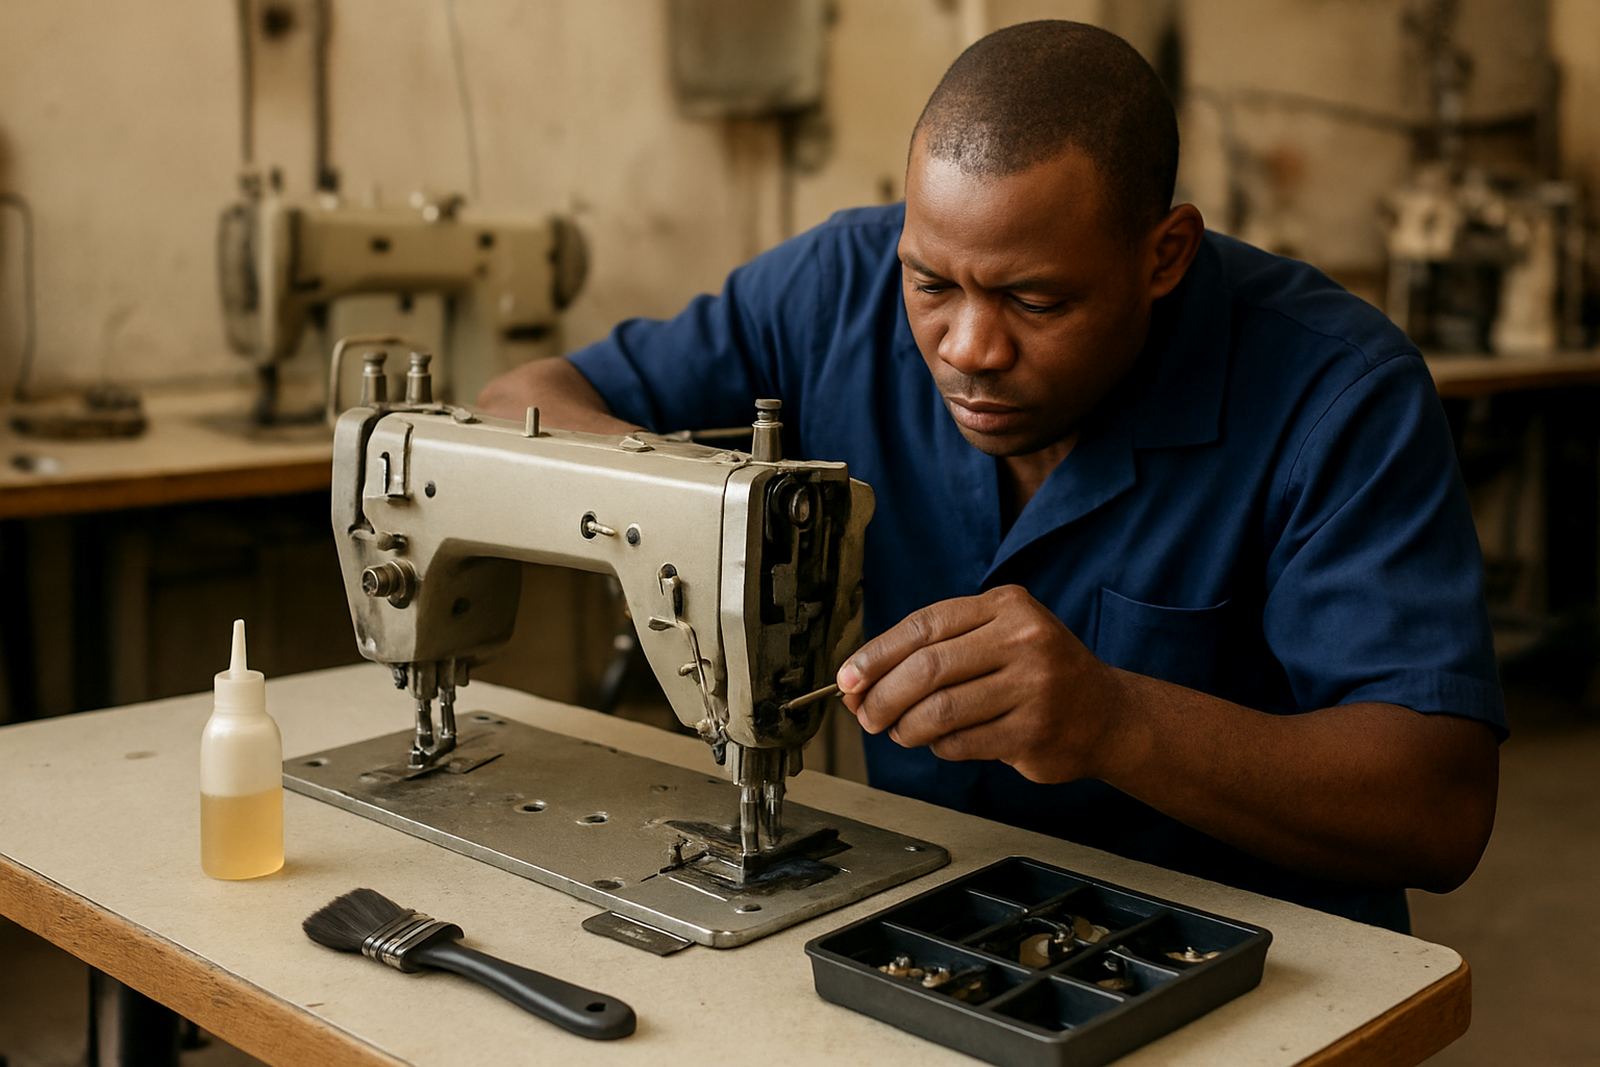
Not every threading problem is caused by the thread path alone. Dust, lint, a bent needle or a loose cone can also affect the stitch. Before calling for repair, it helps to work through a proper check list so you know what has changed.
- Confirm the presser foot is up during threading.
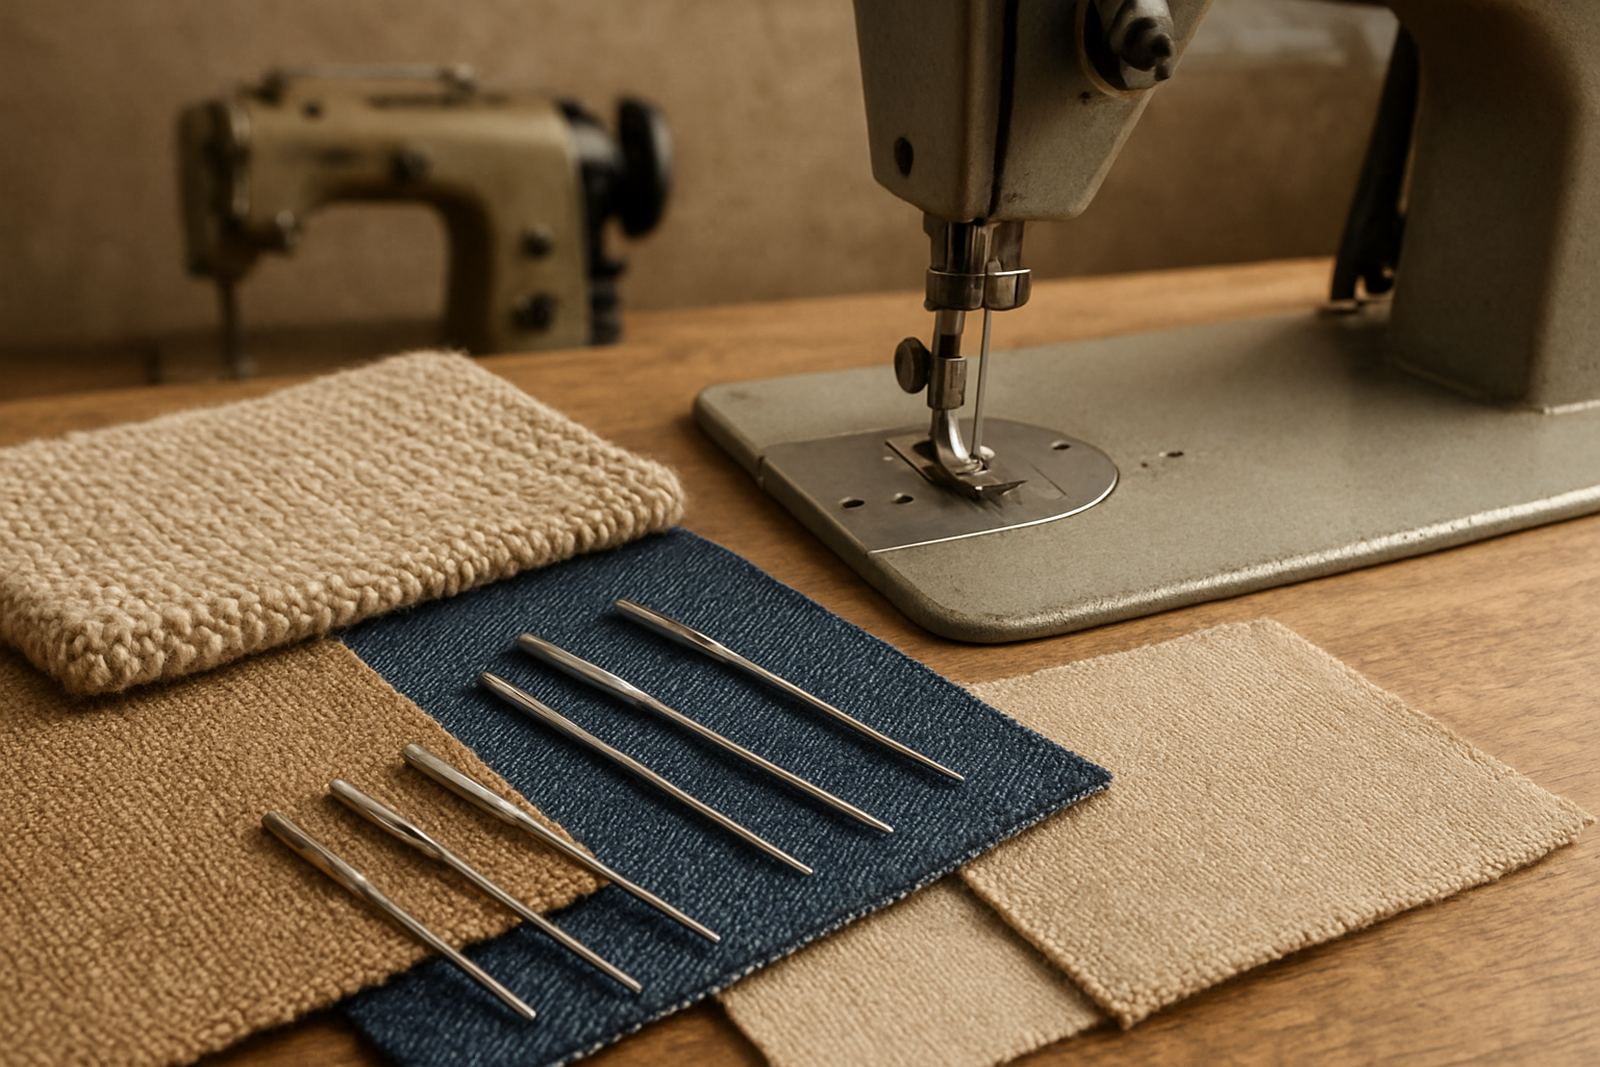
- Replace any needle that is bent, blunt or fitted the wrong way.
- Make sure the thread cones unwind smoothly and do not catch.
- Clean out lint from the looper area and around the knife section.
- Test on the fabric you actually plan to sew, not only on scrap of a different weight.
On sites where load-shedding is common, machines sometimes stop mid-run and the operator starts again in a rush. That is when thread paths get pulled out of place. A quick reset and fresh test run is usually better than forcing the machine through a bad setup.
When to ask for setup or service support
If you have rethreaded carefully and the overlocker still breaks thread, the issue may be timing, tension wear or a worn part inside the threading path. That is when a proper workshop check makes sense. We handle overlocker setup, routine servicing and workshop repairs for factories, tailors and home sewers across Gauteng.
Our team can also help with machine installation, motor conversions, parts sourcing and operator training so your staff know the right threading order and daily care steps. In a busy workroom, a clear method matters as much as the machine itself.
- Persistent thread breakage after correct rethreading.
- Loose loop formation even with fresh needles and correct tension.
- Noise, vibration or uneven feeding during sewing.
- Repeated problems after a power interruption or move.
For clients in Johannesburg CBD, Fordsburg, Mayfair, Soweto, Germiston, Pretoria, Alberton and Randburg, support starts through the enquiry form on our contact page. If you can describe the fabric, thread type and the exact stitch fault, the first visit or workshop check is usually more efficient.