
What thread tension is actually doing
Thread tension controls how firmly the upper and lower threads pull together inside the fabric. When it is right, the stitch sits neatly in the middle of the material and the seam looks the same on both sides. When it is too loose or too tight, the machine starts showing signs that are easy to miss at first, then expensive to ignore.
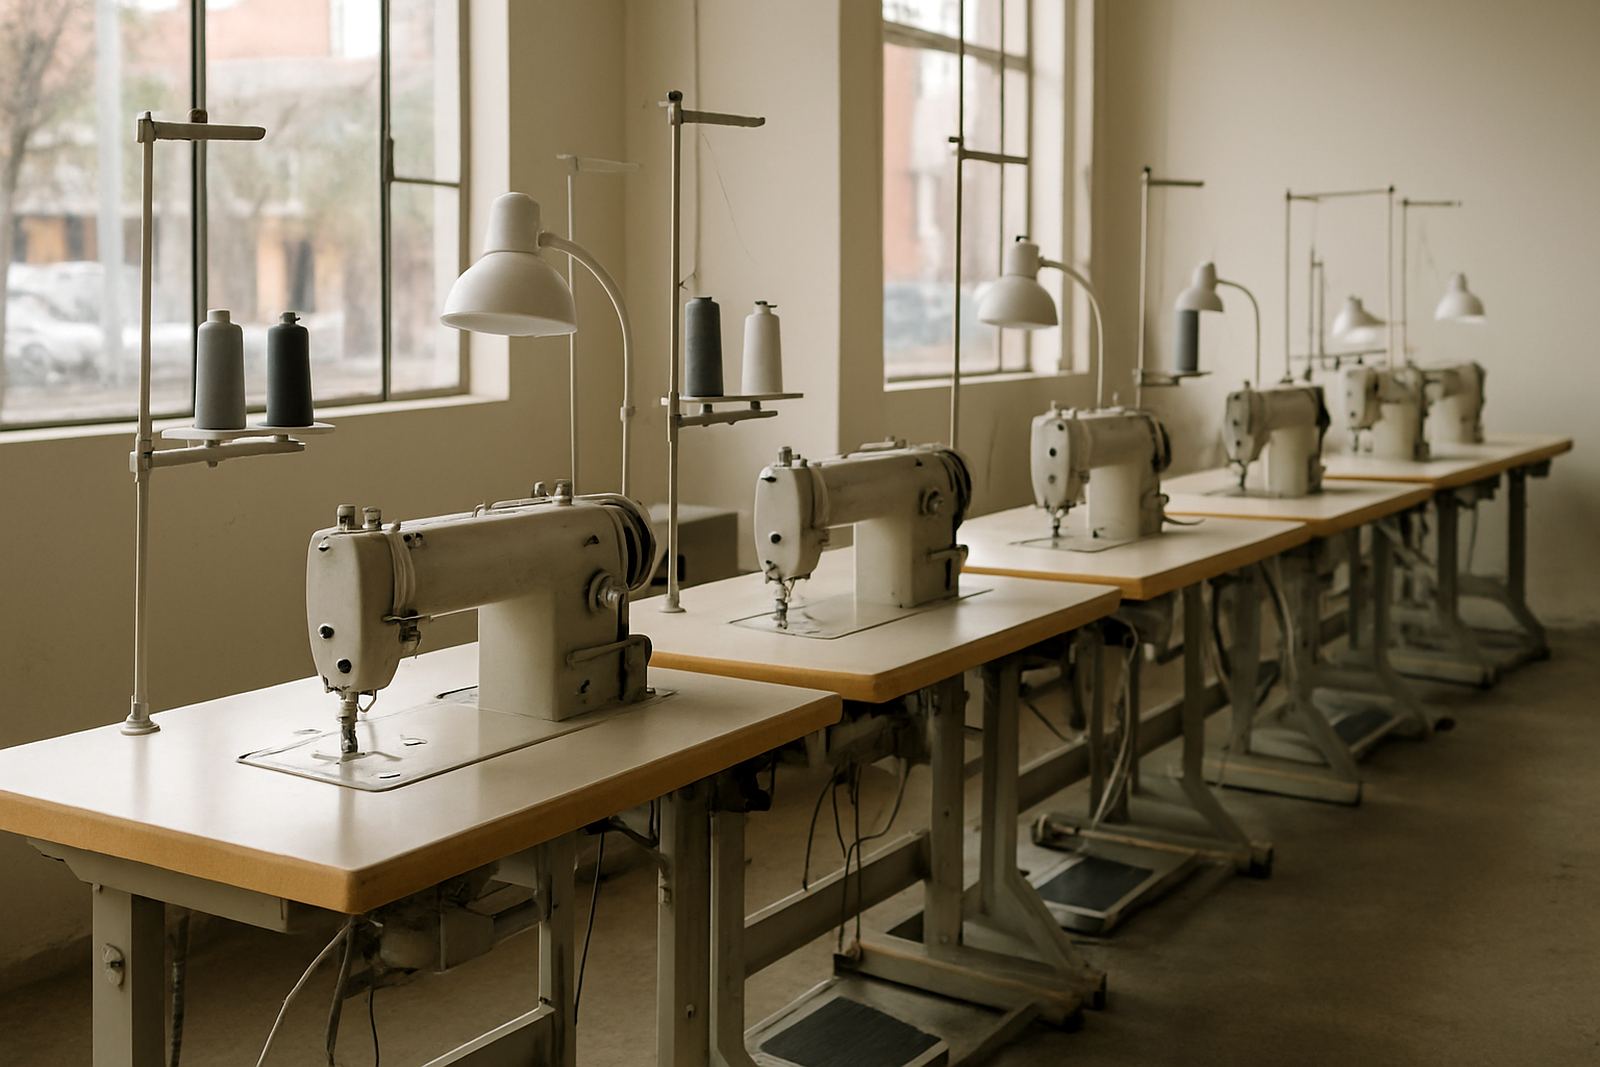
In our Johannesburg CBD workshop, we see this often on both industrial and household machines. A tailor in Fordsburg may think the machine is just having a bad day, while a school in Soweto may blame the thread. In many cases the real issue is tension, or a small setup fault that changes the balance between the threads.
The good news is that tension issues normally leave clear clues. Once you know those clues, you can sort many problems early, or at least know when the machine needs a proper service instead of another quick adjustment.
Loops on the underside usually point to loose upper tension
One of the most common signs is loose loops on the underside of the fabric. This often means the upper thread is not being held firmly enough, so the lower thread pulls it down as the stitch forms. The seam may look fine from the top, but the underside tells the real story.
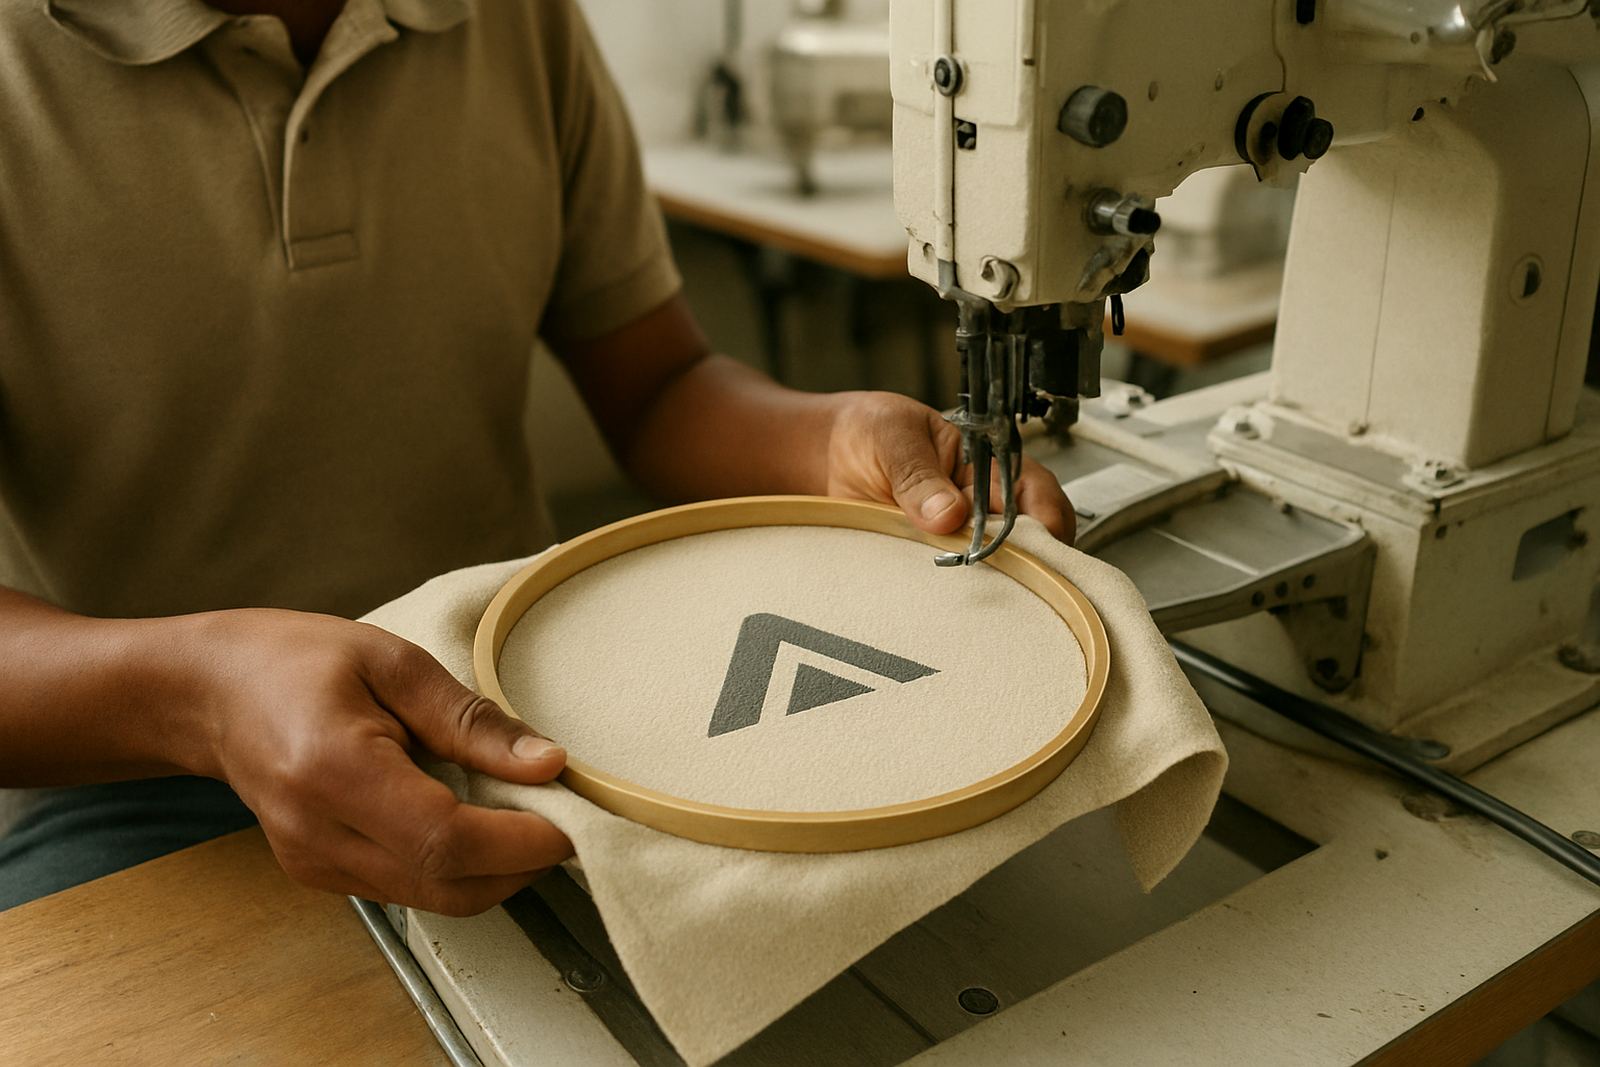
You may also notice the upper thread lying flat and slack at the start of a line of stitching, or the machine making a soft rattling sound as the thread feeds unevenly. On embroidery machines, this can show as messy underlay, poor outline definition, or stitches that do not sit cleanly during dense fills.
If you see this on a machine in a busy workroom, do not just keep sewing and hope it improves. Check the easy points first.
- Confirm the thread is threaded correctly through every guide and tension disc
- Check that the spool is feeding freely and not snagging
- Make sure the bobbin is wound evenly and inserted the right way
- Look for lint in the tension area and around the bobbin case
Puckering means the fabric and thread are fighting each other
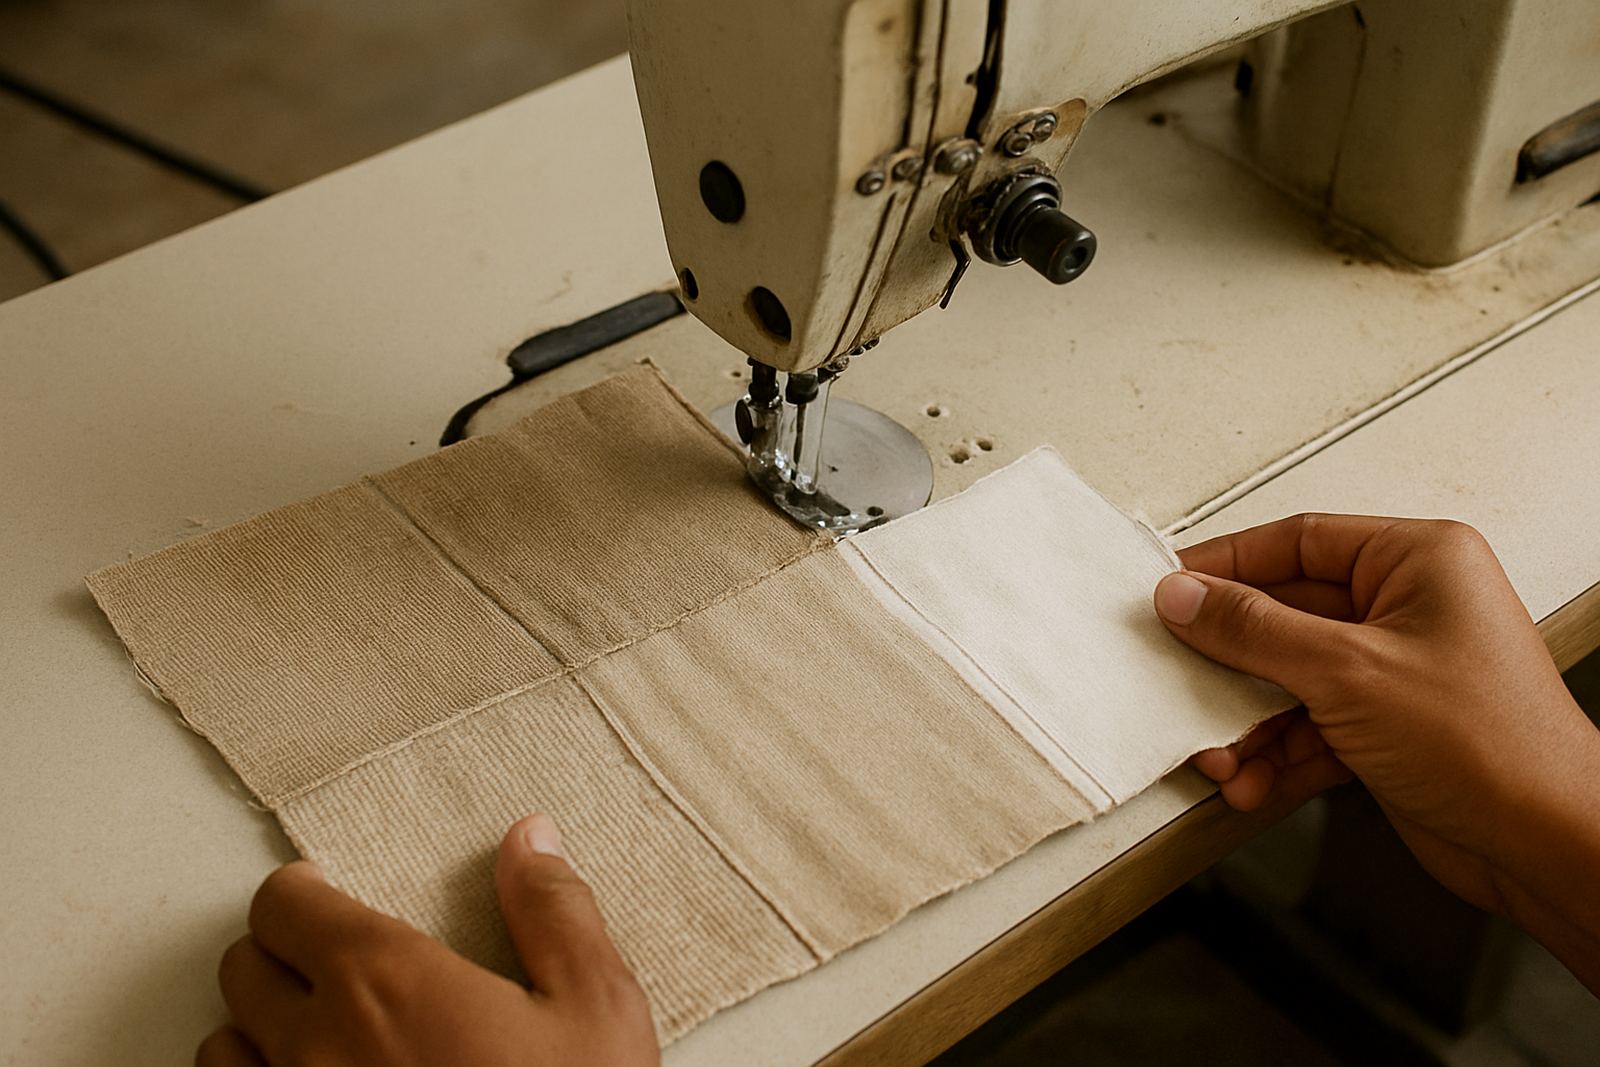
Puckering is the rippled or gathered look along a seam. It often appears when the upper tension is too tight, the stitch length is too short for the fabric, or the needle is not suited to the job. Thin fabric shows this quickly, especially on shirts, schoolwear and lightweight linings. On heavier fabric, puckering may be smaller but still enough to weaken the finish.
In Pretoria and Germiston, where many workrooms sew a mix of uniforms and repairs, puckering is often blamed on the fabric itself. Sometimes that is true, but more often the machine setup is too aggressive for the material. A tighter tension setting, a blunt needle, or the wrong thread size can all pull the fabric out of shape.
Watch for these warning signs when the seam starts looking rough:
- The stitch line draws the fabric in from both sides
- Seams on one side look tighter than the other
- Curved areas, such as collars and armholes, crease after sewing
- Pressing does not remove the ripples properly
Uneven stitch balance is a sign something in the feed is off
A well balanced stitch looks even on both sides, with the knot hidden neatly inside the fabric layers. When balance is off, you may see the upper thread sitting on top, the bobbin thread appearing too much on the face side, or stitches changing as the operator moves faster. This is common on older machines that have not had a routine service for a while, but it can also happen after a needle change or a rushed threading job.
On industrial machines, stitch balance problems can come from worn tension discs, a badly set bobbin case, feed dog wear, or timing that is slightly out. On household machines, the cause may be simpler, such as poor threading, low quality thread, or a needle that is too small for the fabric. Either way, the seam is telling you the machine is not in balance.
Pay attention to the change in stitch appearance when the operator changes speed. If the seam looks acceptable at slow pace but goes uneven when the machine runs faster, the machine may need a proper check, not just a small turn of the tension dial.
A quick on-floor check before you call for service
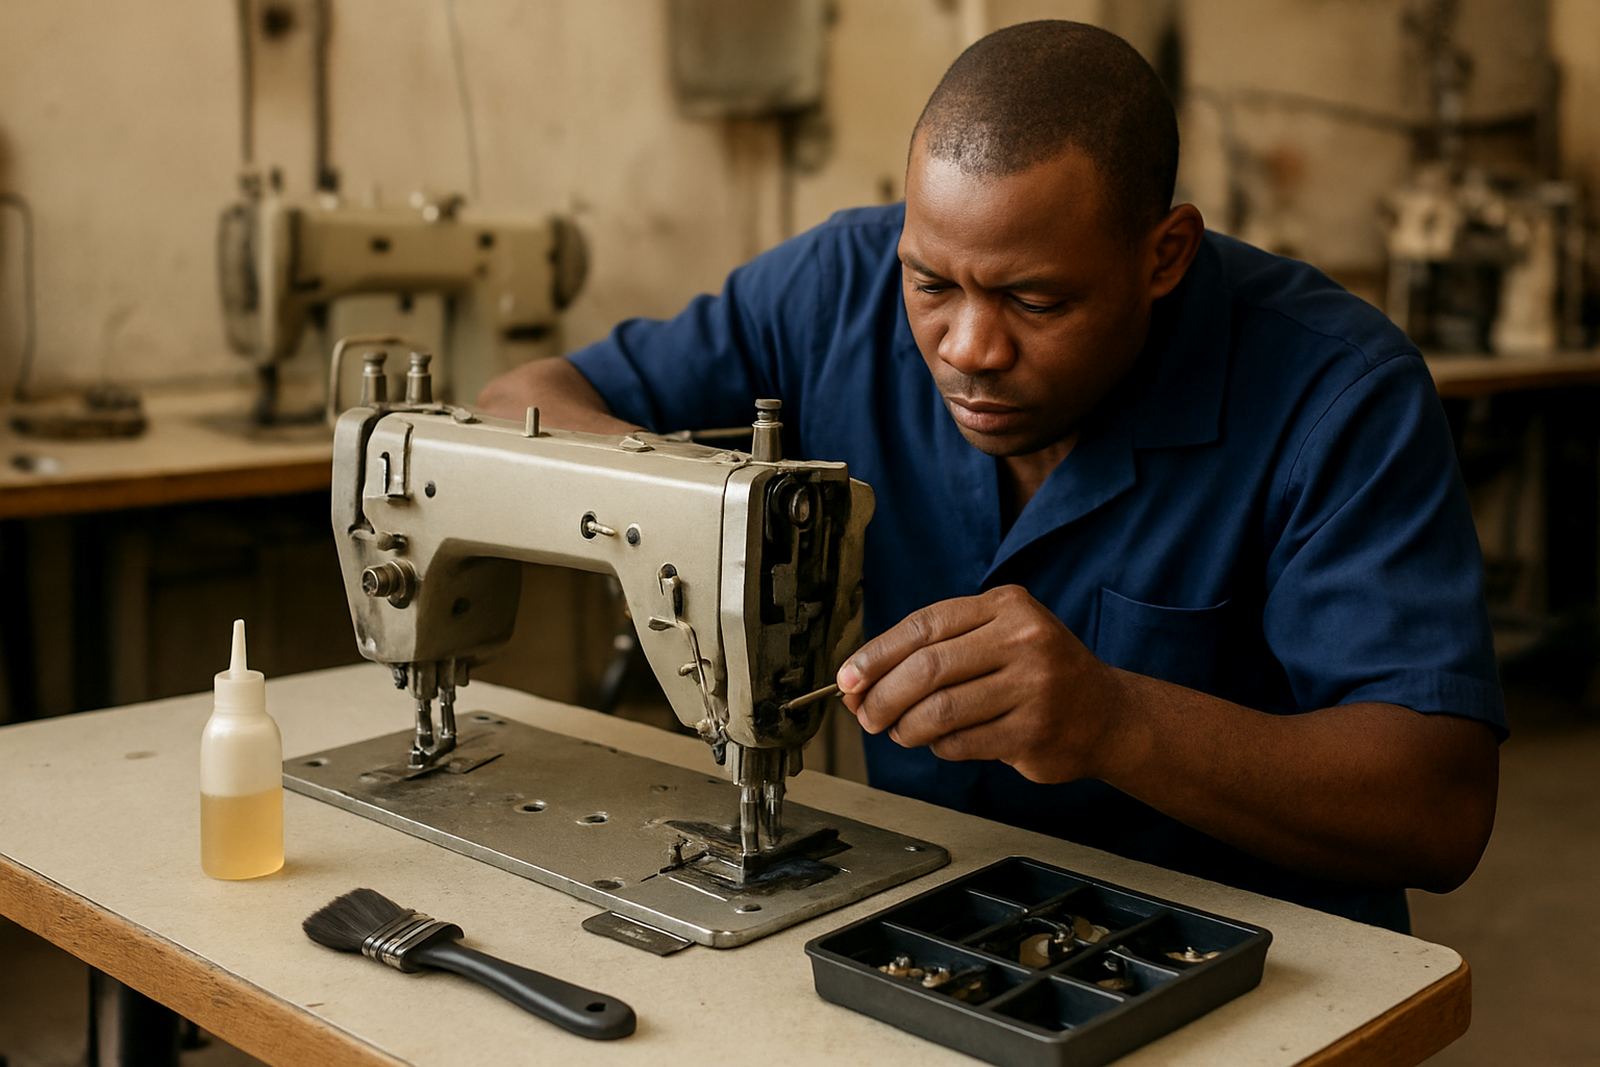
Before a machine stops production, a few quick checks can save time. These are practical checks our field team often walks through on site in Johannesburg, Randburg, Alberton and across Gauteng. They take only a few minutes and often show whether the issue is simple or mechanical.
- Re-thread the machine from the start with the presser foot raised
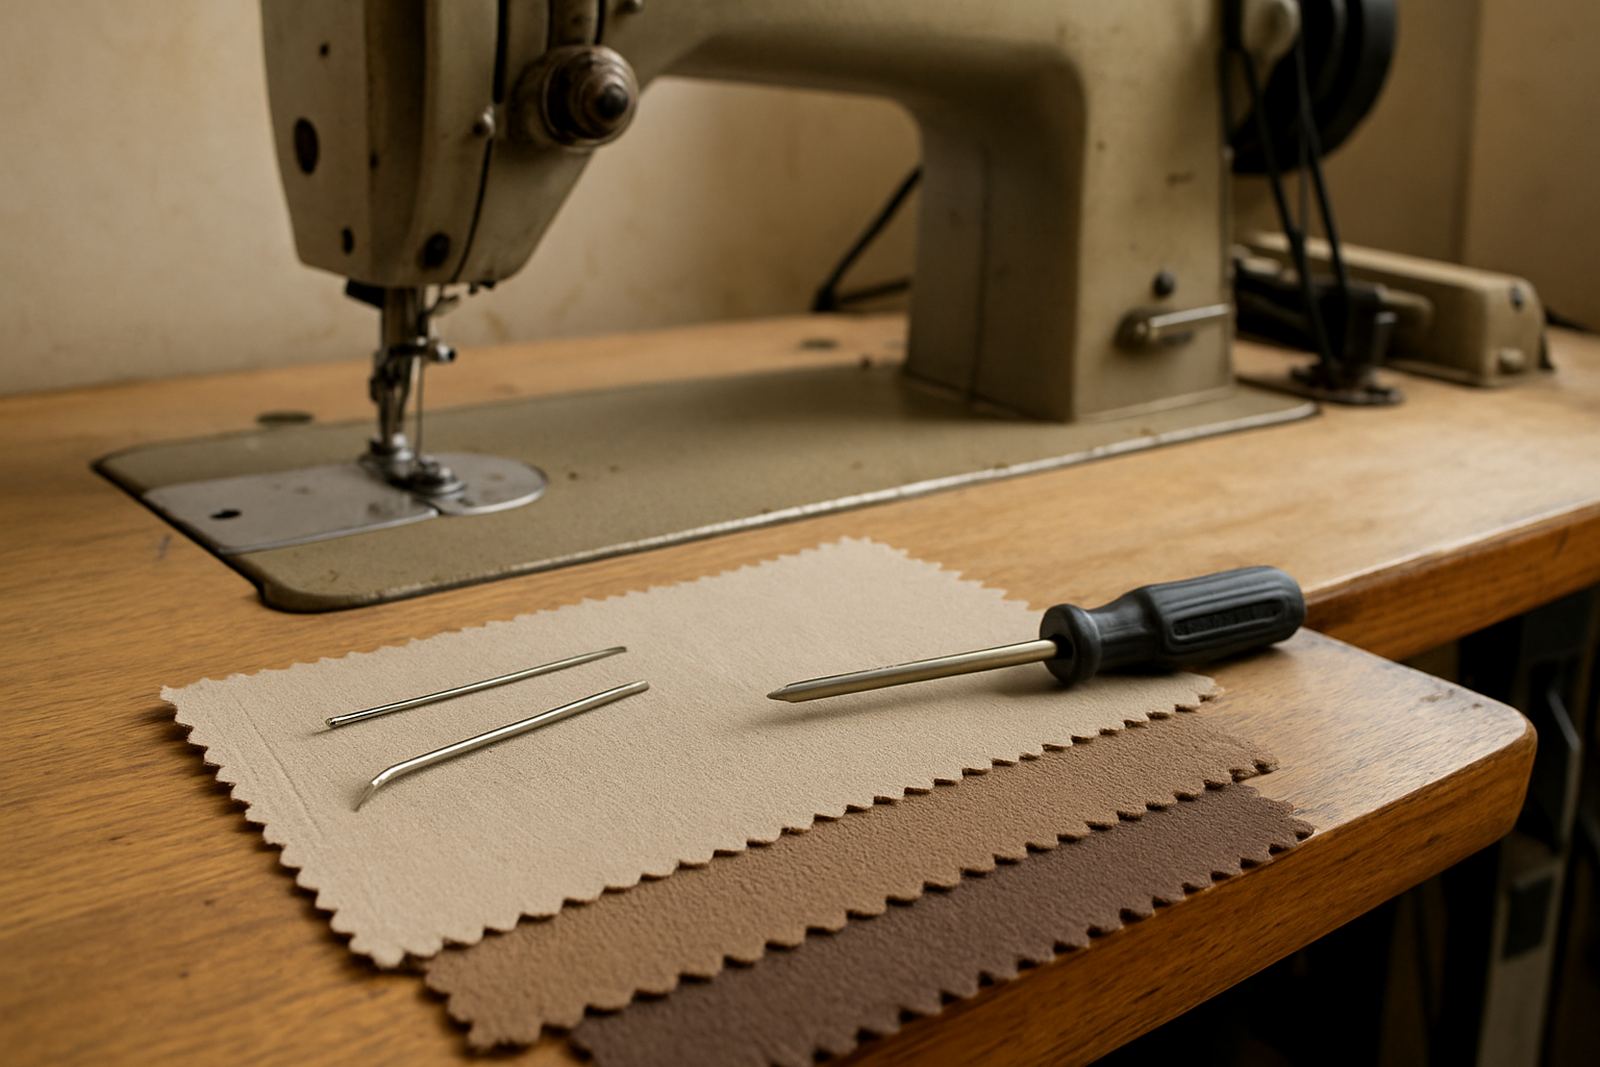
- Replace the needle if it is bent, blunt or the wrong size
- Check that the bobbin is clean and inserted correctly
- Test another spool of thread to rule out poor quality thread
- Remove lint around the tension unit and bobbin area
- Sew a test line on the same fabric that is causing trouble
If the problem remains after these checks, the machine may need timing adjustment, tension unit repair, or a full workshop inspection. For embroidery machines, setup and thread path checks are especially important because small tension faults can multiply across a design.
Why local conditions can make tension problems worse
In Gauteng, dust, load-shedding, and long operating hours all affect sewing performance. Power interruptions can leave machines half adjusted or stop a thread path mid-job, and when power returns operators often continue without checking the setup. In busy areas like Mayfair and Soweto, where machines may run all day on mixed work, that is a common cause of tension trouble.
Humidity is less extreme than on the coast, but dust from open doors, transport traffic and fabric handling still builds up quickly in workshops. If a machine sits near an open window or a cutting area, lint and fine fibres can settle into the tension area and change how the thread feeds. That is one reason routine servicing matters even when the machine is still sewing.
For factories and schools, we also advise keeping the same thread type and needle sizes where possible. Frequent changes without proper re-setting often lead to unpredictable stitch balance and extra waste.
When to get help before the seam starts costing money
If you see repeated loops, puckering, thread breakage or uneven stitches after basic checks, it is time for proper service. The machine may need a full clean, tension assembly adjustment, motor conversion check, or timing work. In some cases, the issue is not just tension at all but a worn part, a damaged hook, or a feed problem that only shows under load.
At Asia Sewing Machines, we support factories, tailors, schools and home sewers from our Johannesburg CBD base and across Fordsburg, Mayfair, Germiston, Pretoria and nearby areas. Our team handles machine installation, on site repairs, workshop repairs, routine servicing, embroidery setup and parts sourcing, so the machine is checked as a working unit, not in pieces only. If your stitch line is talking back to you, it is better to listen early.