Why the presser foot matters more than many people think
A presser foot is not just a metal attachment that holds fabric in place. It controls how material feeds through the needle area, how evenly layers move together and how much help the operator gets on curves, edges and tricky finishes. On light cottons, a basic foot may be enough. On denim, vinyl, stretch fabric or multiple layers, the wrong foot can cause skipped stitches, puckering, uneven hems and a lot of frustration.
In Johannesburg CBD workshops we often see machines that are in good condition but are being asked to do jobs they are not set up for. A tailor in Mayfair may be hemming school uniforms in the morning and attaching zips in the afternoon. A school in Soweto might need one machine for mending, badge sewing and costume work. In both cases, the foot choice affects speed and consistency as much as needle size or thread type.
When load-shedding interrupts work, every minute counts once power returns. A foot that helps the fabric feed correctly means fewer test pieces and less waste. For busy operators, that is not a small thing.
Match the foot to the fabric and the stitch job
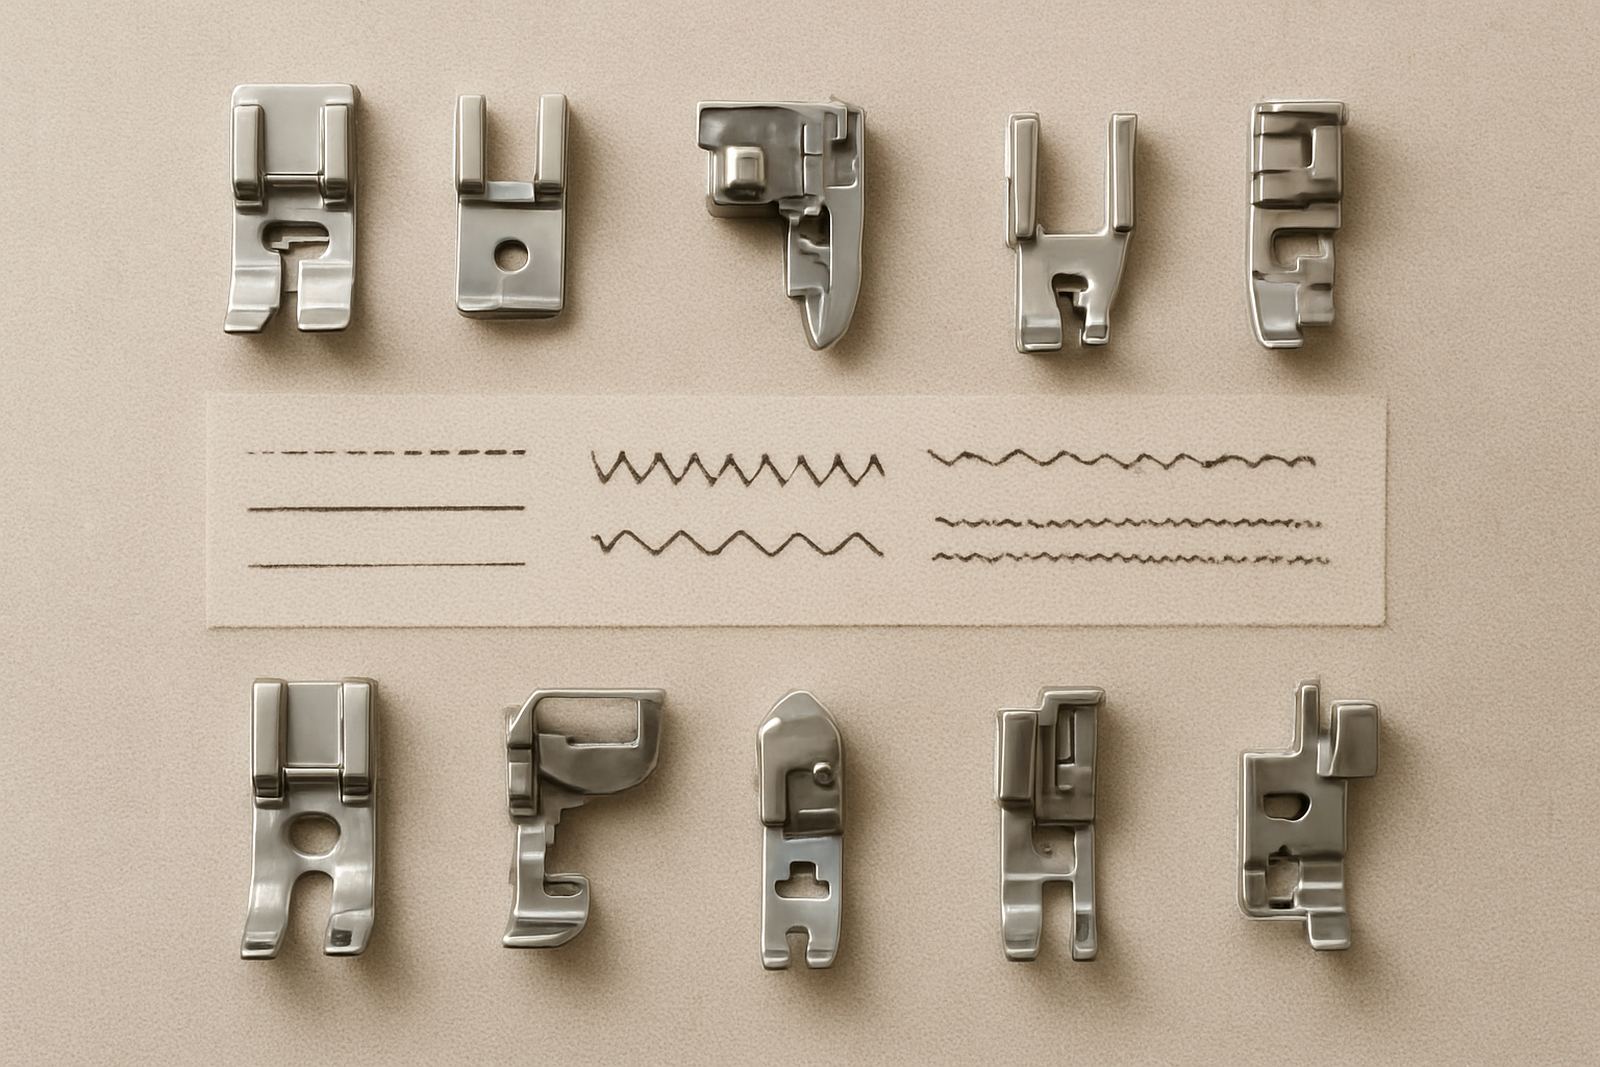
Different tasks call for different feet. The aim is not to collect every attachment available, but to keep a practical set that suits the work you actually do. If you sew garment samples, curtains, upholstery or embroidery backing, the needs are not the same.
- All-purpose foot for straight seams on most woven fabrics
- Zipper foot for close stitching next to zips, piping and narrow edges
- Buttonhole foot for repeatable buttonholes with even spacing
- Walking or even-feed foot for slippery, layered or stretchy fabrics
- Blind hem foot for neat hems with minimal visible stitching
- Overedge or overcasting foot for edge finishing on selected machines
- Quilting foot for even spacing and better control on layered work
If you are sewing knitwear, a standard foot can drag or stretch the fabric. A walking foot helps feed the top and bottom layers together, which is useful for T-shirts, tracksuits and soft furnishings. For vinyl or coated material, a foot with less drag is often better. The fabric should move smoothly, not stick and bunch up under the foot.
What to check before buying a new foot
Compatibility matters. Not every foot fits every machine, even when the screw hole looks similar. Check the shank type, the machine model, the stitching system and whether the foot is meant for domestic or industrial use. A foot for a household zigzag machine will not necessarily suit an industrial straight stitch unit, and forcing the wrong fit can damage the holder or affect stitching alignment.
Also think about the width of the opening under the foot. If you work with thick seams, decorative thread or wider zigzag settings, a narrow opening can slow you down or cause thread breakage. For thick work such as bags, workwear and denim repairs, a higher lift and better clearance can make a big difference. On some machines, a different foot alone is enough. On others, you may also need a needle plate or feed adjustment.
We often advise customers from Germiston and Pretoria to bring the sample fabric, not just the machine details. A foot that works fine on a single cotton layer may fail on a three layer school trouser hem. Testing on the real fabric saves money and avoids guess work.
Simple signs that your foot is the wrong one
Operators usually notice the problem before they can explain it. The machine may still sew, but the finish is off. If you are seeing these signs, the foot may not suit the task or the fabric:
- Fabric feeds unevenly or pulls to one side
- Stitches are too close to the edge or wander off line
- Seams pucker, especially on fine cloth
- Top thread breaks or bunches around the foot
- Zip tapes, hems or trims slip out of position
- The operator needs to keep lifting and repositioning the work
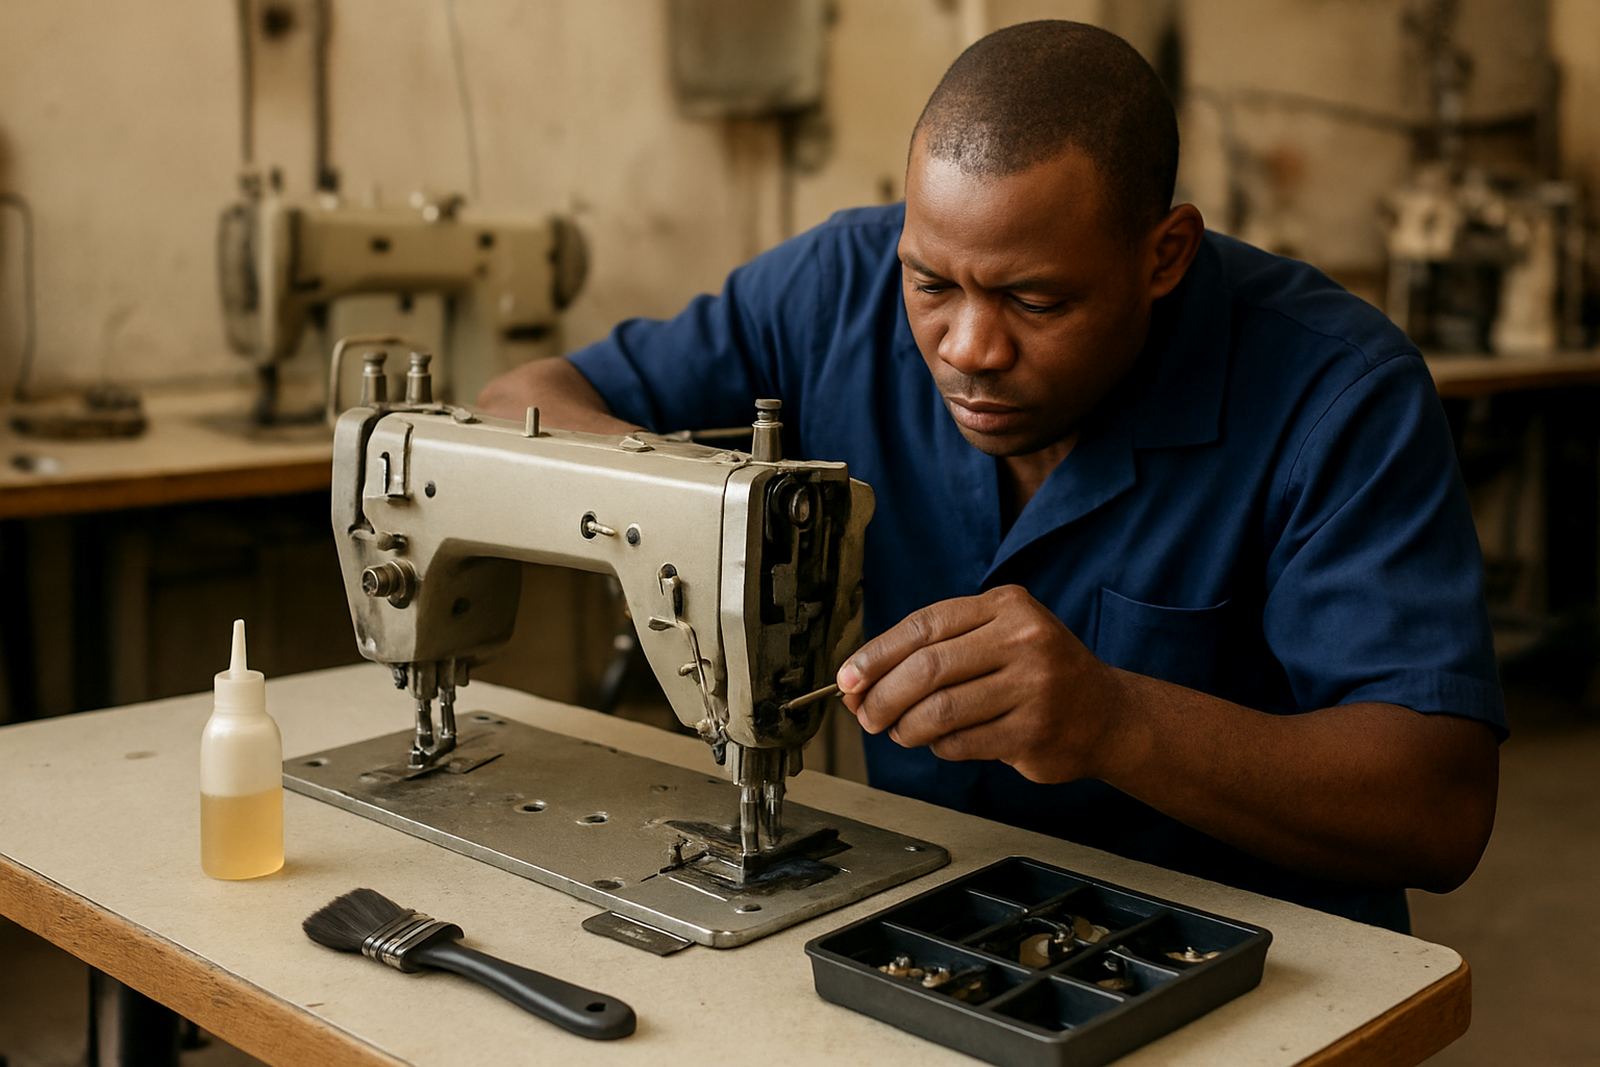
A foot issue can look like a tension problem, a timing problem or a needle issue, so it is worth checking the full setup. In our workshop, Yusuf and the repair team see this often with machines that have had parts changed over time. The wrong foot may not be the only issue, but it is one of the easiest places to start.
If a foot leaves marks on delicate cloth, scratches coated material, or catches on seam ridges, that is another clue. The right attachment should help, not fight the fabric.
Choosing feet for factory work, schools and home sewing
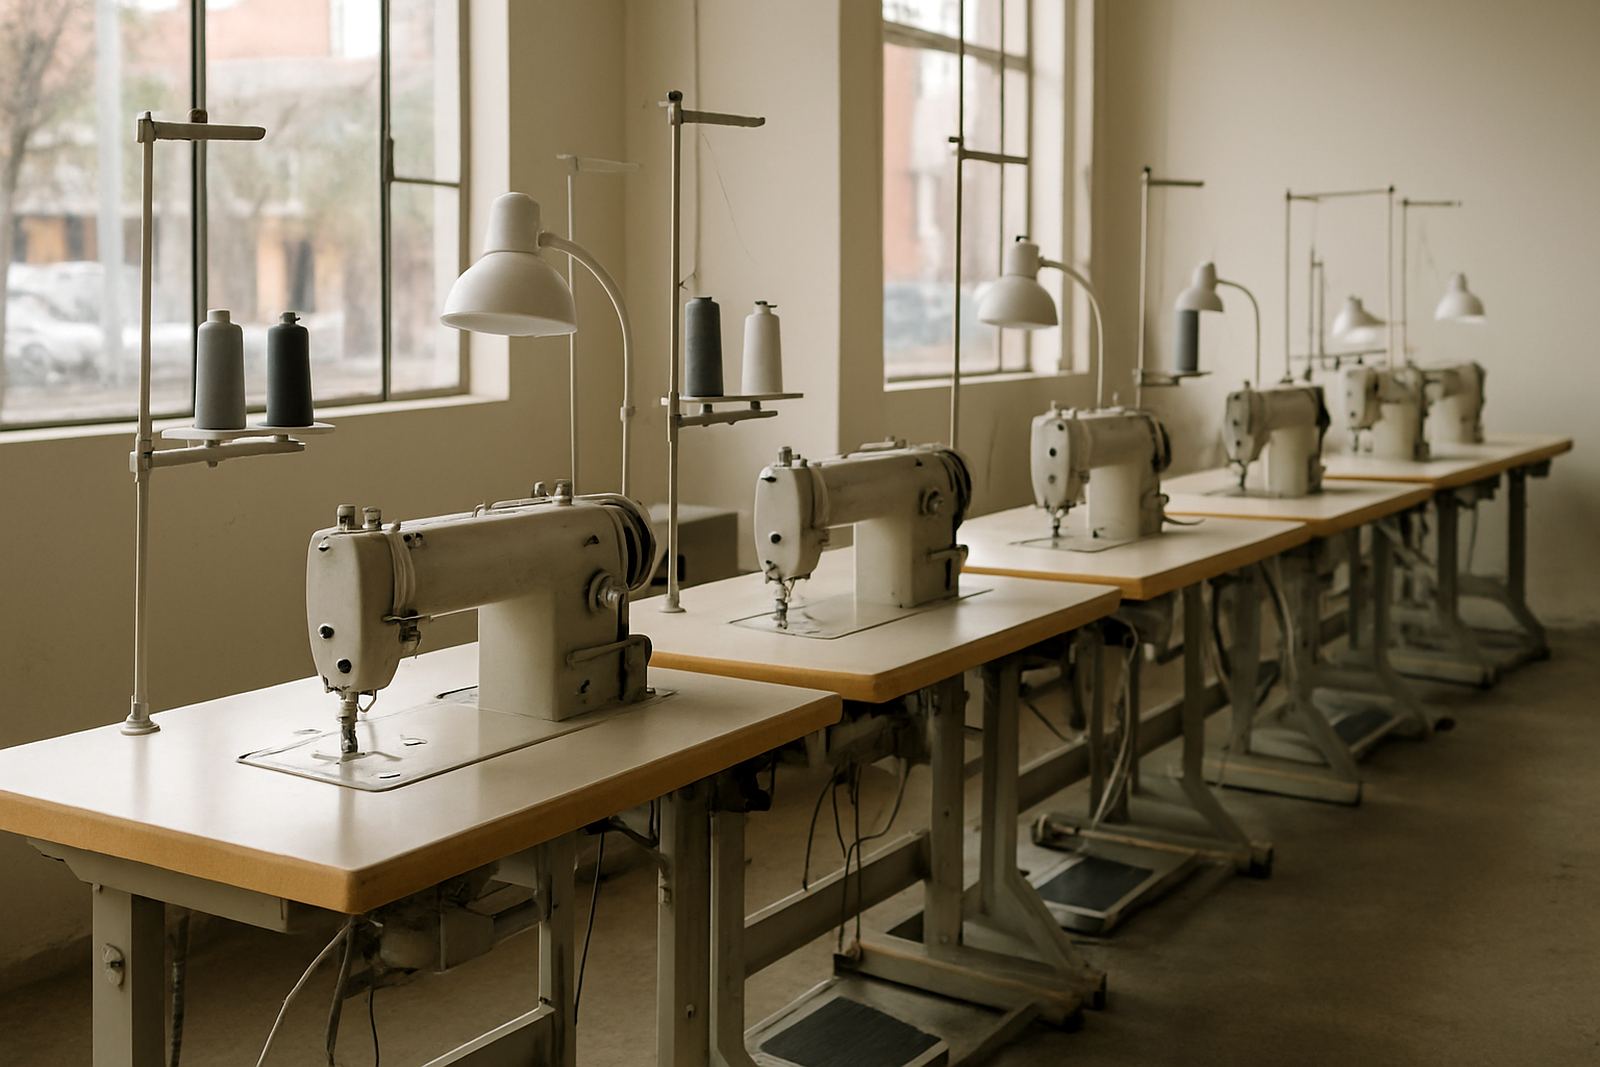
Different users need different levels of durability and repeatability. A factory in Alberton doing steady production work usually needs footsets that handle long hours, thicker seams and quicker changeovers. A school sewing room may need durable all-purpose feet, buttonhole feet and zipper feet that learners can use with clear instructions. Home sewers in Randburg often want one machine that can handle clothing repairs, curtains and craft projects without constant adjustment.
For factory floors, the right foot can reduce operator fatigue and improve output consistency. For schools, it can make lessons easier because learners see cleaner results sooner. For home use, it can turn a frustrating machine into one that behaves properly on different fabrics. Even a small setup change can save a lot of time over a week.
- Keep a labelled set so feet are easy to find during busy work
- Store spare screws and holders together with the feet
- Use the correct foot for the job instead of forcing one attachment to do everything
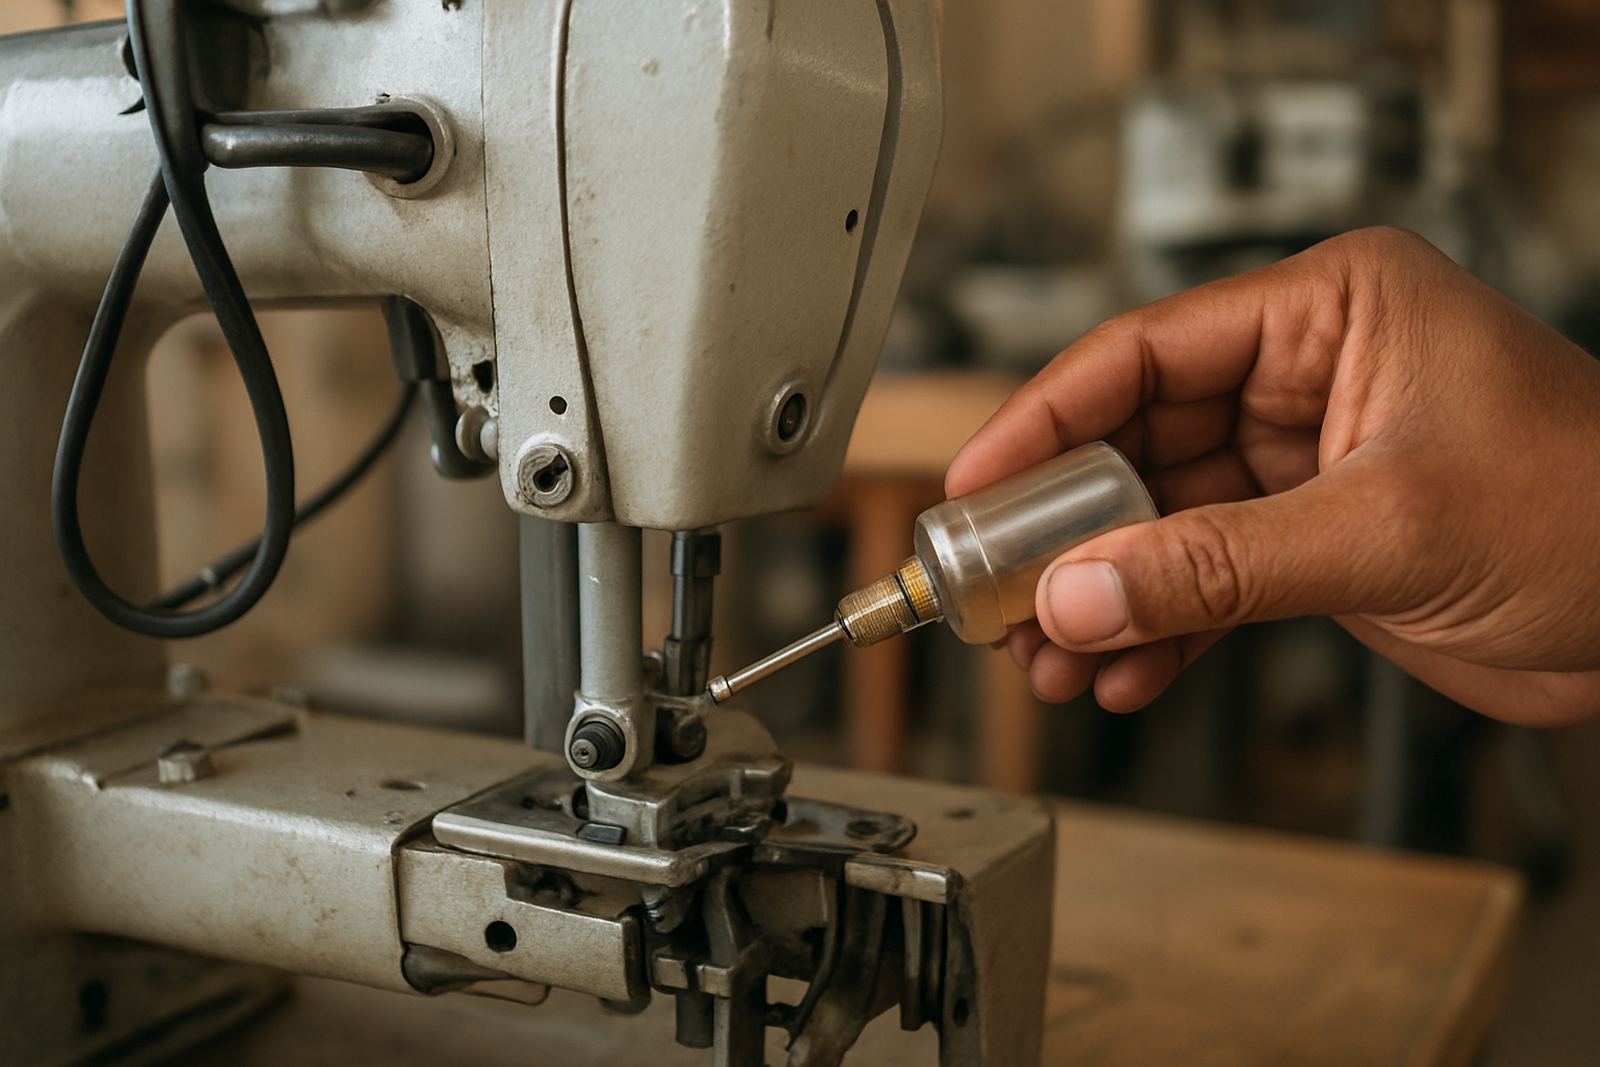
- Clean lint and thread bits from around the foot area regularly
- Check the sole of the foot for wear, burrs or rough edges
Good fitting and setup beats trial and error
Even the best foot will underperform if the machine is not set up properly. Height, pressure, needle size, thread thickness and feed timing all work together. If the pressure is too heavy, the fabric can mark or flatten. If it is too light, the cloth will slip. If the needle is too large for delicate work, the stitches may leave visible holes. That is why foot choice should be part of the full machine setup, not an afterthought.
Our field service team regularly helps customers across Fordsburg, Mayfair, Soweto, Germiston and Pretoria choose and fit the right attachments, then test them on the actual work pieces. That practical step matters, especially where staff turnover is high or where multiple operators use the same machine. Once the right foot is fitted and the stitch is balanced, work becomes more repeatable and easier to train on.
If a machine has been sitting idle, or if the foot has been bent, polished smooth or damaged from years of use, replacing it can be a very economical fix. Sometimes the difference between average and neat is just the correct foot and a proper setup.
The smartest way to build a useful presser foot set
Start with the jobs you do most often. Do not buy a full box of attachments before you know which ones will actually earn their keep. A practical set for many South African sewing rooms includes an all-purpose foot, a zipper foot, a buttonhole foot and one specialist foot for the work you do most often. From there, add what makes sense for your fabrics and output targets.
If you are unsure, bring the fabric sample, the machine details and the kind of finish you want. That makes it easier to choose the right attachment and avoid returns. It also helps with schools and training rooms where different users may not know the names of the parts, only the result they need.
At the end of the day, a presser foot should make sewing easier to control, neater to finish and more repeatable from one job to the next. That is the real value, whether you are working on a household machine in a flat, a workshop in the CBD or a production line serving clients across Gauteng.