
Start with the work flow, not the furniture
Before you buy shelves or move the machine, think through how a project moves from fabric to finished garment. In a home sewing area, the best layout is one that reduces back and forth. Keep cutting, stitching, pressing and storing in a simple line where possible. If you have to cross the room for every tool, the room will feel smaller and you will lose time.
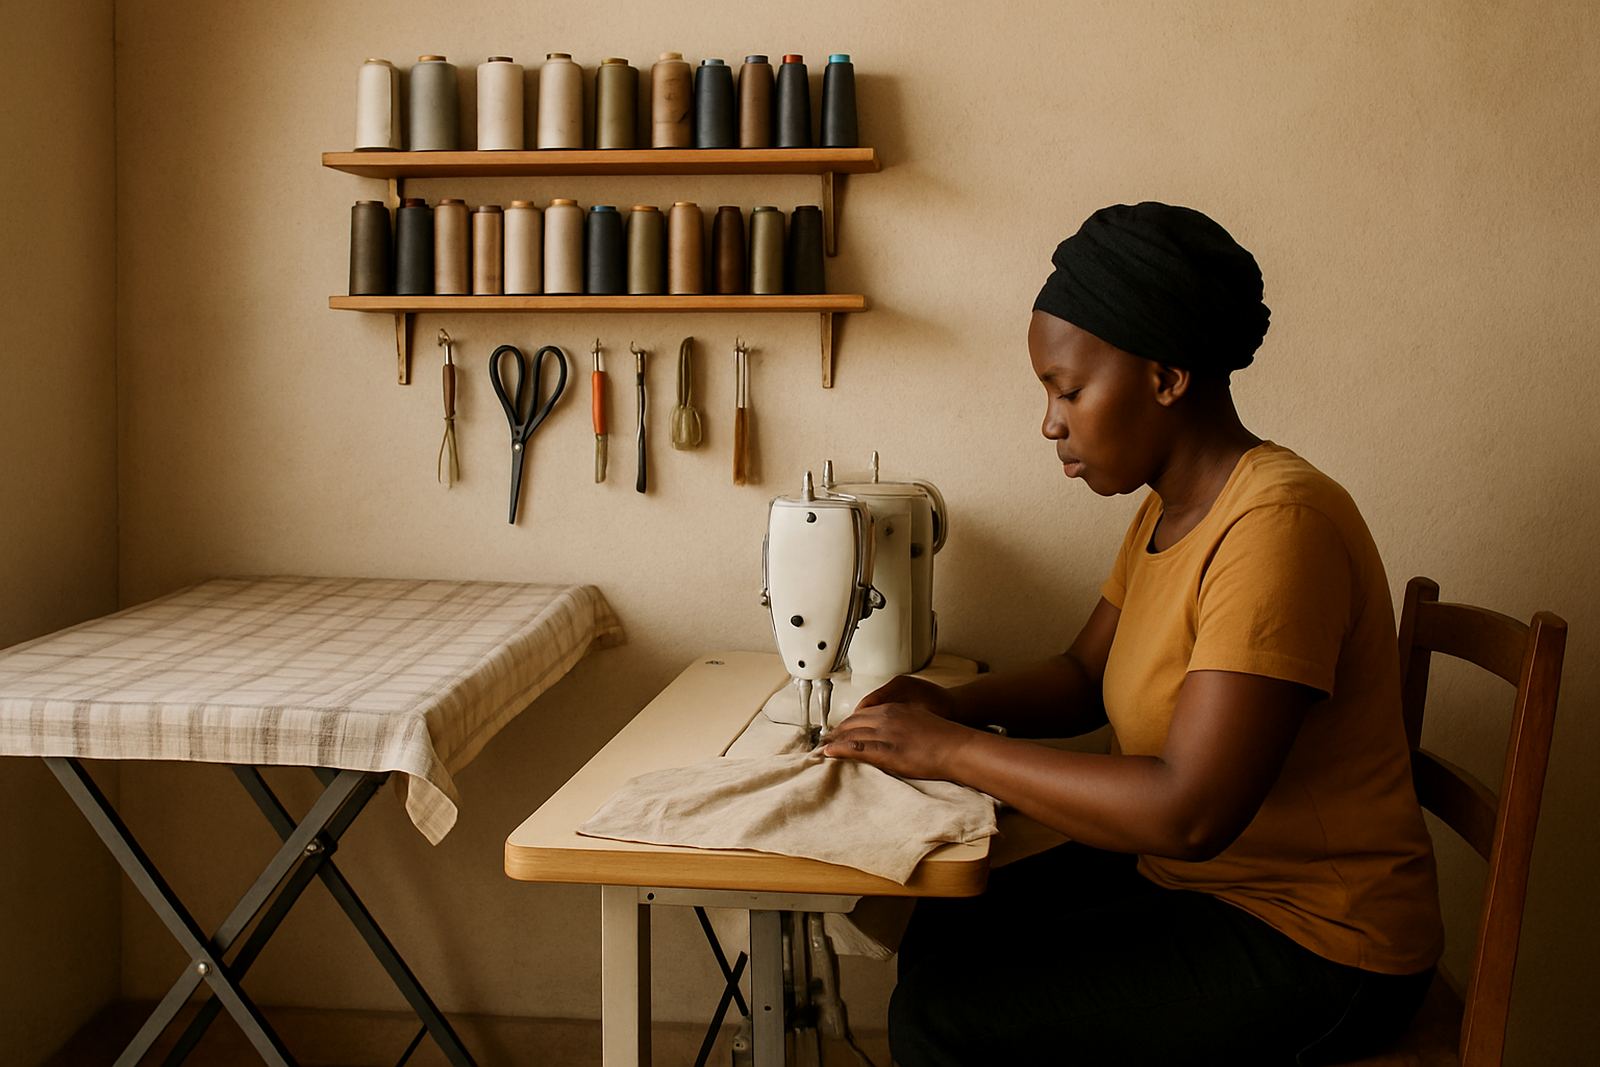
Many home sewers in Johannesburg CBD, Soweto and Germiston work in spare rooms, enclosed verandas or part of the dining area. The trick is to reserve the centre of the room for the biggest task you do most often. For some people that is cutting cloth, for others it is machine stitching or embroidery preparation.
- Place the machine where you can sit with your shoulders square and feet flat.
- Keep the iron and pressing mat close to the stitching area.
- Leave a clear path to cupboards, drawers and the door.
- Use one basket or tray for tools you reach for every day.
Choose a table height that suits your body
A good sewing table should let you work for long periods without hunching your shoulders. If the surface is too low, your back starts to ache. If it is too high, your arms lift too much and your stitches can become uneven. The right height depends on your chair, your machine and the way you sew.
As a guide, your elbows should rest comfortably when your hands are on the machine bed or fabric. If you are using a heavy industrial machine at home, make sure the table is steady and the machine head is properly supported. A wobble in the table can affect timing, needle movement and stitch quality.
- Use a firm chair with back support, not a soft couch or kitchen stool.
- Check that the machine pedal is easy to reach without twisting your ankle.
- If you are short on space, choose a foldable cutting table that locks properly.
- On tiled floors, place rubber feet or a mat under the table to reduce movement.
Give each task its own small zone
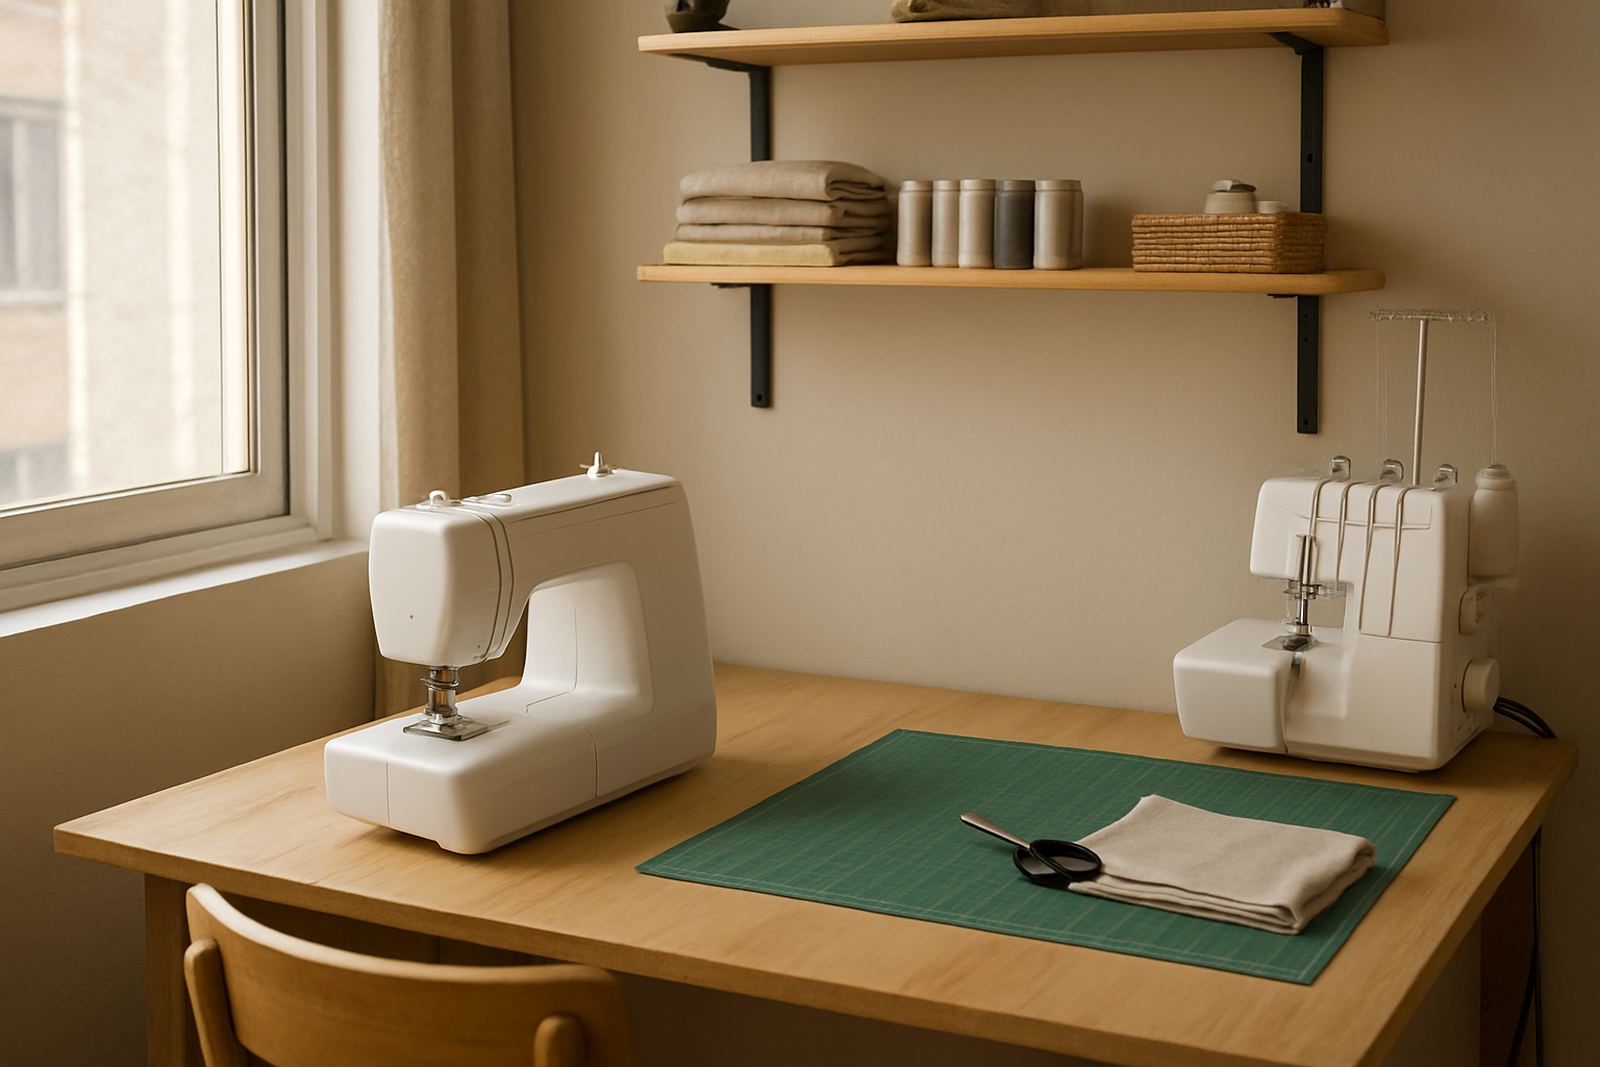
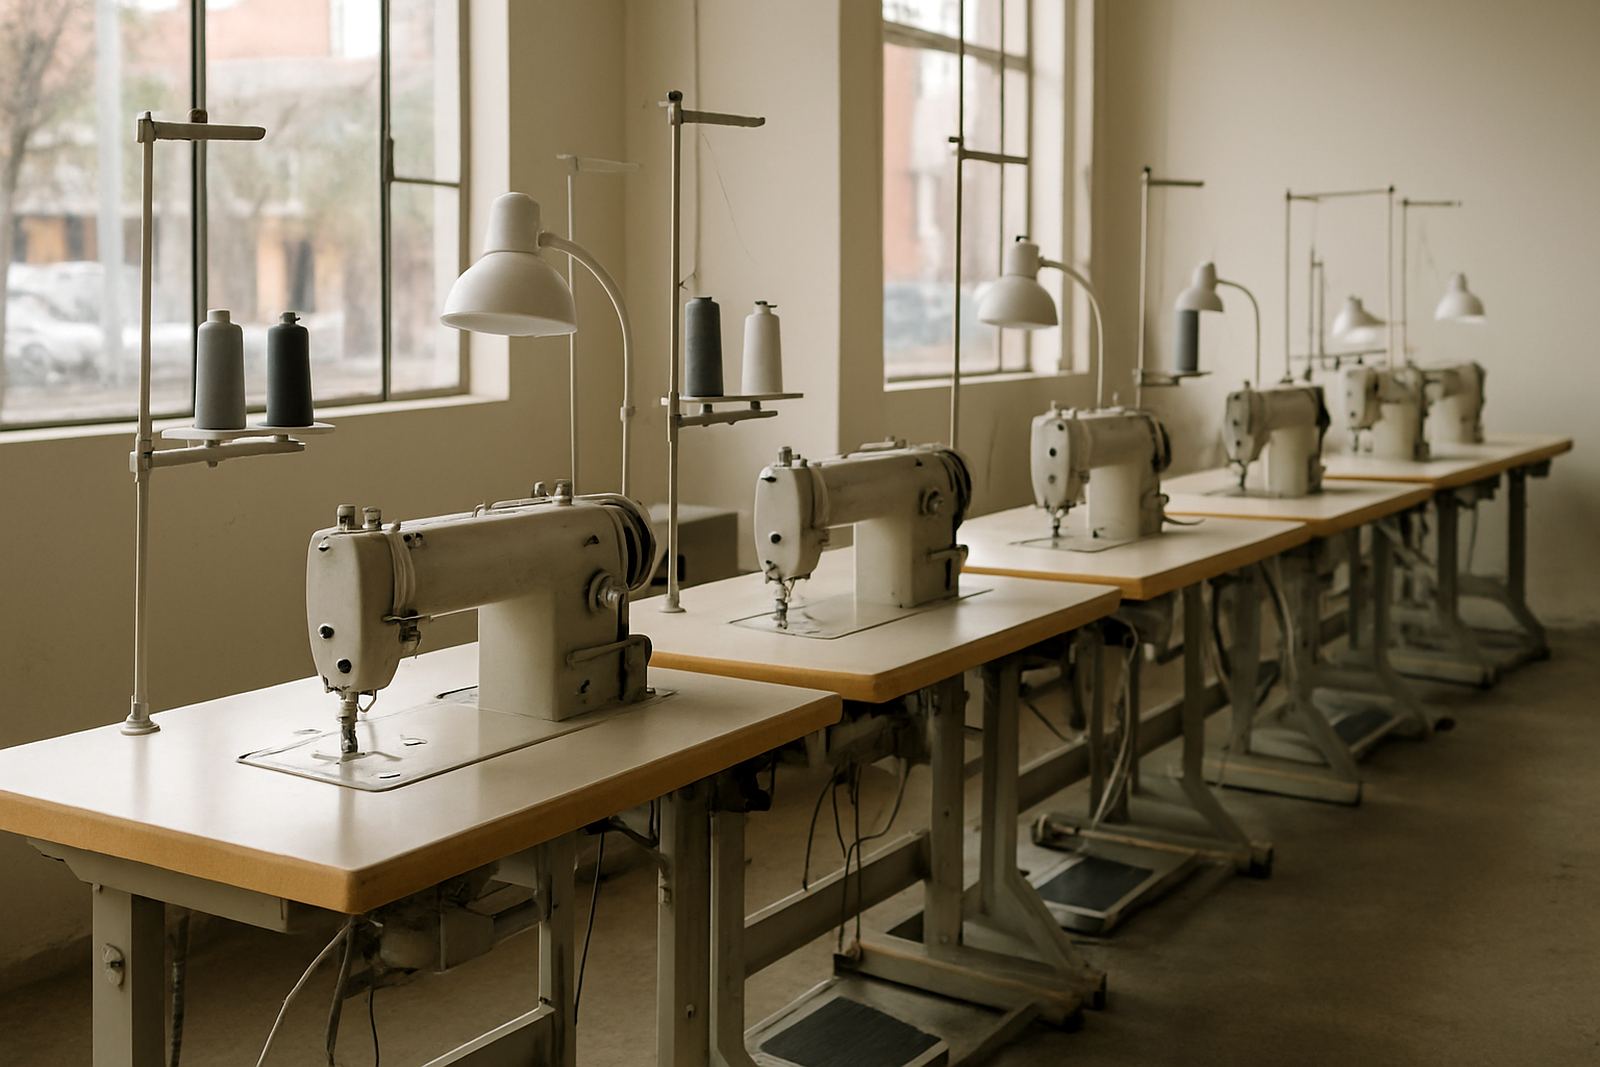
Even a compact room can work well if each task has a home. You do not need a big factory floor to keep order. A sewing room works best when cutting, stitching, pressing and storage each have a clear spot. That way you are not clearing thread cones off the ironing board every time you need to press a seam.
In places like Mayfair, Randburg and Pretoria, many homes have to share space with family life, school bags and weekend visitors. That is why fixed zones matter. A tidy home studio is not about looking perfect all the time. It is about knowing where things go so you can start work quickly and pack away safely.
- Cutting zone: flat surface, ruler, scissors, pattern weights and measuring tape.
- Stitching zone: machine, thread stand, spare bobbins and needle case.
- Pressing zone: iron, board or mat, water spray and pressing cloth.
- Storage zone: fabric, trims, patterns and spares in labelled containers.
Store fabric, threads and spares where dust cannot settle
Storage matters more than many people think. Gauteng dust, indoor smoke and open windows can all affect fabric, threads and machine parts. If you live near busy roads or in a room that gets sun for much of the day, covered storage will keep your materials in better condition.
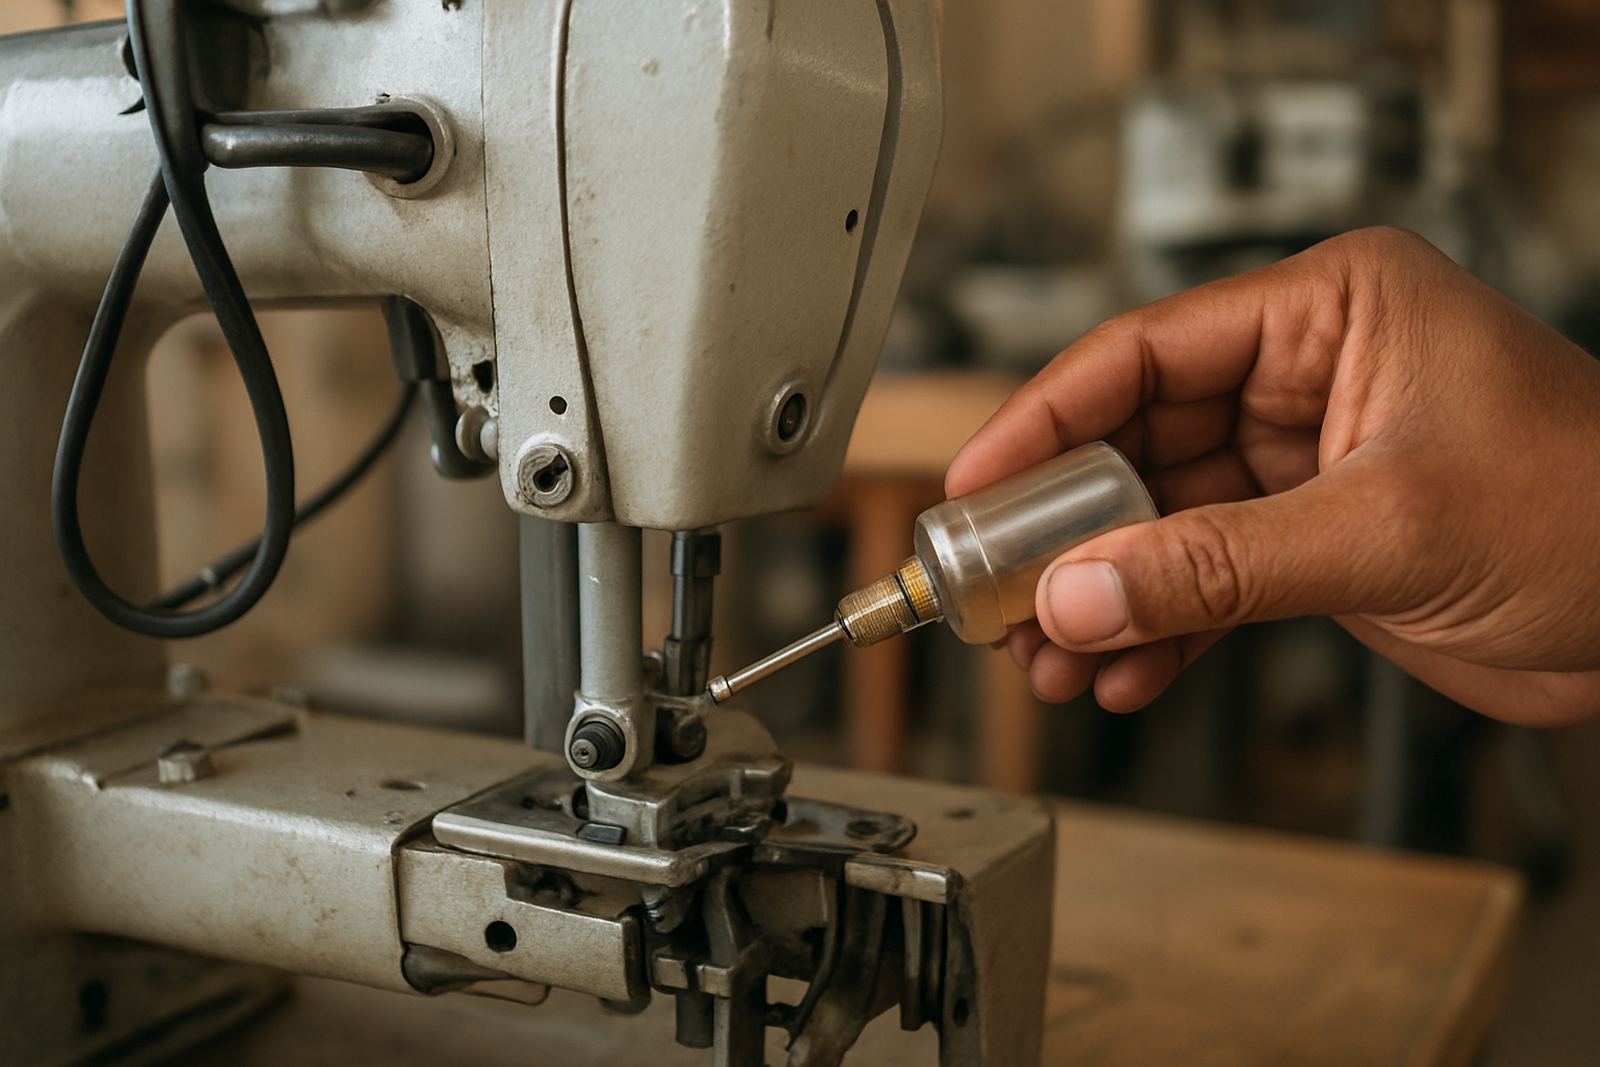
Clear plastic containers, closed cupboards and zip bags help protect thread and haberdashery. Keep heavier fabric on lower shelves so it does not sag or fall. Store machine oil, needles and small spares in one marked container, away from children and away from the pressing area. If you use embroidery supplies, separate the colours by type so you can find the right thread without opening every box.
- Keep thread cones upright and away from direct sunlight.
- Store needles by size and machine type, not all mixed together.
- Use shelf labels for zips, buttons, elastic and other small items.
- Leave space for new stock so cupboards do not become overpacked.
Plan for power cuts, noise and shared space
Many home sewing rooms in South Africa have to cope with load-shedding, neighbour noise and limited plug points. A practical layout helps you keep working when the power is off and makes it easier to put things away at night. If your machine needs a stable supply, place it near a safe socket and keep extension cords out of the walkway.
For homes where the sewing room shares space with sleeping areas or a sitting room, the layout should also be quick to tidy. A rolling trolley, wall hooks and covered bins can help you pack away threads, scissors and small accessories before the room is used for something else. In a small home in Fordsburg, for example, one customer can keep the machine at the window wall, cutting board under the bed and pressing mat in a cupboard, which makes the room usable for family life after work.
- Keep a torch or rechargeable lamp near the machine for power cuts.
- Use a surge protector where your equipment is connected.
- Mark one safe spot for cords so they are not underfoot.
- Store sharp tools high enough that children cannot reach them.
Get the machine position right for better stitch quality
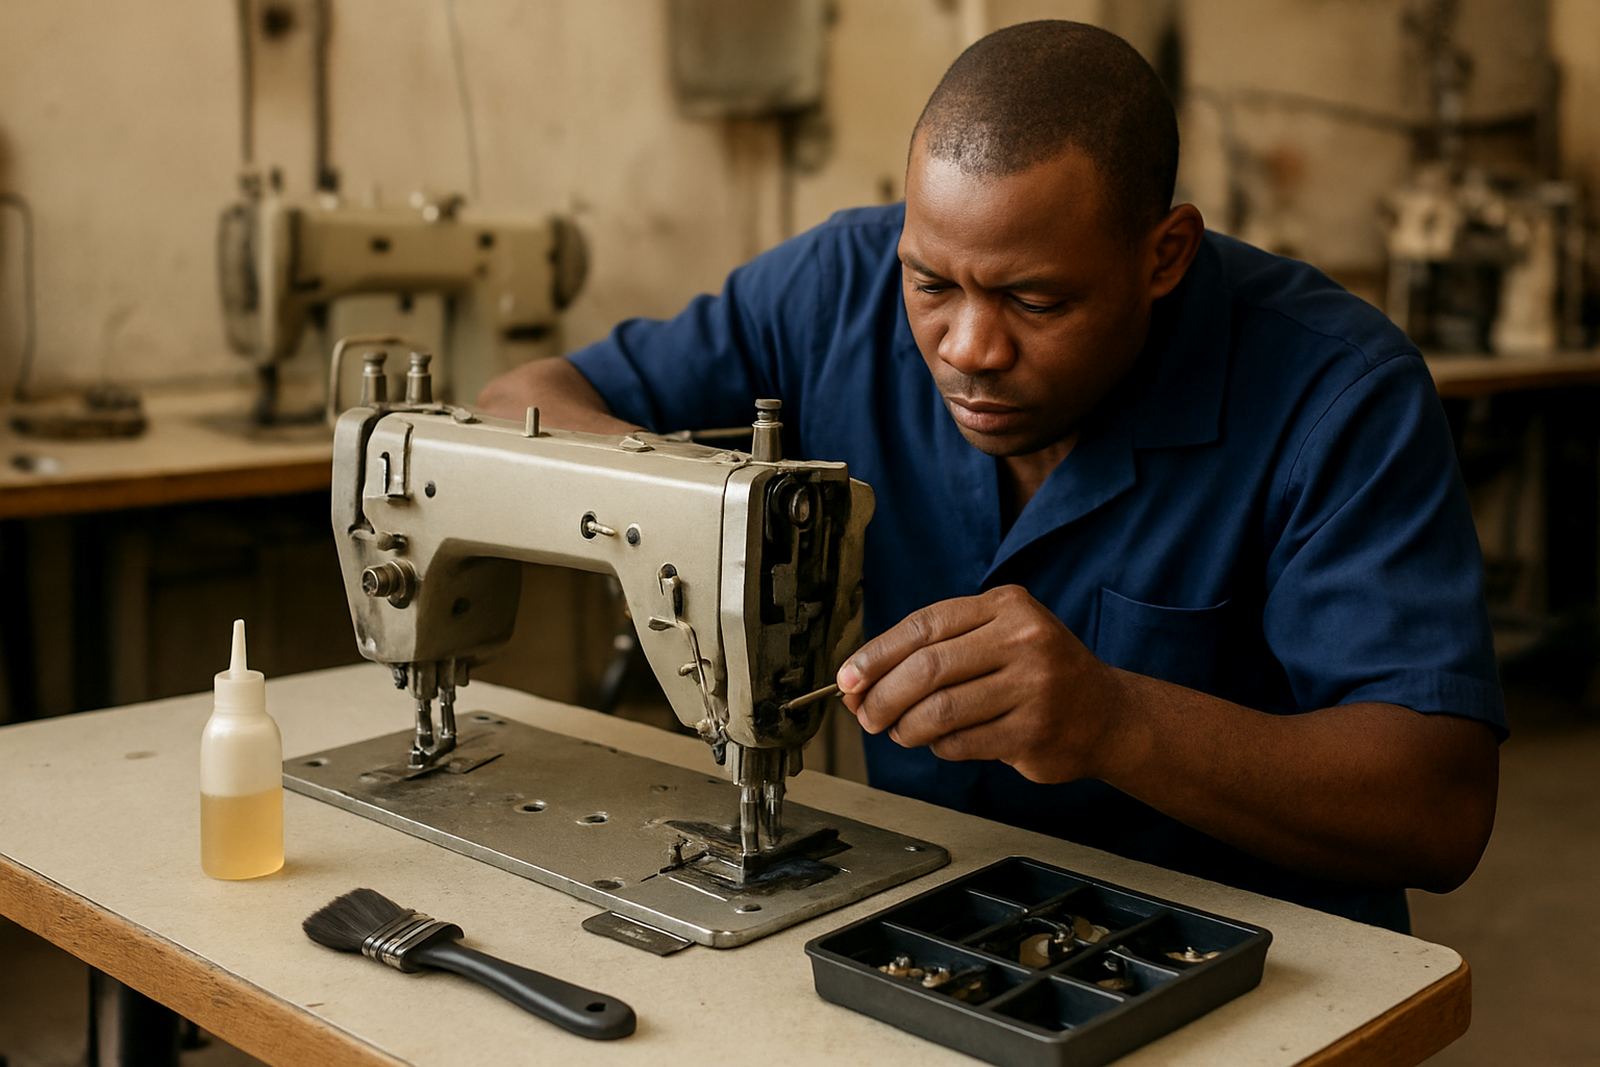
Machine position affects more than comfort. If the surface is uneven, the machine can vibrate and the fabric may feed badly. If the area is too cramped, you may pull fabric at the wrong angle and strain the motor or needle bar. A home studio layout should let the machine sit level, with enough room at the back and on both sides for servicing and cleaning.
When we set up machines for home sewers and small workrooms, we check the table surface, belt line, motor position and space around the needle area. That helps with timing, tension and needle breakage. It also makes routine cleaning easier, which is important if you sew daily or use thick fabric like denim, canvas or upholstery cloth.
If you are using a computerised embroidery unit, allow extra space behind the frame and near the thread path. The machine needs room to breathe, especially in a warm room with limited airflow. A clean, level setup gives you better results and fewer interruptions.
Ask for a layout that matches the work you do most
A home studio should suit your actual projects, not someone else’s idea of a perfect sewing room. A dressmaker, school uniform maker and embroidery hobbyist will each need different storage, table sizes and machine positions. The best layout is the one that saves steps, protects your equipment and keeps your work moving.
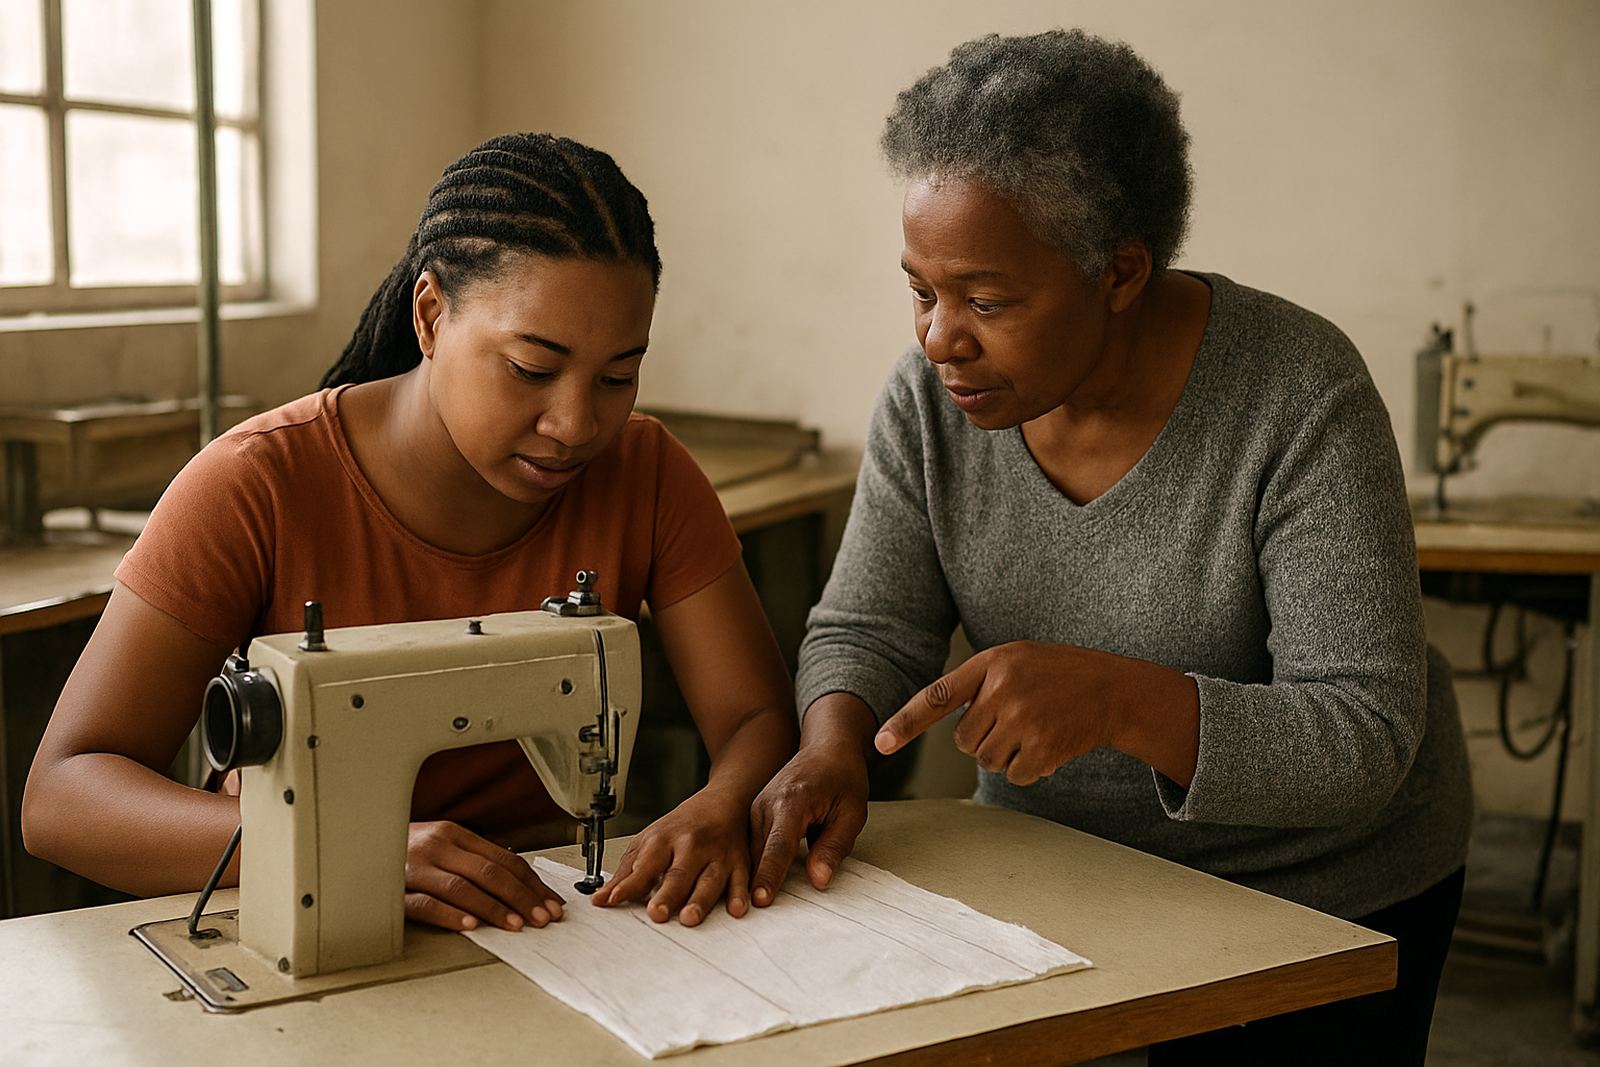
Asia Sewing Machines works with home sewers, tailors and small businesses across Johannesburg CBD, Fordsburg, Mayfair, Soweto, Germiston, Pretoria, Alberton and Randburg. We handle machine installation, workshop and on site repairs, routine servicing, motor conversions, timing adjustments, embroidery setup, fusing press service, parts sourcing and operator training. If your room is cramped or your machine is not sitting right, a proper workroom plan can make a big difference to how you sew each day.