
Start With the Fabric, Not the Stitch
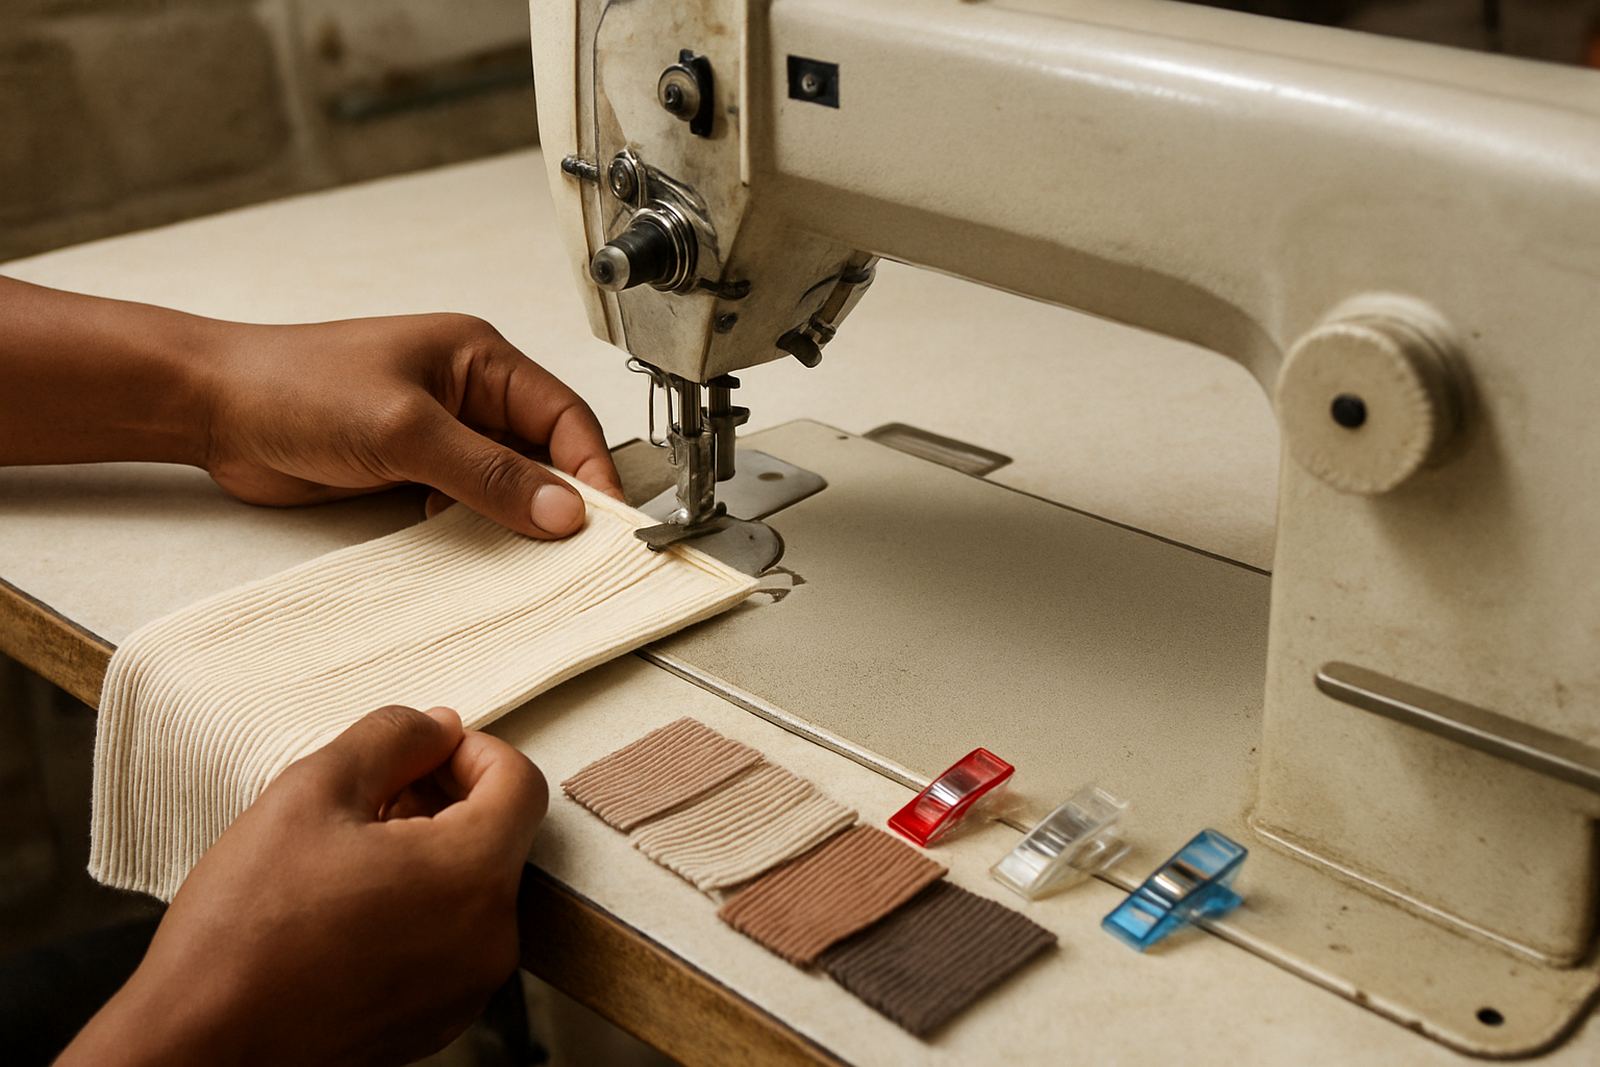
Coverseam hems behave best when the fabric is prepared properly. On knits, rib, stretch cotton and sportswear fabric, the edge must be cut clean, the hem allowance must be even, and the fabric should be relaxed before sewing. If the cloth has been stretched on the cutting table or during handling, the hem can wave after pressing. That is common in busy workrooms in Johannesburg CBD and Fordsburg where pieces move quickly from cutting to finishing.
Before you sew, check whether the fabric recovers well after being stretched. If it does not spring back, reduce pressure on the presser foot and avoid forcing the edge through the machine. A coverseam is meant to support the hem, not fight the fabric.
Keep the Feed Even Across the Hem
The main reason for a wavy coverseam hem is uneven feeding. When the front and back layers move at different speeds, the edge can tunnel, stretch or pucker. On many garments, the difference only shows after pressing. That is why operators in factories and small tailoring rooms should test the hem on a scrap that matches the real garment weight.
Before starting production, check these points:
- Set the differential feed for the fabric weight and stretch level.
- Test the stitch on a double layer and on a folded hem, not just flat cloth.
- Watch for the top layer creeping ahead of the lower layer.
- Recheck feed settings after changing from a lightweight knit to a heavier fleece or rib.
If the hem starts to wave, do not only tighten the thread tension. First look at feed balance, then needle condition, then thread path. That order saves time and avoids extra damage to the fabric.
Support the Edge Before the Stitch Starts
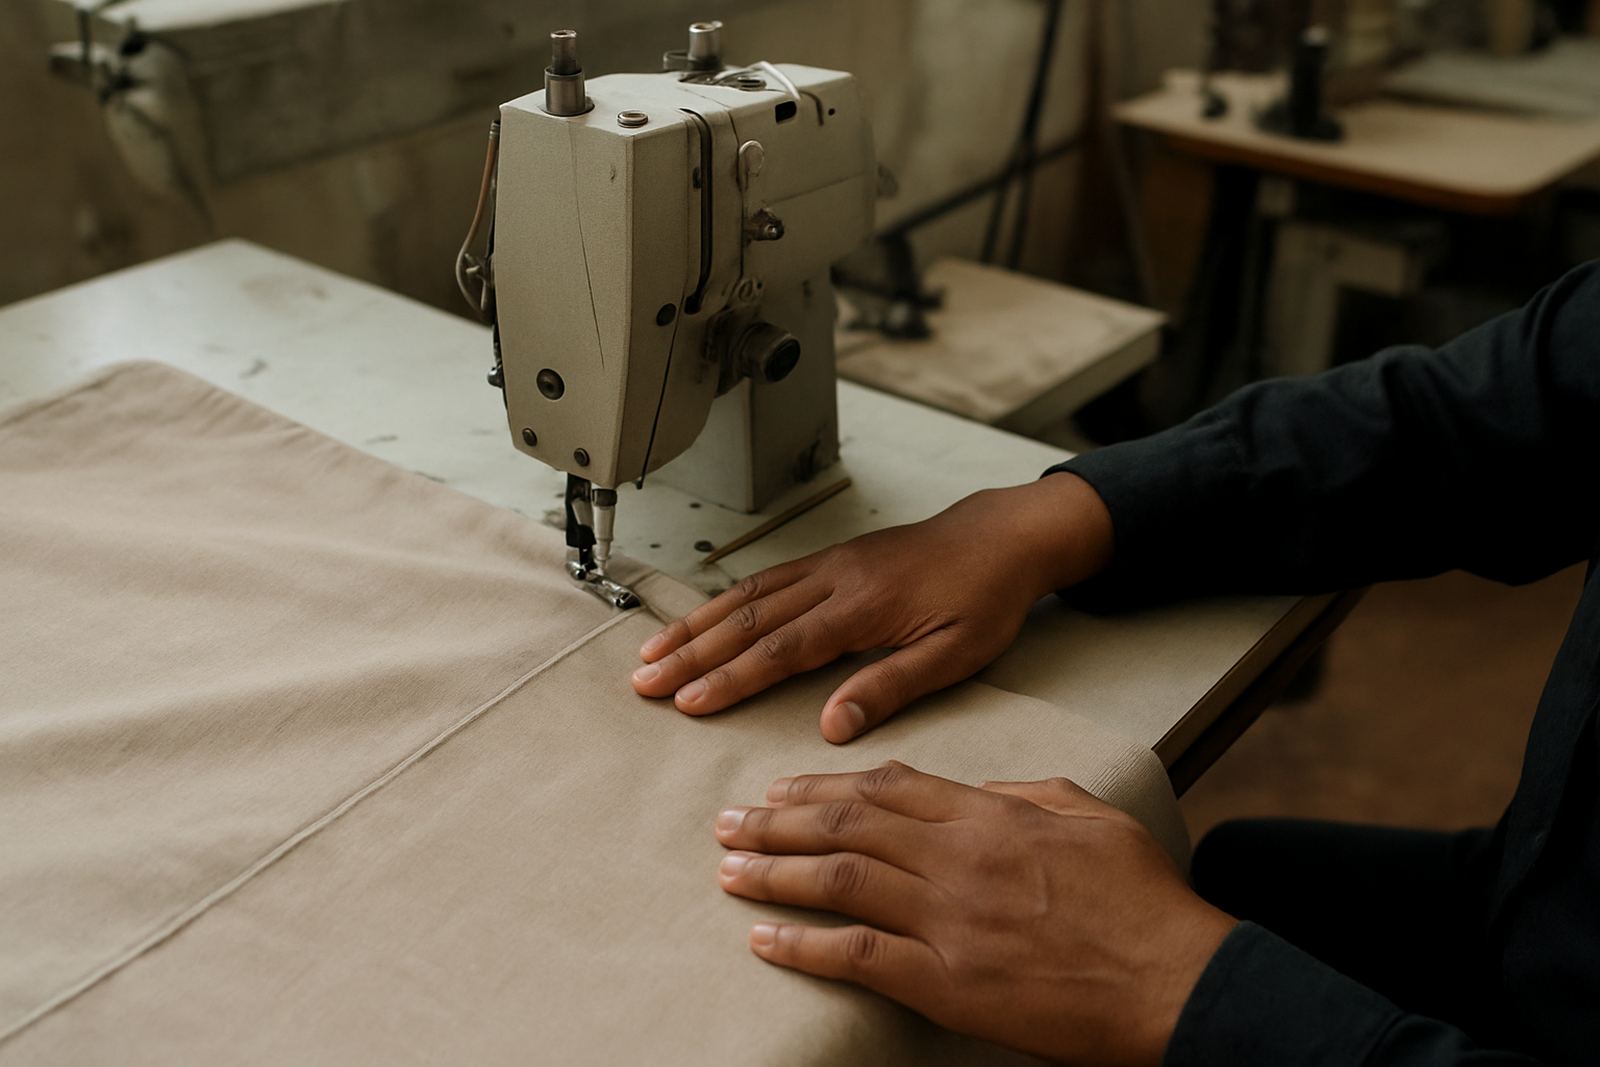
Stretch hems need support close to the needle. If the edge hangs off the table or is pulled by the operator, the fabric can distort before it reaches the looper. A table edge with proper support, a smooth handling surface and enough space for the garment all make a difference. In a busy shop in Soweto or Germiston, a small work area can still give good results if the operator keeps the hem flat and avoids tugging.
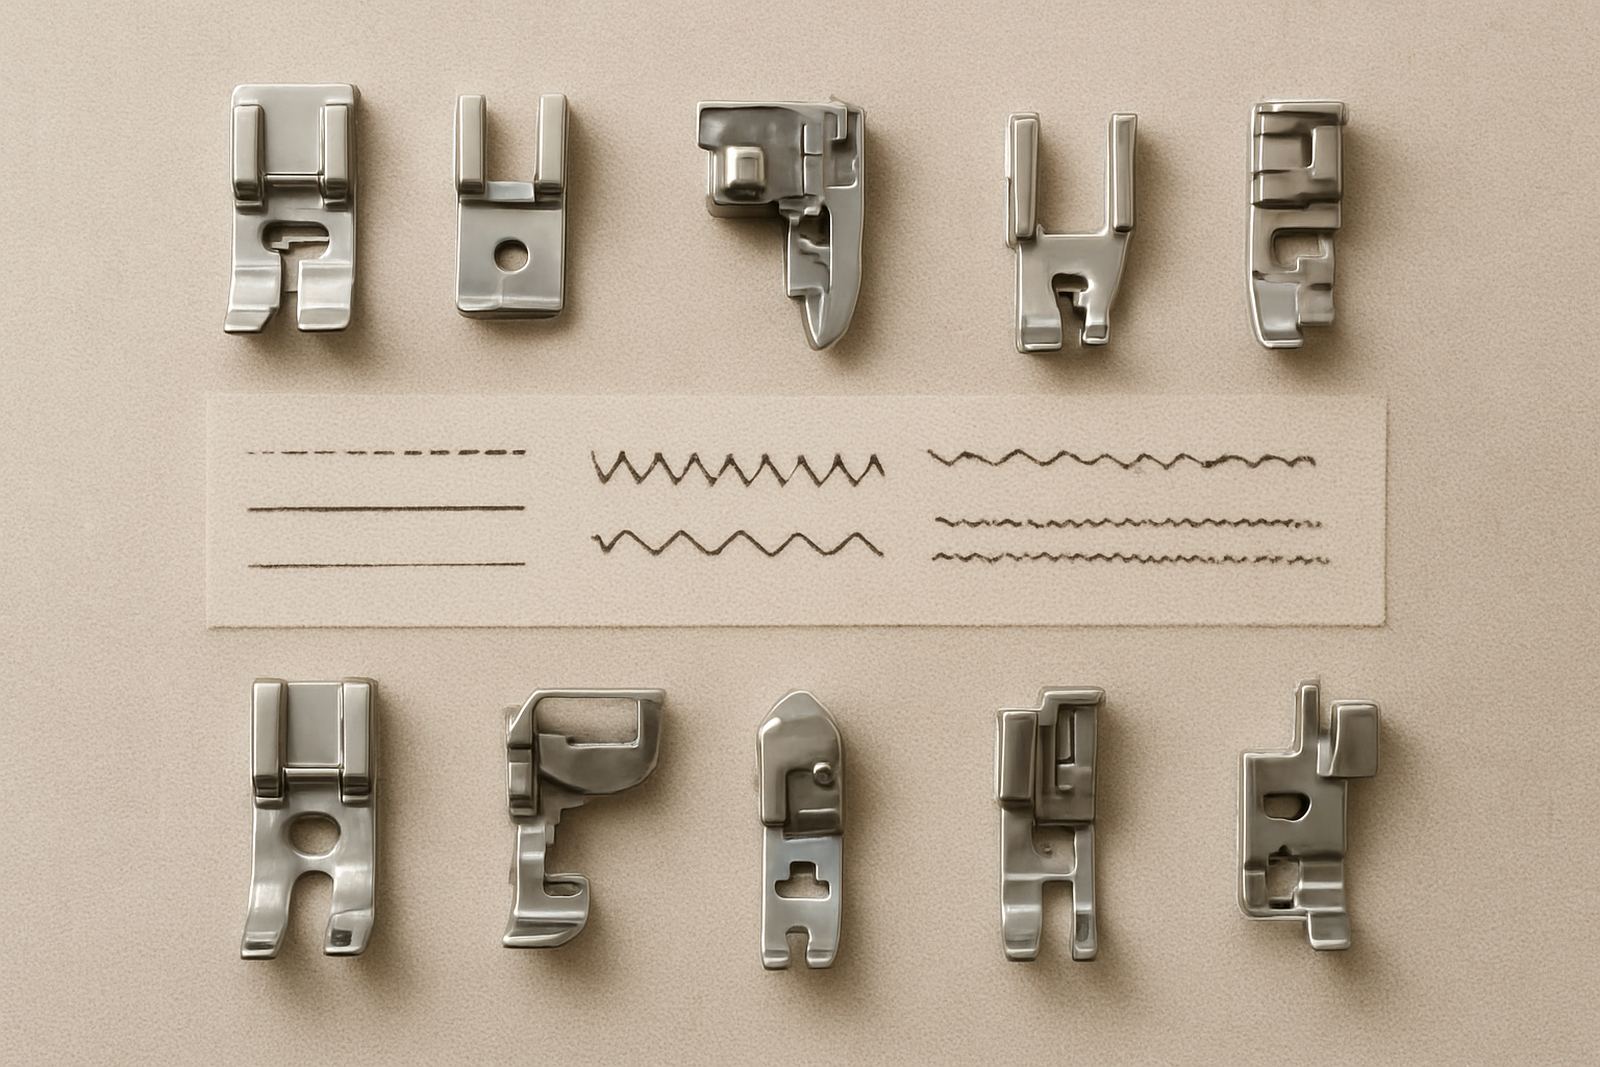
Use guides, folders or attachments that suit the hem width you need. A narrow sports hem will not behave like a wide fashion hem. If the fabric is very soft, a stabilising strip or a lighter fold can help keep the edge neat. On school uniforms and dancewear, this often makes the differance between a hem that sits flat and one that twists after a wash.
- Keep the hem allowance consistent from start to finish.
- Use a smooth folding method so the edge does not twist inside the turn.
- Support long panels so they do not drag under their own weight.
- For curved hems, sew slowly and guide the curve without pulling.
Needles, Thread and Tension Must Match the Job
Coverseam hemming is only as good as the consumables you use. A dull needle makes holes too large, snaps threads and can mark delicate fabric. Thread that is too thick can make the seam stiff and bulky, while thread that is too light can break under stretch. The goal is a hem that moves with the garment and still holds its shape.
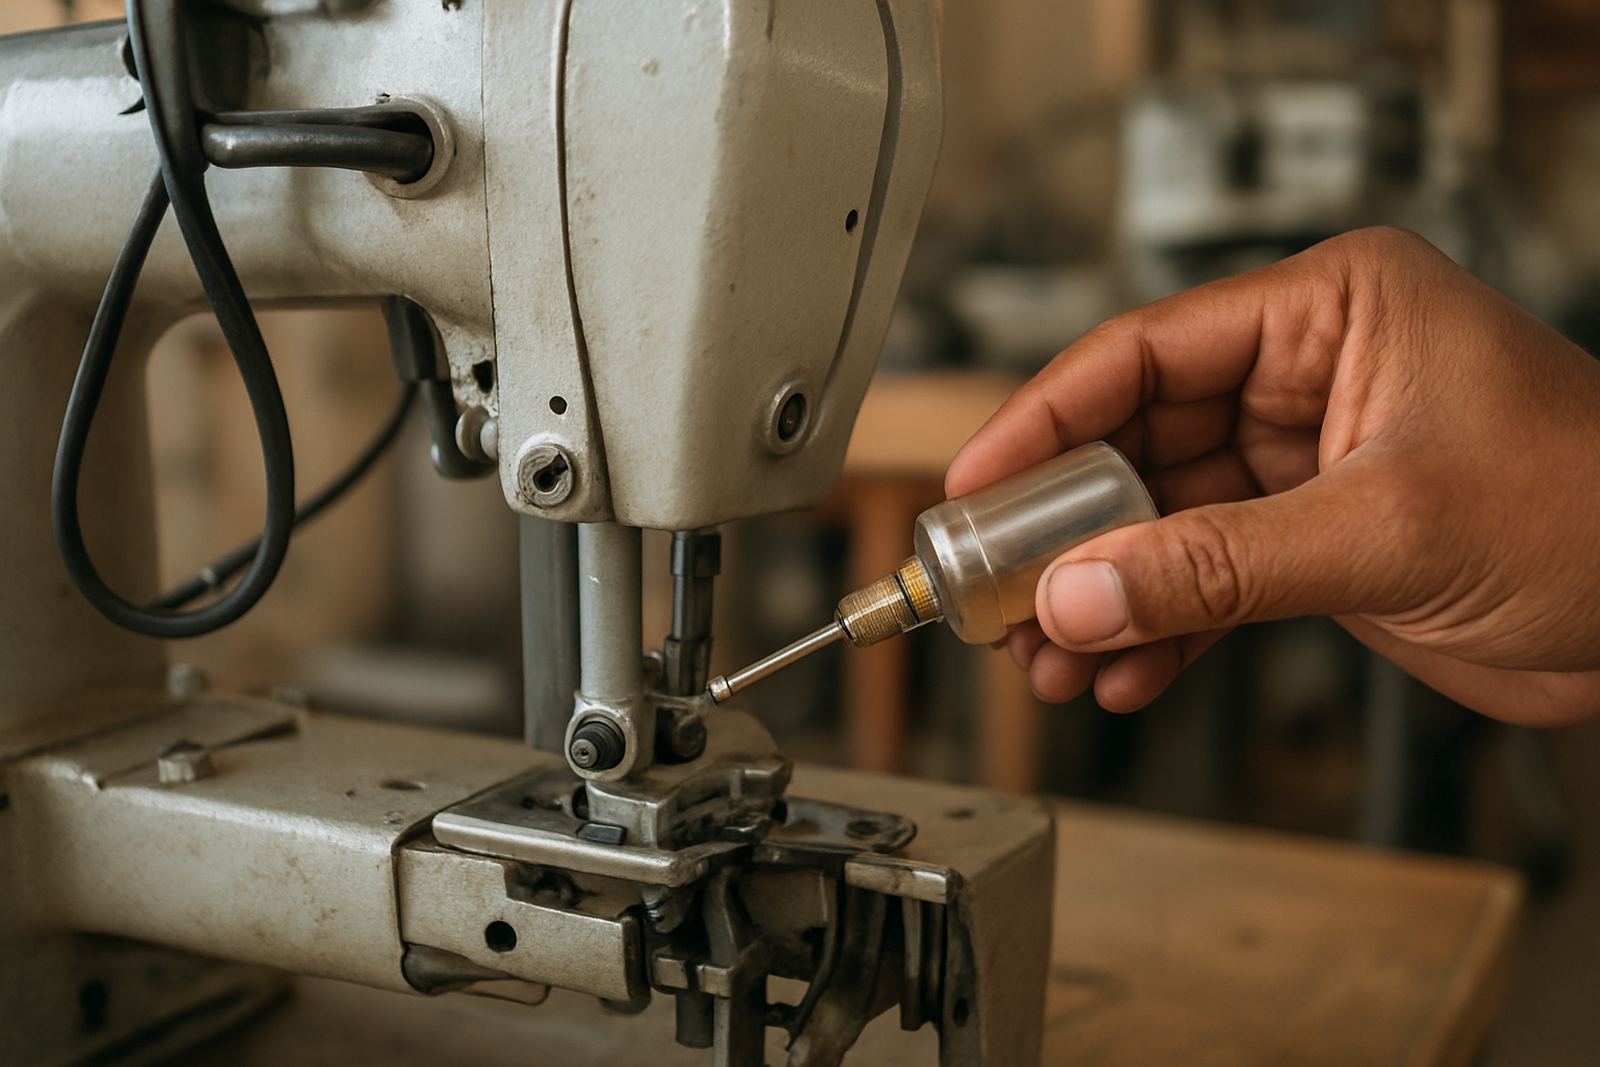
For most stretch garments, use a fresh needle suited to the fabric and the machine setup. Change needles before they start causing skipped stitches. Keep the thread path clean and the cones feeding smoothly. If the thread snags, the stitch will change from one end of the hem to the next, especially on longer runs. When tension is too tight, the hem will pucker. When it is too loose, the loopers will show and the edge will not sit properly.
In a Johannesburg workshop, a small adjustment can save a whole batch. Test every change on a sample piece before sending garments to finishing.
Pressing Can Fix or Ruin the Finish
Many hems look acceptable straight off the machine but fail after pressing. Heat, steam and heavy pressure can flatten the seam or stretch the edge further if the operator is not careful. The press should shape the hem, not pull it out of line. This matters on performance wear, leggings, baby wear and fitted tops where the finish has to stay neat after repeated washing.
Use moderate heat and controlled pressure. Do not drag the iron or pressing shoe across the hem. Lift and place where possible. If the fabric is sensitive to shine or heat, test a small section first. A clean press can improve the line of the hem, but too much steam can make the seam relax and wave again after the garment cools.
- Press on a suitable surface that supports the hem edge.
- Let the garment cool flat before packing or hanging.
- Avoid over-steaming fine knits and lightweight synthetics.
- Check the inside of the hem as well as the outside finish.
Set the Workroom Up for Repeatable Results
Stable hems are easier to achieve when the whole workroom follows the same method. Operators should use the same fold width, the same test piece and the same check list before production starts. A machine that is clean and correctly timed will give more predictable results, especially during load shedding when equipment is restarted and settings may need a quick recheck.
For factories, schools and home sewers across Gauteng, the practical approach is simple: prepare the fabric, test the feed, check the needle and keep the edge supported. If the hem is still giving trouble, the issue may be in timing, motor speed or an attachment that is not suited to the job. That is where proper servicing and setup matters more than guesswork.
When a workshop in Pretoria or Alberton needs consistent coverseam work on uniforms, activewear or everyday knit garments, the best results come from a machine that is tuned for the fabric and used with a steady hand. Good hem work is not luck, it is procedure.
A Practical Example From a Busy Gauteng Order
A small clothing maker in Mayfair recently needed clean hems on a run of stretch school tops. The first samples showed slight waviness at the side seam and the hem was not sitting evenly after pressing. The solution was not a new pattern, it was a better sequence of checks. The fabric was relaxed before sewing, the differential feed was adjusted, the needle was replaced, and the hem was supported better as it moved through the machine. The final result was flat, tidy and consistent from the first piece to the last.
That kind of fix is common. In many cases the machine is doing exactly what it has been set to do, but the setup does not match the fabric. Once the operator and machine are working together, coverseam hems become much more predictable and production moves faster.