
Why seams pucker in the first place
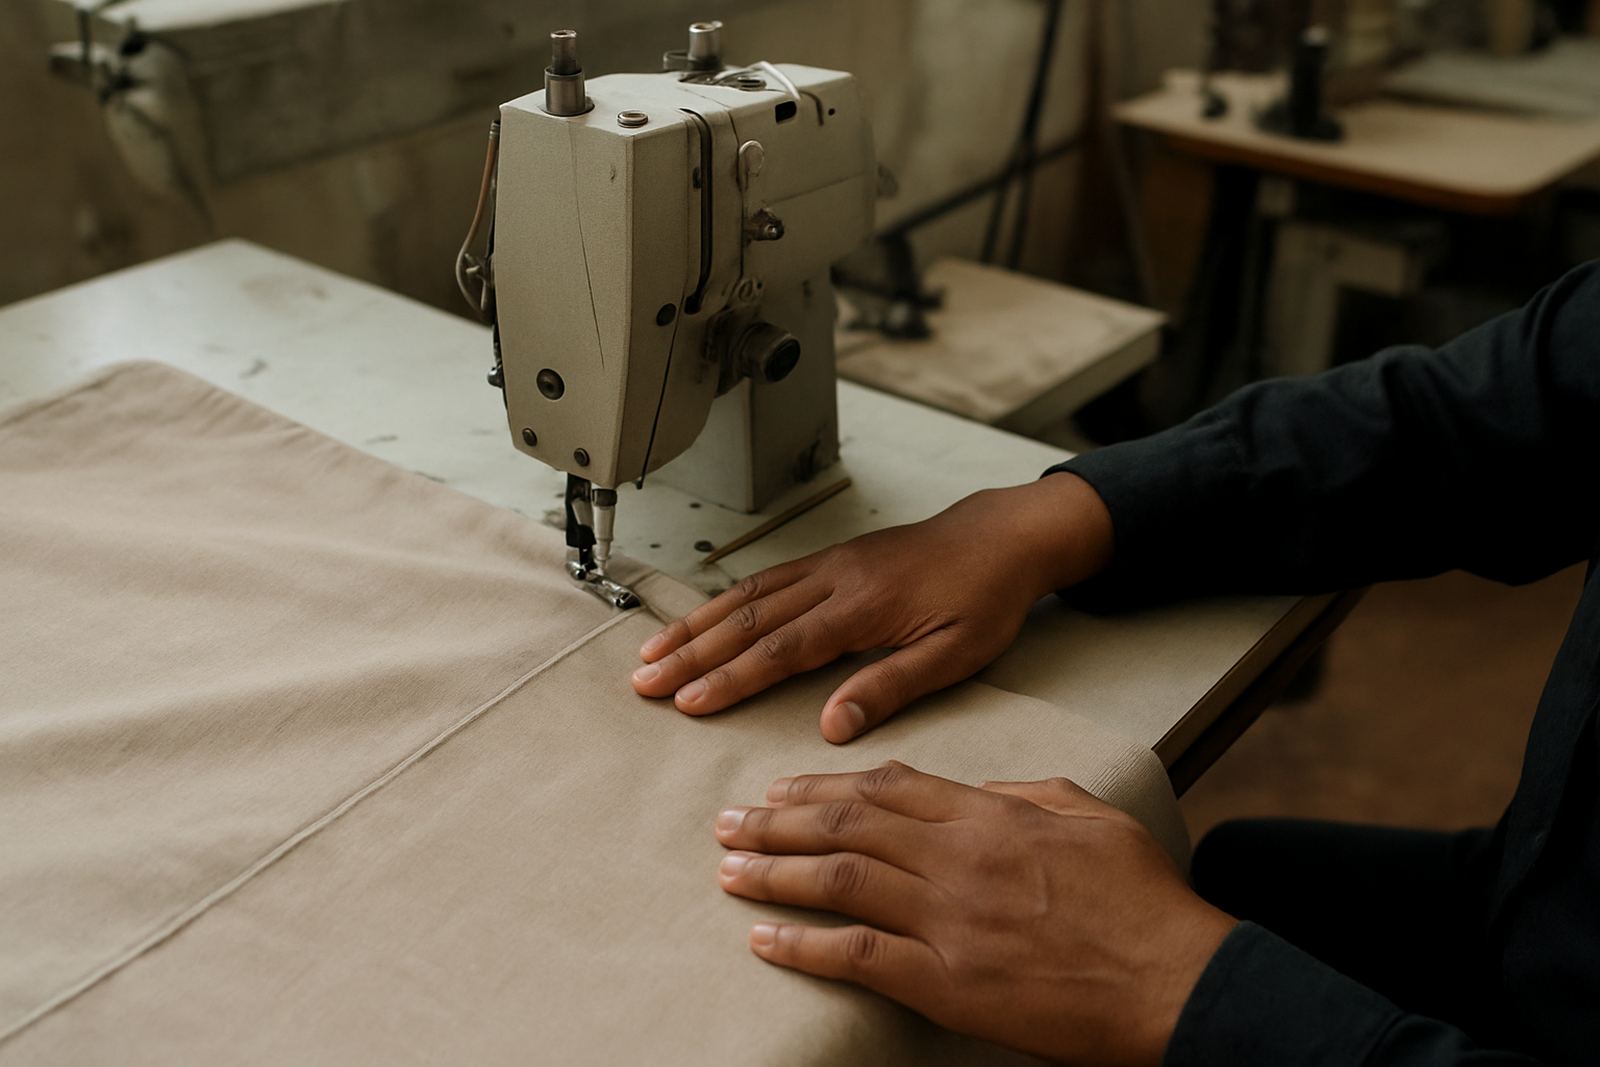
Seam puckering is the waviness or drawing in that appears along a stitched seam after sewing, pressing or washing. It often shows up on lightweight woven fabric, shirts, school uniforms, curtains and polyester blends, but it can happen on heavier cloth too if the stitch balance is off.
The first thing to understand is that puckering is usually a result of uneven forces. The needle punches holes, the thread tightens, the feed dogs move the fabric and the presser foot holds everything down. If any one of those parts is too aggressive or out of sync, the seam can pull in on itself.
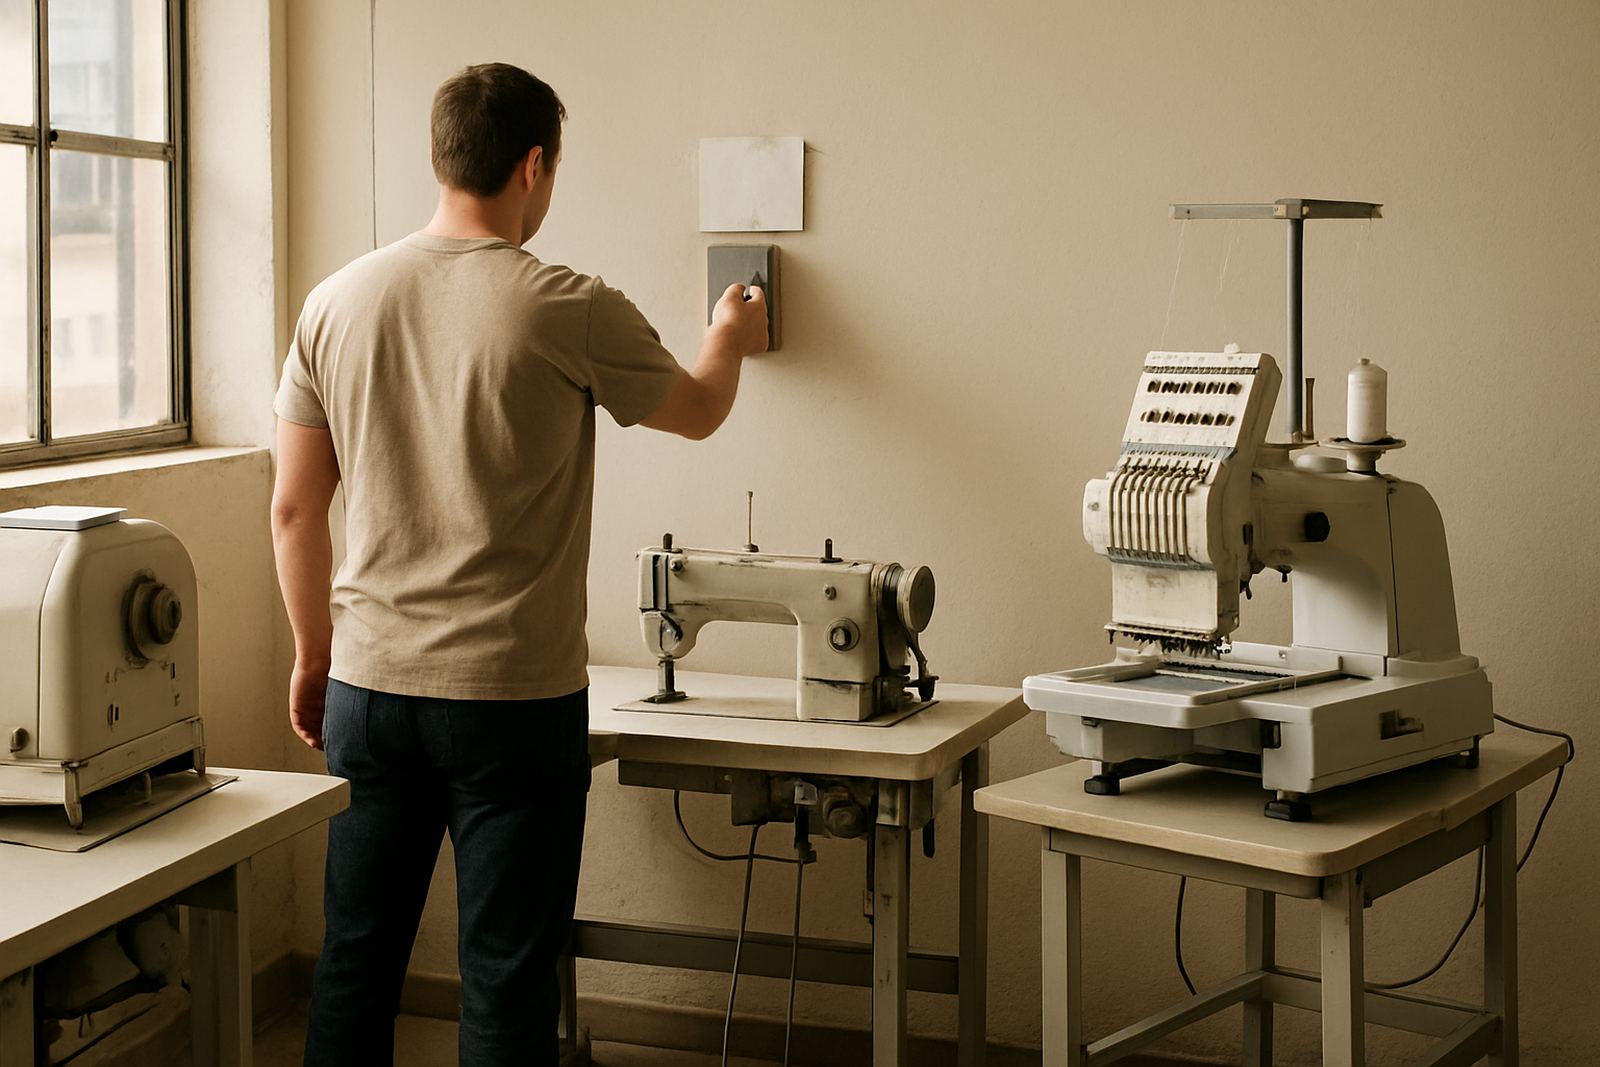
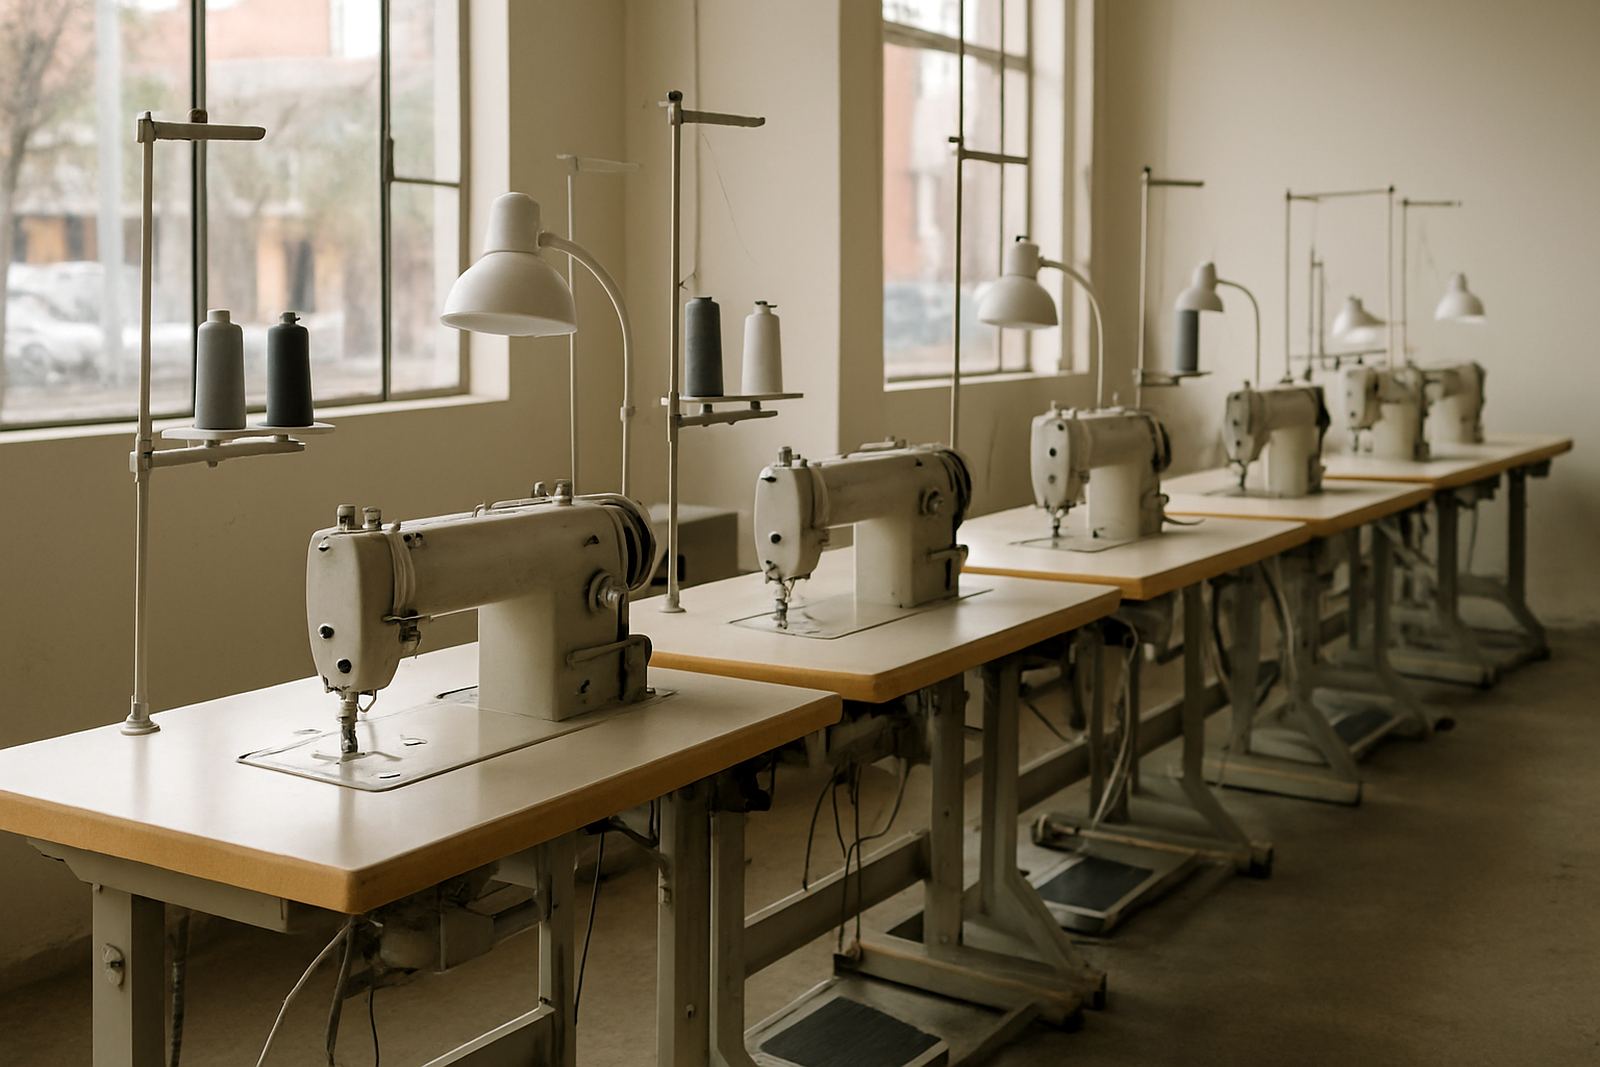
At our Johannesburg CBD workshop, we often see this on factory runs where the machine has been running for weeks without proper servicing. A small issue like a blunt needle, poor threading or the wrong presser foot pressure can show up as a problem across an entire order.
- Light fabrics show puckering sooner than dense fabrics.
- Higher stitch tension can pull the seam tight.
- Heat from pressing can make a weak seam look worse.
- Uneven feed creates different stitch lengths on each side of the seam.
Tension settings that pull the seam in
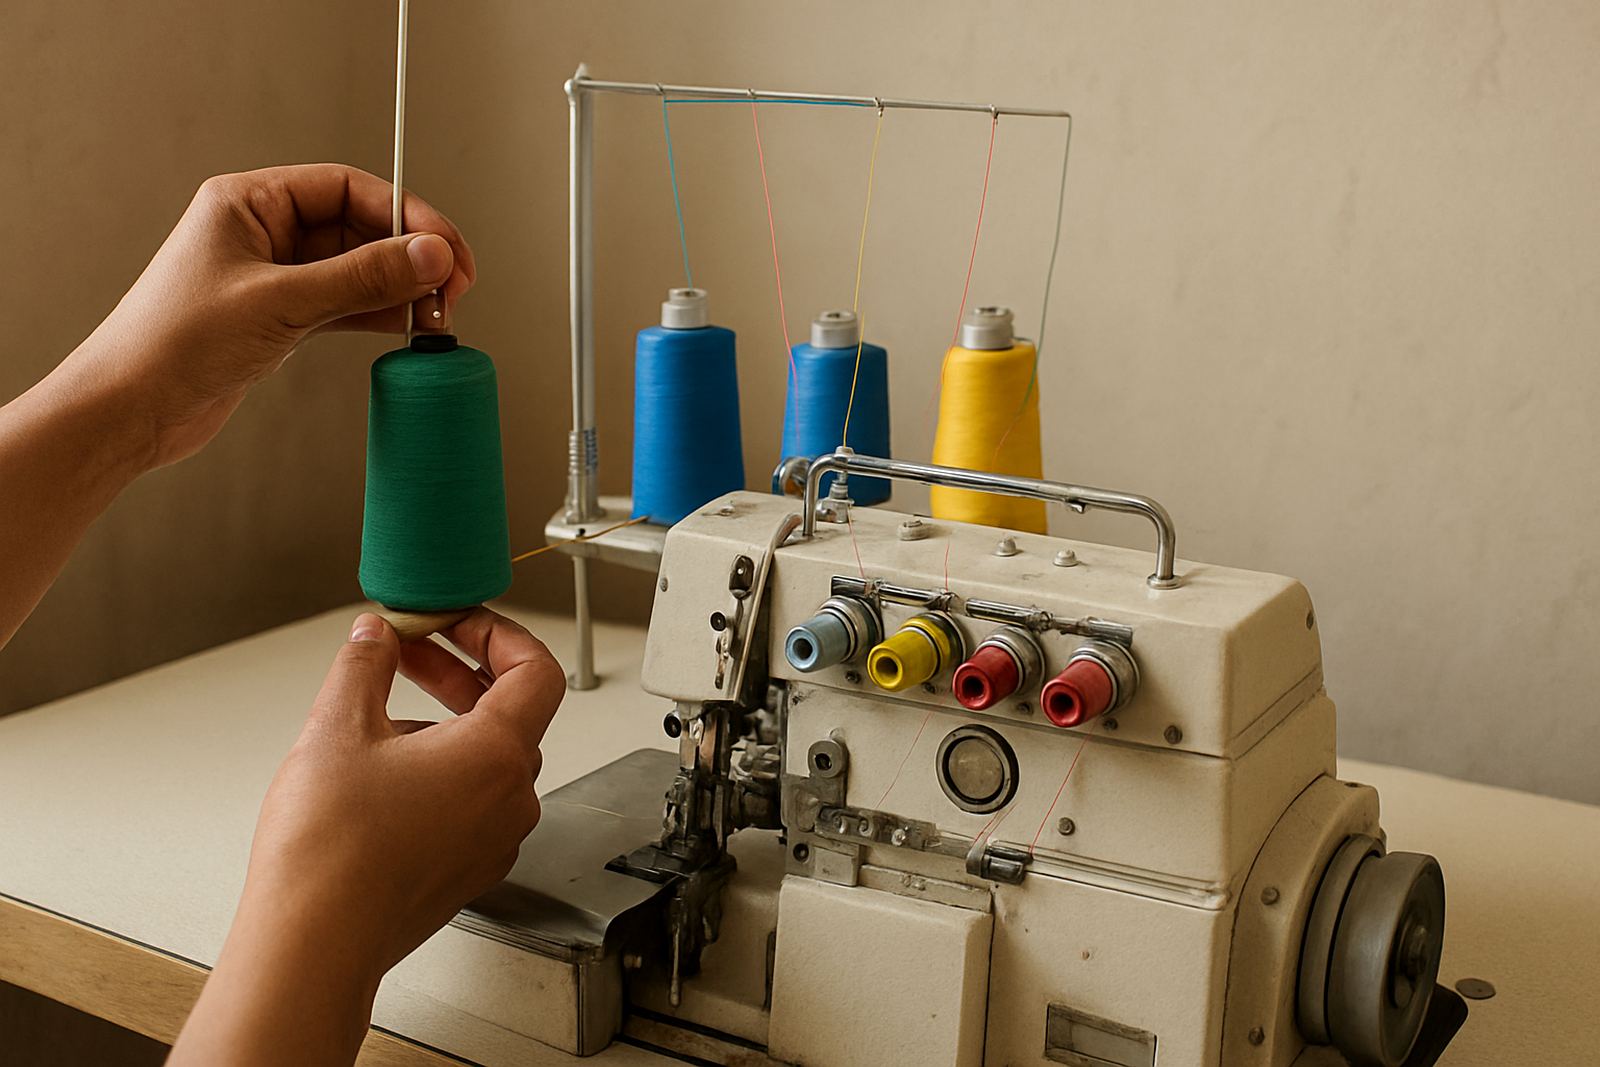
Thread tension is one of the most common causes. If the upper thread is too tight, it drags the seam closed and leaves a ridged line near the stitches. Too much bobbin tension can do the same, although this is often mistaken for a top tension problem.
Before changing anything major, test on offcuts from the same batch. Use the same seam allowance, the same thread and the same stitch length. If the seam lies flatter after reducing tension slightly, you have likely found the issue. Make changes in small steps, not big turns, otherwise you can move from puckering to loose stitching very quickly.
In many Gauteng workrooms, the real problem is mismatch. A thicker thread on a fine needle or a machine set for a different fabric weight will create extra pull. That is why workshop teams need a simple tension check on every new order, especially when moving between cotton shirting, polyester suiting and polycotton schoolwear.
- Check upper tension first, then bobbin tension.
- Match thread weight to fabric weight.
- Re-test after changing thread cones or bobbins.
- Keep notes for each fabric type so settings are repeatable.
Needles, thread and stitch length are a matched set
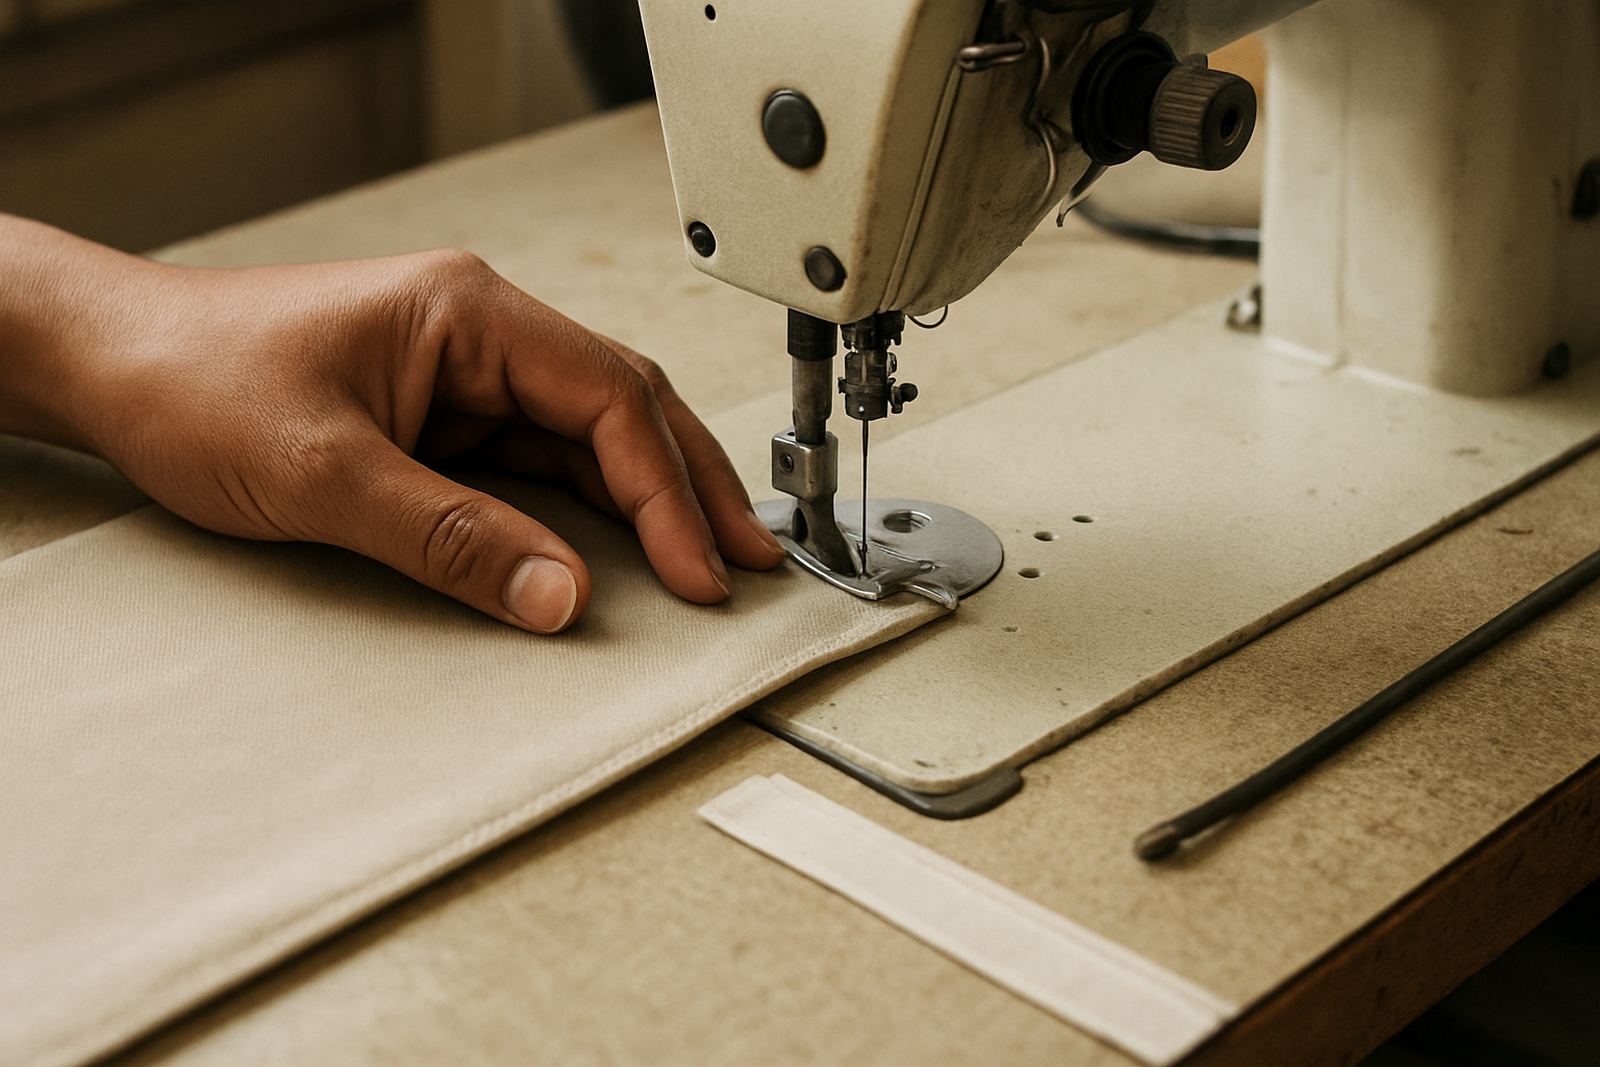
A needle that is too large makes an oversized hole. A needle that is blunt or bent can snag fibres and push the fabric rather than piercing cleanly. Thread that is too thick for the needle eye adds drag, and that drag often shows up as puckered stitches along the seam line.
Stitch length matters too. Very short stitches place more holes into the fabric and can cause gathering, especially on softer cloth. Very long stitches may not hold the seam properly and can also make the finish look uneven. The best setting depends on the fabric, not on habit.
For tailors and schools sewing uniforms in areas like Soweto or Fordsburg, this becomes important when working with different rolls of fabric from one order to the next. A needle and stitch setting that worked on one batch may not suit the next batch if the weave, finish or weight has changed.
- Replace needles regularly, not only when they break.
- Use the correct point type for woven, knit or coated fabric.
- Keep thread and needle sizes compatible.
- Adjust stitch length for the fabric, seam type and finish required.
Feed problems that stretch one layer more than the other
If the top layer of fabric moves faster or slower than the bottom layer, puckering often follows. This can happen when the feed dogs are dirty, the presser foot pressure is wrong, or the machine timing is out. It also happens when operators try to push the fabric through instead of letting the machine feed it naturally.
On slippery fabrics and lightweight linings, even a slight feed imbalance can leave the seam looking rippled before the garment leaves the table. On heavier work, the seam may appear fine during sewing but tighten later once it has been pressed.
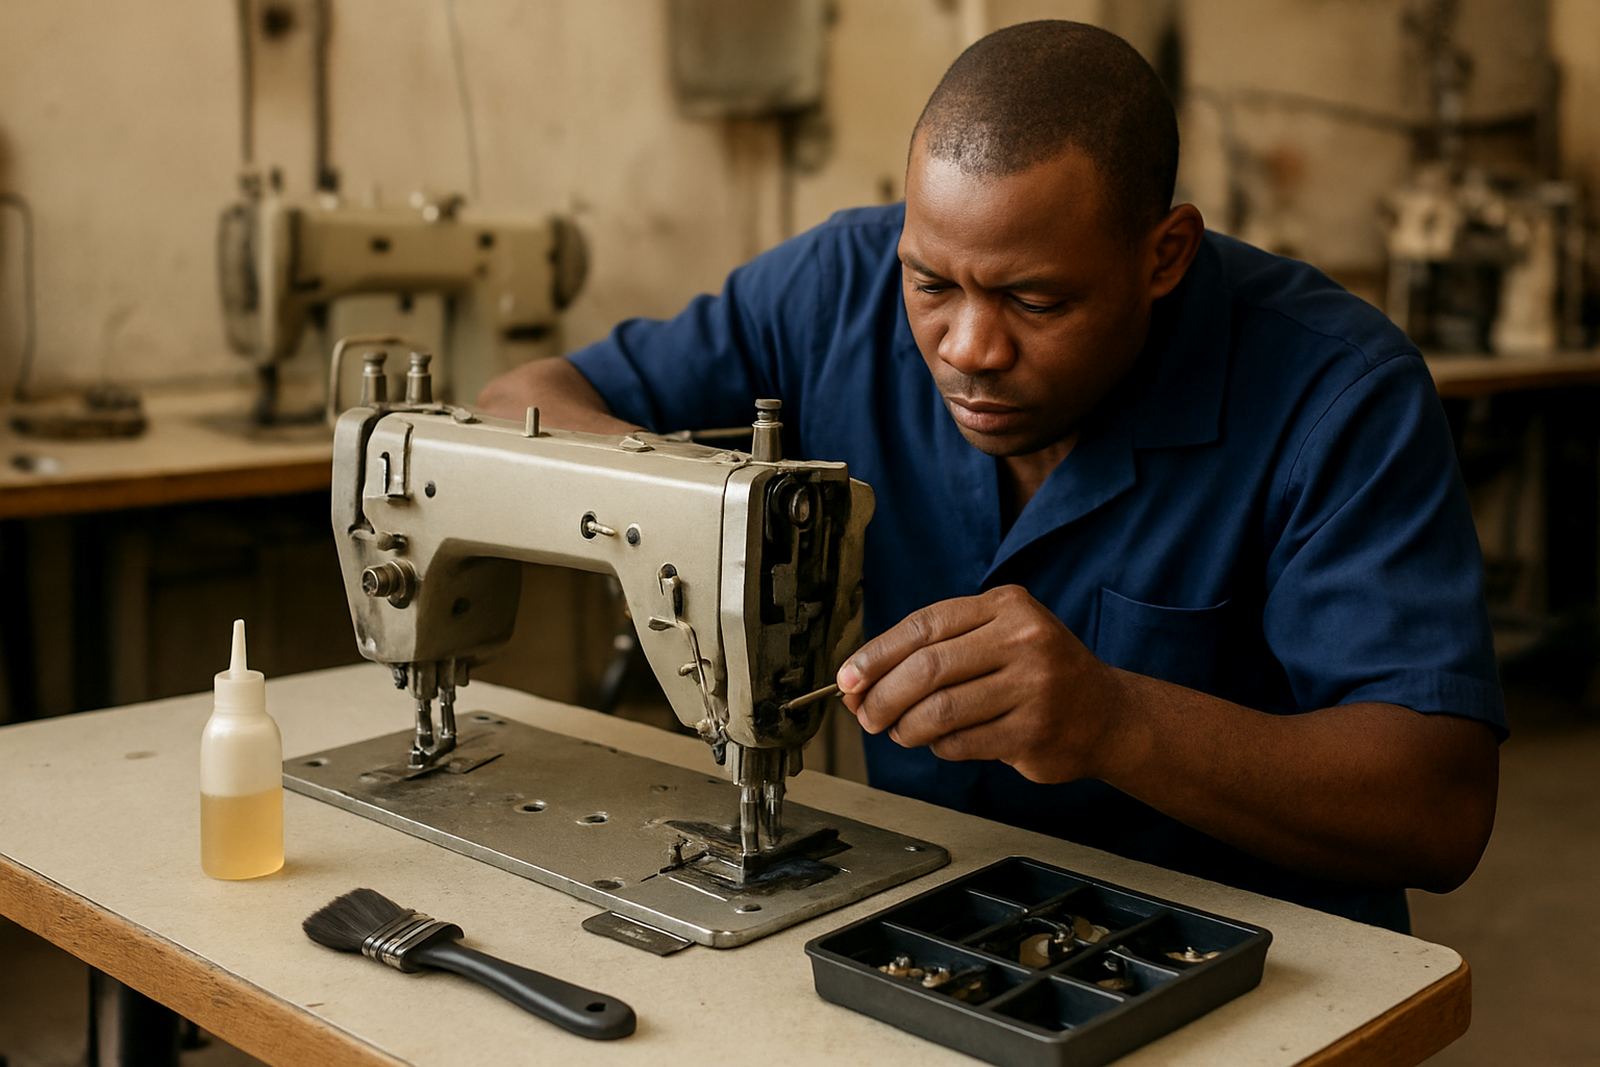
We often check feed performance during routine servicing and timing adjustments. In a factory setting, one machine with poor feed can affect the whole line because operators start compensating with hand pressure. That usually makes the puckering worse, not better.
- Clean lint from the feed area and bobbin area.
- Check presser foot pressure for the fabric in use.
- Look for worn feed dogs or damaged feet.
- Make sure the machine is timed correctly before blaming the operator.
Pressing mistakes that lock puckering into place
Sometimes the seam was already uneven, but the pressing process makes the problem permanent. Too much heat, too much steam or heavy hand pressure can shrink one part of the seam and leave the rest standing proud. That is why a seam that looked only slightly rough at the sewing table may look far worse after finishing.
Pressing is not only about appearance. It can set thread tension into the fabric, distort seam allowances and stretch bias areas out of shape. On garments and soft furnishings alike, you need the right temperature, the right press cloth and the right handling method for the fabric content.
For workshops and training rooms across Pretoria, Germiston and Alberton, a simple press test on a scrap piece can save a full bundle of work. If the sample puckers after pressing, the issue is not only with sewing. It may be the heat, the moisture level or the way the seam is being opened and handled.
- Test press temperature on a spare piece first.
- Do not drag or stretch the seam while it is hot.
- Use steam carefully on delicate or synthetic fabrics.
- Let pressed seams cool flat before stacking or packing.
A practical correction routine for workrooms
When puckering shows up, fix it methodically. Start with the fabric, then the needle, thread, tension, feed and pressing. Changing everything at once makes it hard to know what actually solved the problem. A short test run on the same fabric batch is the fastest way to get back on track.
A Johannesburg CBD example is a schoolwear order that starts puckering after the first dozen units. The operator may blame the cloth, but the issue is often a dull needle, a tension setting left over from another job or a machine that needs servicing. Once those points are checked, the same fabric can sew neatly again. small fixes often make the biggest difference.
For factories, tailors and home sewers, the main habit to build is observation. Look at the seam before pressing, after pressing and after the item has cooled. If the ripples appear at one stage only, you know where to focus. If they appear at every stage, the machine setup needs attention.
If your workroom keeps seeing puckered seams, a proper check of machine condition, operator technique and pressing practice usually sorts it out faster than repeated re-sewing. Good seams start with the right setup, not luck.