
Why the backing matters more than many operators think
When embroidery looks neat, people often credit the machine or the design file. In practice the support material under the fabric does a lot of the work. It holds the garment steady while the needle moves at speed, especially on lightweight knits, school shirts and towelling where the fabric can stretch or sink.
Without proper support, stitch density pulls the fabric out of shape. You may see rippling around letters, bobbin thread showing through, or a design that looks fine on the hoop but loosens after washing. In a busy workroom in Johannesburg CBD or Germiston, that means rework, wasted thread and unhappy customers.
The aim is simple: match the stabiliser to the garment and the stitch count. A stable base lets the machine do its job cleanly, even when load-shedding interrupts the rhythm of the day and the operator has to restart a section later.
Know the main stabiliser types before you load the hoop
Different fabrics need different support. There is no single backing that suits every job, and using the wrong one can be just as troublesome as using none at all. A good workshop keeps a small range on hand so the operator can choose before hooping starts.
- Cut-away stabiliser: Best for stretch fabrics like T-shirts, knit school wear and golf shirts. It stays behind the garment after stitching and gives long-term support.
- Tear-away stabiliser: Useful for woven fabrics that do not stretch much, such as cotton shirts, aprons and some workwear. It is removed after the embroidery is complete.
- Wash-away stabiliser: Handy for delicate fabrics, open lace work and situations where no visible backing should remain.
- Topper film: Placed over the fabric, mainly for towels, fleece and textured surfaces so stitches do not sink into the pile.
For many local operators, especially in Mayfair and Fordsburg where small order runs are common, the trick is to keep the choice practical. A few dependable types are better than a cupboard full of rolls that nobody understands.
How to choose support for different garments and goods
The fabric tells you what it needs. Lightweight cotton shirts need enough support to stop puckering, but not so much that the collar or chest area feels stiff. Knitted golf shirts usually need a cut-away base because the fabric stretches under the needle. Towels often need a topper as well as backing, otherwise the stitches sit in the pile and lose definition.
For caps, the shape and tension matter as much as the stabiliser. A firm backing keeps the front panel from collapsing while the frame moves. For school badges, a medium weight support often gives a cleaner edge than a thin one, especially if the design includes small lettering or fine detail.
- Use heavier support for dense logos, large lettering and repeated stitch fills.
- Use lighter support where the fabric is already firm and the design is small.
- Check whether the item will be washed often, because this affects how much lasting support it needs.
- Test one sample before running 20 garments through the machine.
In Pretoria and Alberton, where many customers bring mixed batches of uniforms and promotional items, a quick sample saves a full day of corrections.
Hooping and tension: the stabiliser must work with the setup
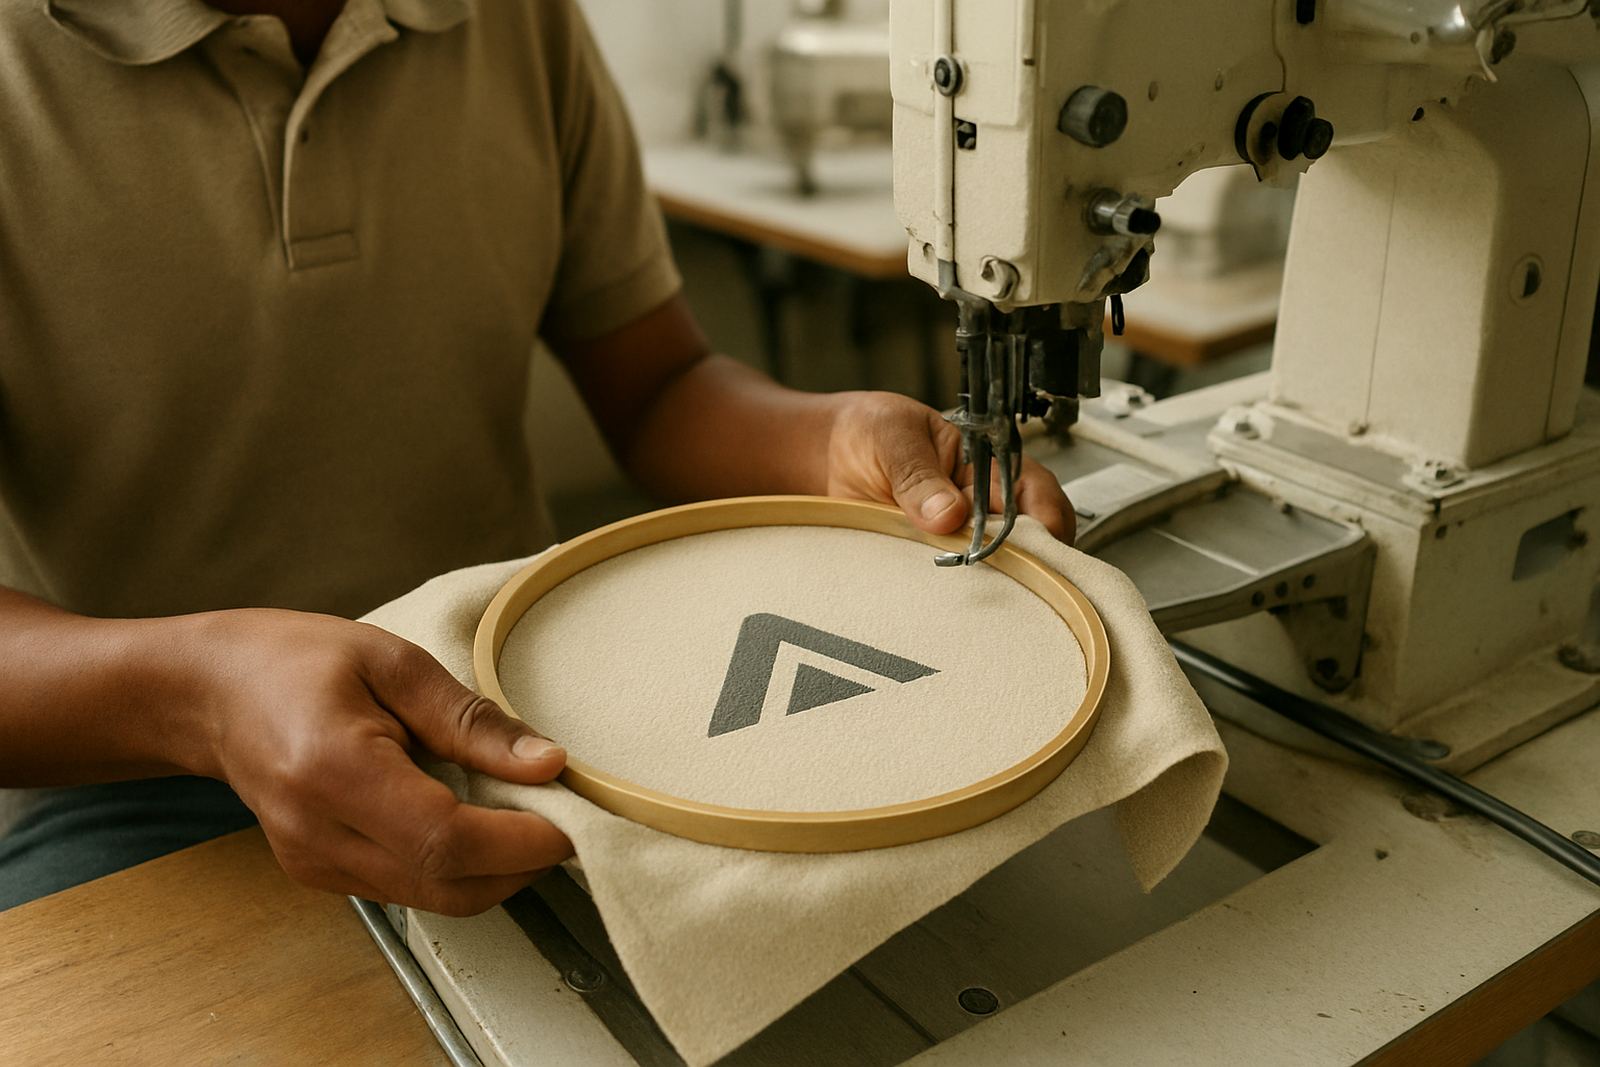
A stabiliser can only do its job if the garment is hooped correctly. If the fabric is too loose in the frame, the support shifts and the stitch line moves. If it is too tight, the fabric may relax after hooping and leave marks or slight distortion. Aim for firm but not strained.
Also check the thread tension and needle condition before blaming the backing. A dull needle can drag fibres and give the wrong impression that the stabiliser is at fault. Likewise, poor top tension can cause looping on the surface. The support material is one part of the system, not a cure for every fault.
- Hoop with even pressure across the full frame.
- Keep the grain of the garment straight before starting.
- Use a sharp needle suited to the fabric weight.
- Run a short test line after changing stabiliser type.
If a shop floor in Soweto or Germiston is doing rush orders, this is where discipline matters. Rushing hooping often costs more time later than a careful start.
Common mistakes that lead to puckering and poor stitch quality
Most embroidery problems linked to stabiliser are not mysterious. They come from using too little support, using the wrong type, or trimming it badly. A neat design can still fail if the backing tears away too easily or if the garment was not supported around the stitch field.
Another common mistake is trying to save material by using a small piece under a large design. The fabric around the edges then shifts, especially on chest logos and back prints. It is better to allow enough coverage under the full design area, plus a margin for movement.
Watch out for these signs:
- Ripples around letters after sewing
- Fabric stretching in the hoop
- Thread sinking into towels or fleece
- Edges lifting after washing
- Needle holes looking enlarged or uneven
When those signs appear, review the stabiliser first before altering the design file. In many cases the answer is not more stitch tension but better support underneath.
A local Johannesburg example from a busy workroom
A uniform workshop in the Johannesburg CBD recently had trouble with embroidered school badges on knit shirts. The badges looked fine on the machine, but after pressing there was slight puckering around the edge. The team had been using a light tear-away backing on a fabric that really needed cut-away support.
After changing the setup, adding a topper for the textured outer face and reducing hoop slack, the badges came out flatter and the lettering held its shape. The workshop also trained the operators to test one shirt from each batch before starting the full run. That small change cut rework and helped keep delivery times on track.
This is a common pattern across Gauteng. From Fordsburg to Randburg, many businesses work with mixed garments, school wear and corporate items in the same week. A simple stabiliser system, clearly labelled and properly stored, makes a measurable difference to output.
Practical buying and storage tips for better results
Stabiliser should be treated like any other workshop consumable. Keep it dry, flat and clearly marked by type and weight. In coastal humidity this matters even less than in Johannesburg, but dust, oil and damp storage still affect how cleanly the material feeds and tears.
It also helps to keep a written note of what worked for each regular job. If a school jersey needs a certain cut-away weight, write it down. If a towel run needs a specific topper, keep that detail with the job card. This reduces guesswork and helps new operators settle in faster.
- Store rolls away from heat, oil and floor moisture.
- Mark each roll clearly so tear-away and cut-away are not mixed up.
- Keep a sample book with fabric type, backing type and stitch results.
- Reorder before you run out so work does not stop mid-week.
For factories, tailors and home sewers alike, good support under the fabric is one of the simplest ways to improve embroidery quality. It is a small part of the setup, but it has a big effect on the finish.