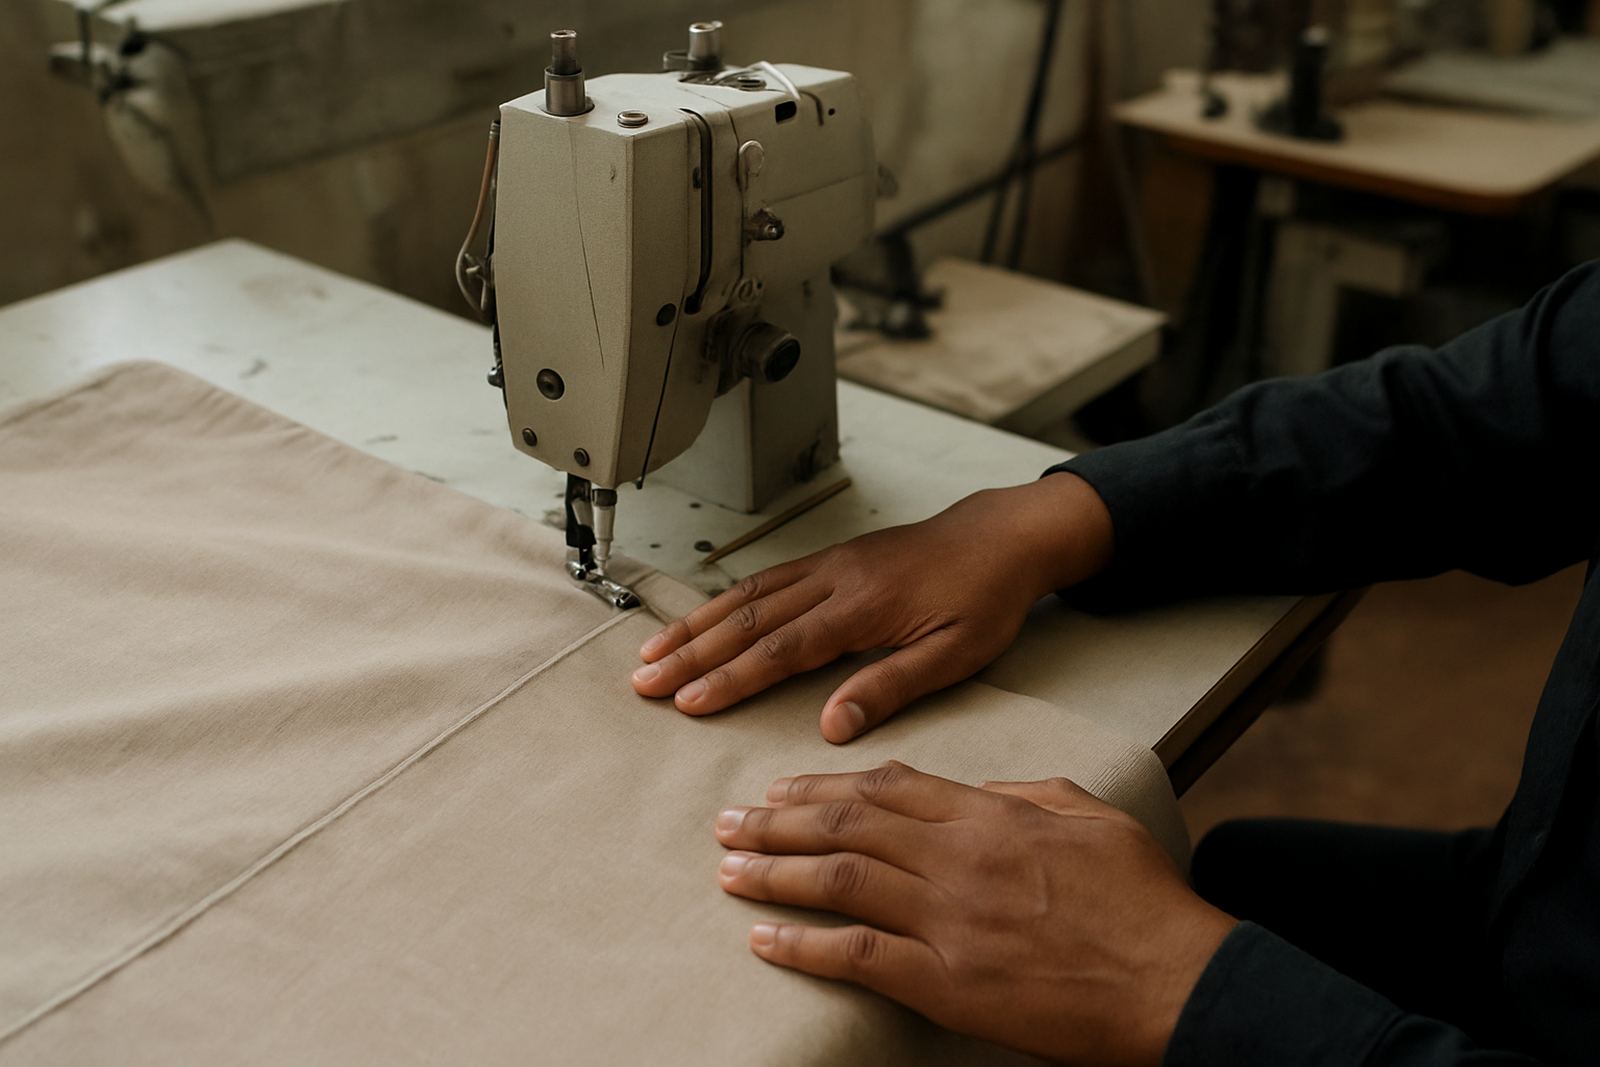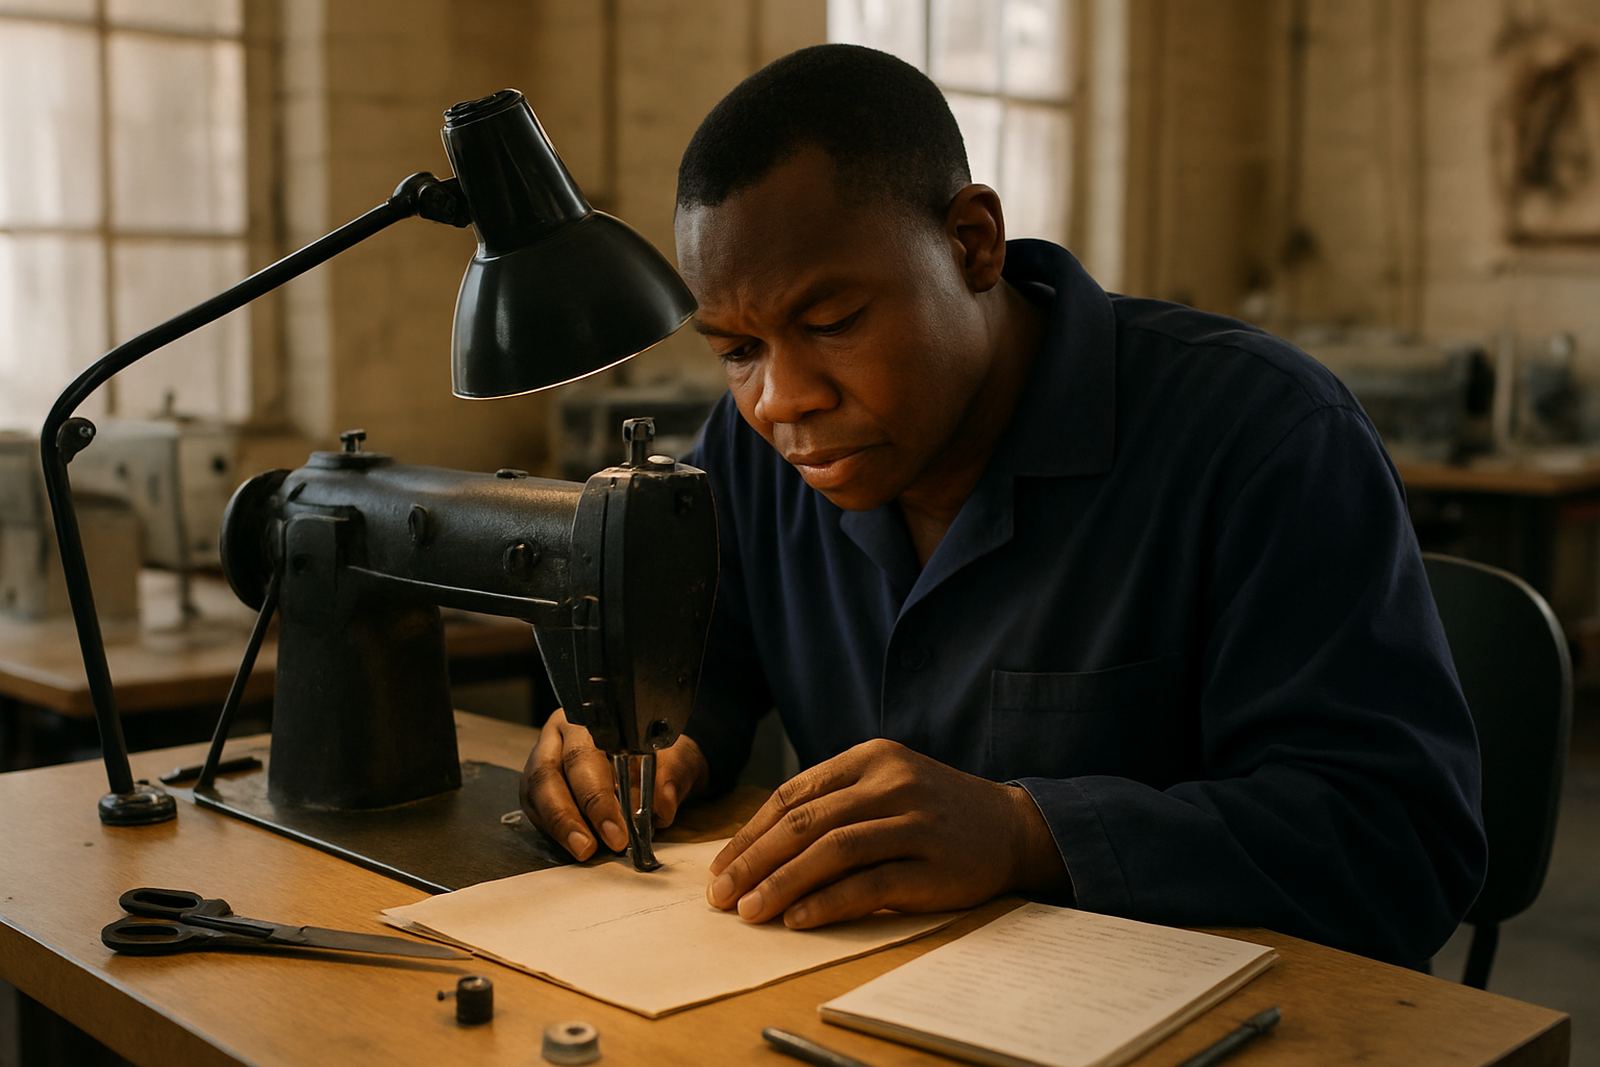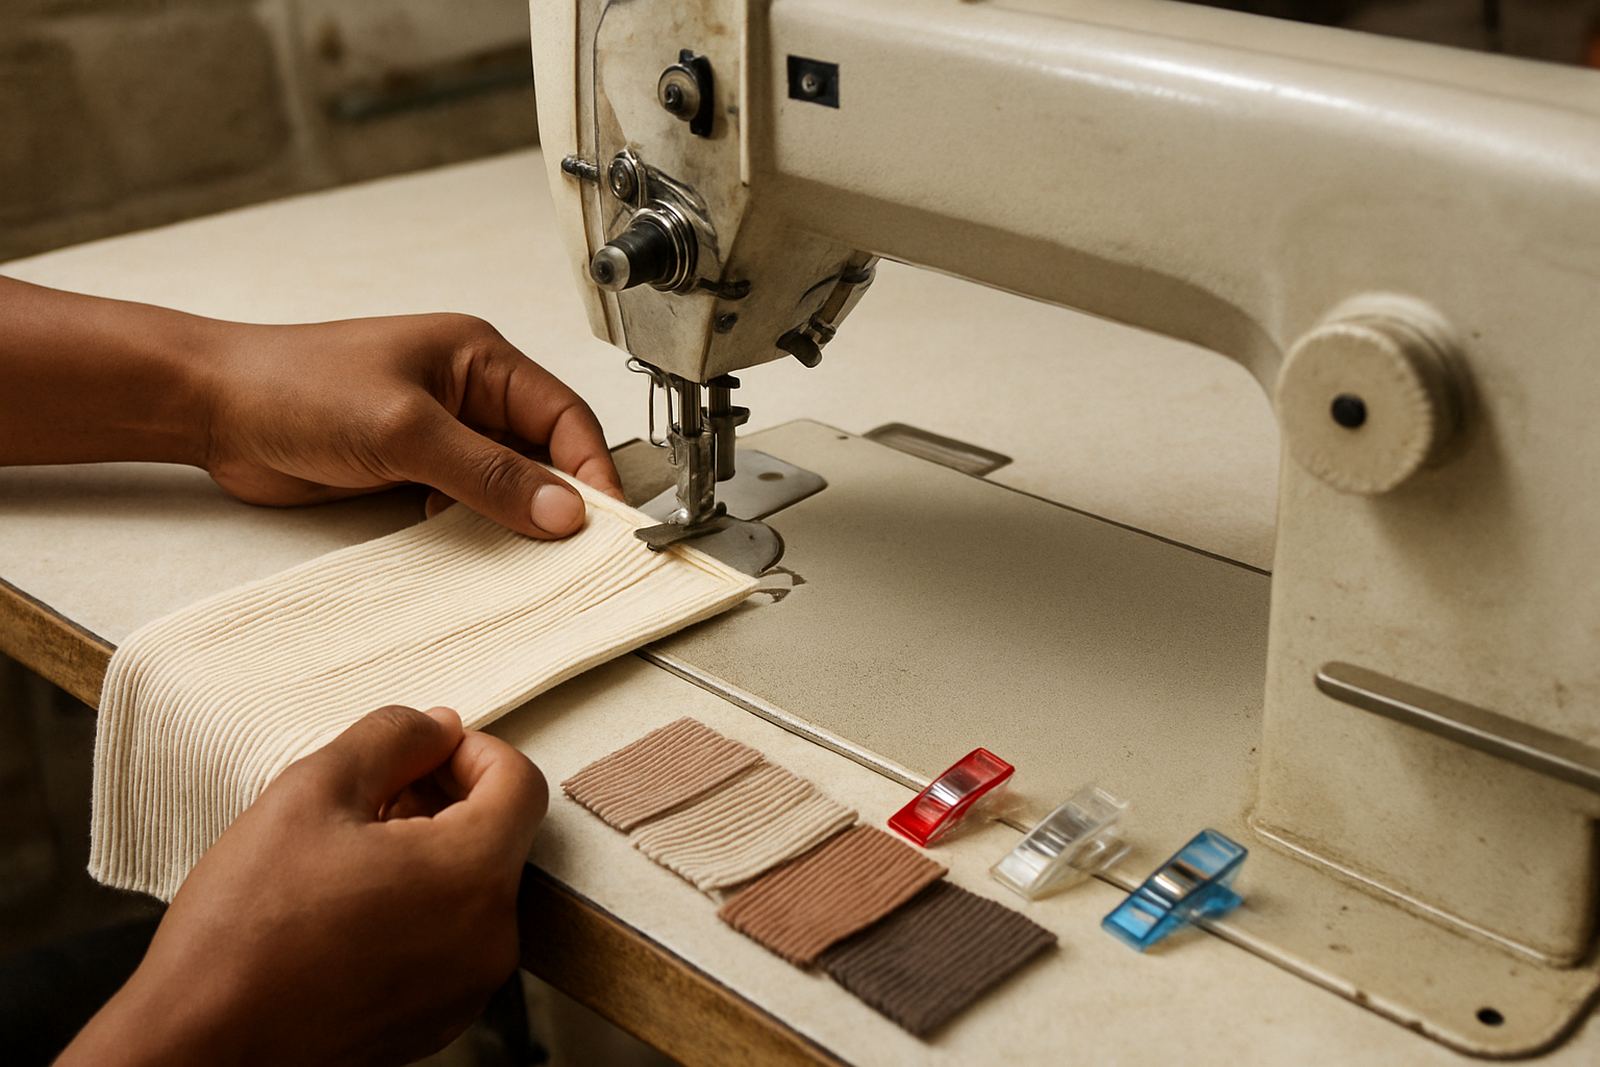

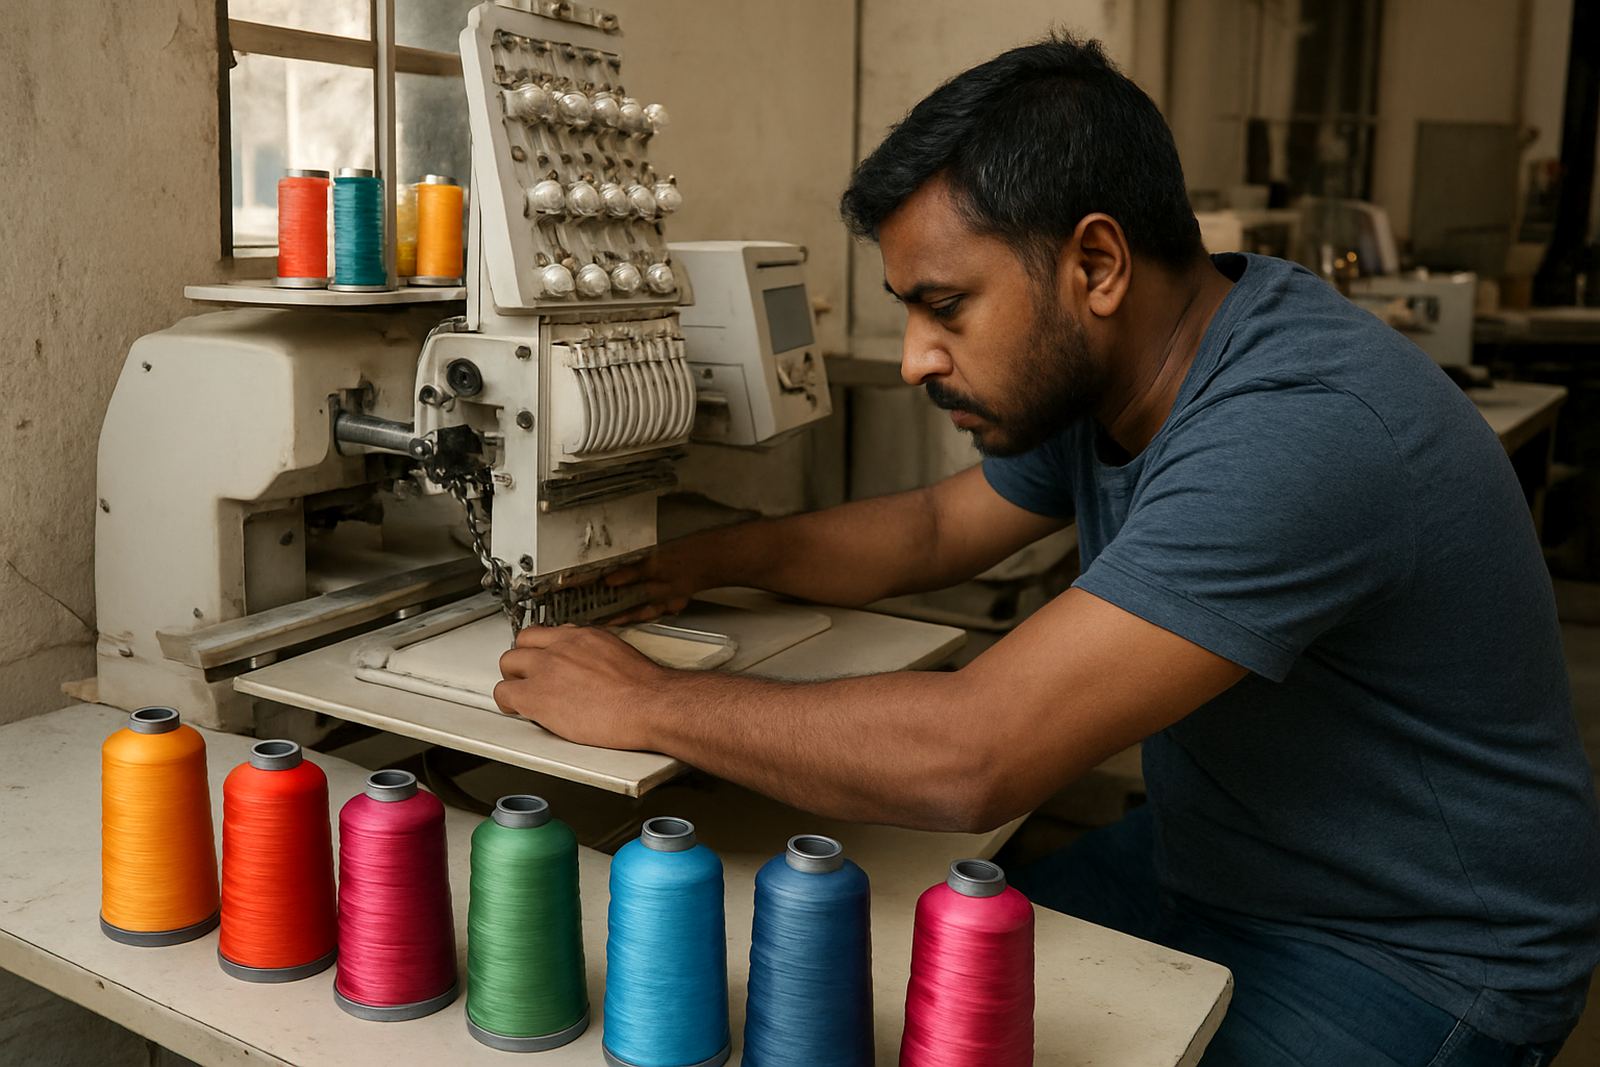
Start with the simplest cause: thread path and tension
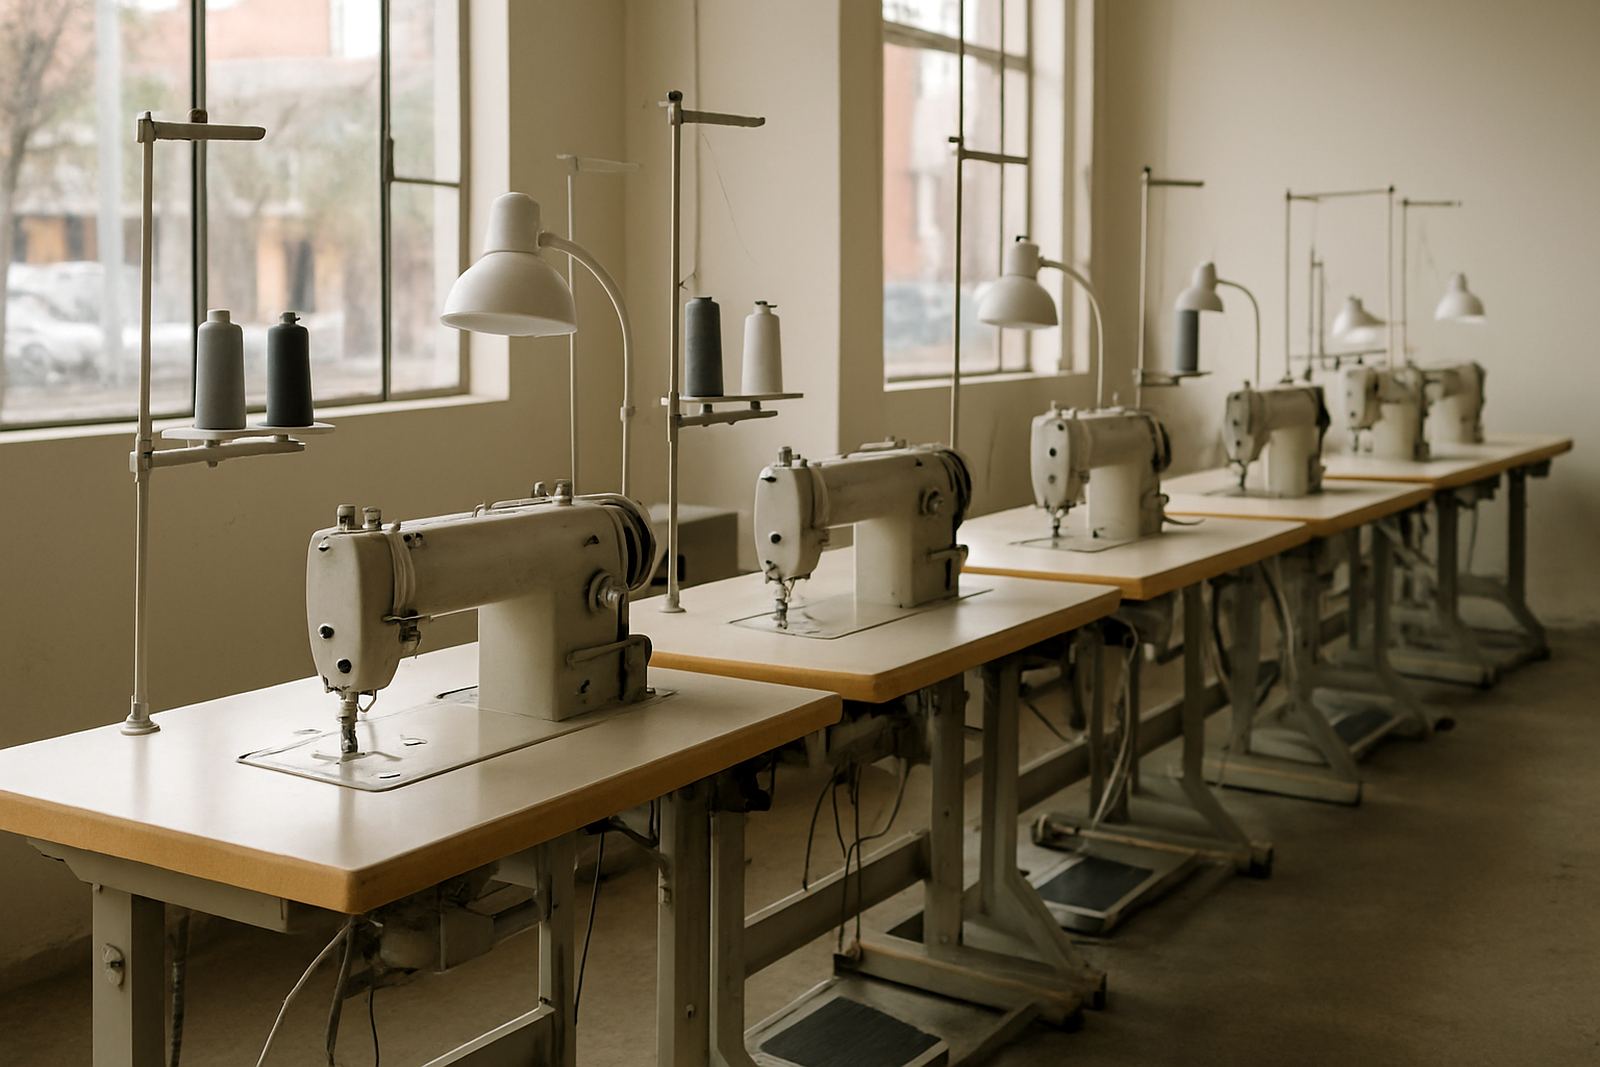
When thread keeps snapping, the first place to look is the full path from cone to needle. A thread that is caught on a rough guide, wrapped too tight around a post, or fed through the wrong point will rub heat into the strand until it weakens. In many Johannesburg workrooms, especially where several operators share one machine, the path gets altered during a quick thread change and no one notices until the breaks start.
Tension is just as important. Too much top tension will pull the thread hard through the eye of the needle and into the fabric, while loose bobbin tension can cause snarling and backtracking that adds extra strain. For embroidery, balance matters more than force. If the stitch looks tight, shiny or puckered, the machine is asking too much of the thread.
- Check that the thread sits correctly on the spool stand and passes every guide in order.
- Feel for rough edges on guides, tension discs and thread tubes.
- Reduce top tension in small steps and test a short run before changing again.
- Make sure the thread cone can feed freely without jerking or snagging.
On a busy Friday in Fordsburg, a small badge job can be delayed by one bent guide or a spool that is wobbling on the stand. It only takes one hard pull to start repeated breaks.
Needles wear out faster than most people think
A blunt or burred needle is one of the most common reasons for thread breaks. Once the point starts to dull, it does not slip cleanly through the fabric. Instead it drags the thread, creates friction, and may even shave fibres off the thread before the stitch is formed. That is why a machine can run fine in the morning and start breaking thread by lunchtime.
Needle size and type must also suit the job. A fine needle on heavy towelling or caps will overwork the thread. A large needle on light shirting can leave a hole that disturbs stitch formation and creates poor tension. Matching the needle to the fabric and thread count is basic, but it gets overlooked when the workroom is under pressure.
- Replace needles at the first sign of a burr, bend or dull point.
- Use the right size for the thread thickness and the fabric weight.
- Check that the needle is inserted fully and facing the correct direction.
- If thread breaks happen after a needle strike, inspect the hook area as well.
In Germiston and Alberton, where many operators run mixed production throughout the week, needle stock should be treated as a working consumable, not an emergency item. It is cheaper to change a needle early than to waste thread, time and garments.
Why design density causes breaking on some fabrics
Some embroidery designs are simply too heavy for the fabric or the stabiliser being used. High stitch density means the machine places a lot of thread into a small area, and that extra load increases friction, heat and pull on the thread path. If a logo is packed tightly on a soft knit or thin school shirt, breaks are far more likely.
Density is not only about the file or pattern. It also depends on underlay, pull compensation, stitch angle and how many layers are being sewn in one spot. A dense border on a cap, for example, may need a slower run speed and the correct stabiliser so the thread is not forced to do all the work. When the design is overbuilt, the thread becomes the weakest link.
- Test the design on the exact fabric before running a full batch.
- Reduce stitch density where possible, especially on fine knits and lightweight cottons.
- Use the right stabiliser for the garment and the hoop size.
- Slow the machine down on dense areas and sharp corners.
This is often where a small workshop in Soweto or Mayfair feels the pain first. A school order or club order may look simple on screen, but once it hits the machine the design can be too tight for the cloth and the breaks begin.
The hidden problem of poor pathing and thread quality
Even when tension and needles are in order, thread can still snap if the pathing is poor or the thread itself is inconsistent. Poor pathing includes thread rubbing against the edge of a cone holder, crossing over another thread, or catching on lint in the guide system. These small obstructions create drag. With embroidery, drag is enough to cause repeated breaks.
Thread quality matters too. Old thread, damp thread, or thread stored in a hot area can become brittle. In Gauteng, dust and dry air can also build static, while in some workshops moisture from nearby washing or steam irons affects the cone. The result is the same: a thread that should run smoothly starts to behave badly.
Look out for these signs when tracing the problem:
- Breaks happen more often on one colour than the others.
- The thread feels rough, flat or fuzzy before it reaches the needle.
- There is lint build-up around the guides or tension discs.
- The same design runs well on one machine but fails on another.
If only one colour is failing, swap the cone and test again. If the problem follows the cone, the thread is likely the issue. If it stays with the machine, inspect the path and the needle area carefully.
When the machine settings are part of the fault
Thread breaks do not always mean the operator has done something wrong. Timing, hook clearance, take-up motion and presser foot pressure can all affect how the thread is pulled through the stitch. If the machine is slightly out of time, the needle and hook interaction becomes harsh and thread can fray or snap before the loop is picked up properly.
Motor speed is another factor. Running too fast through dense fills or small lettering puts extra shock on the thread. A machine that is fine for simple monograms may struggle with a detailed crest or a heavy satin border at full speed. That is why routine servicing matters, especially on machines working full days in busy shops.
Signs the problem may be machine related include:
- Repeated breaks at the same point in the design.
- Unusual noise, vibration or a change in stitch sound.
- Needle heat after short runs.
- Skipped stitches happening at the same time as breaks.
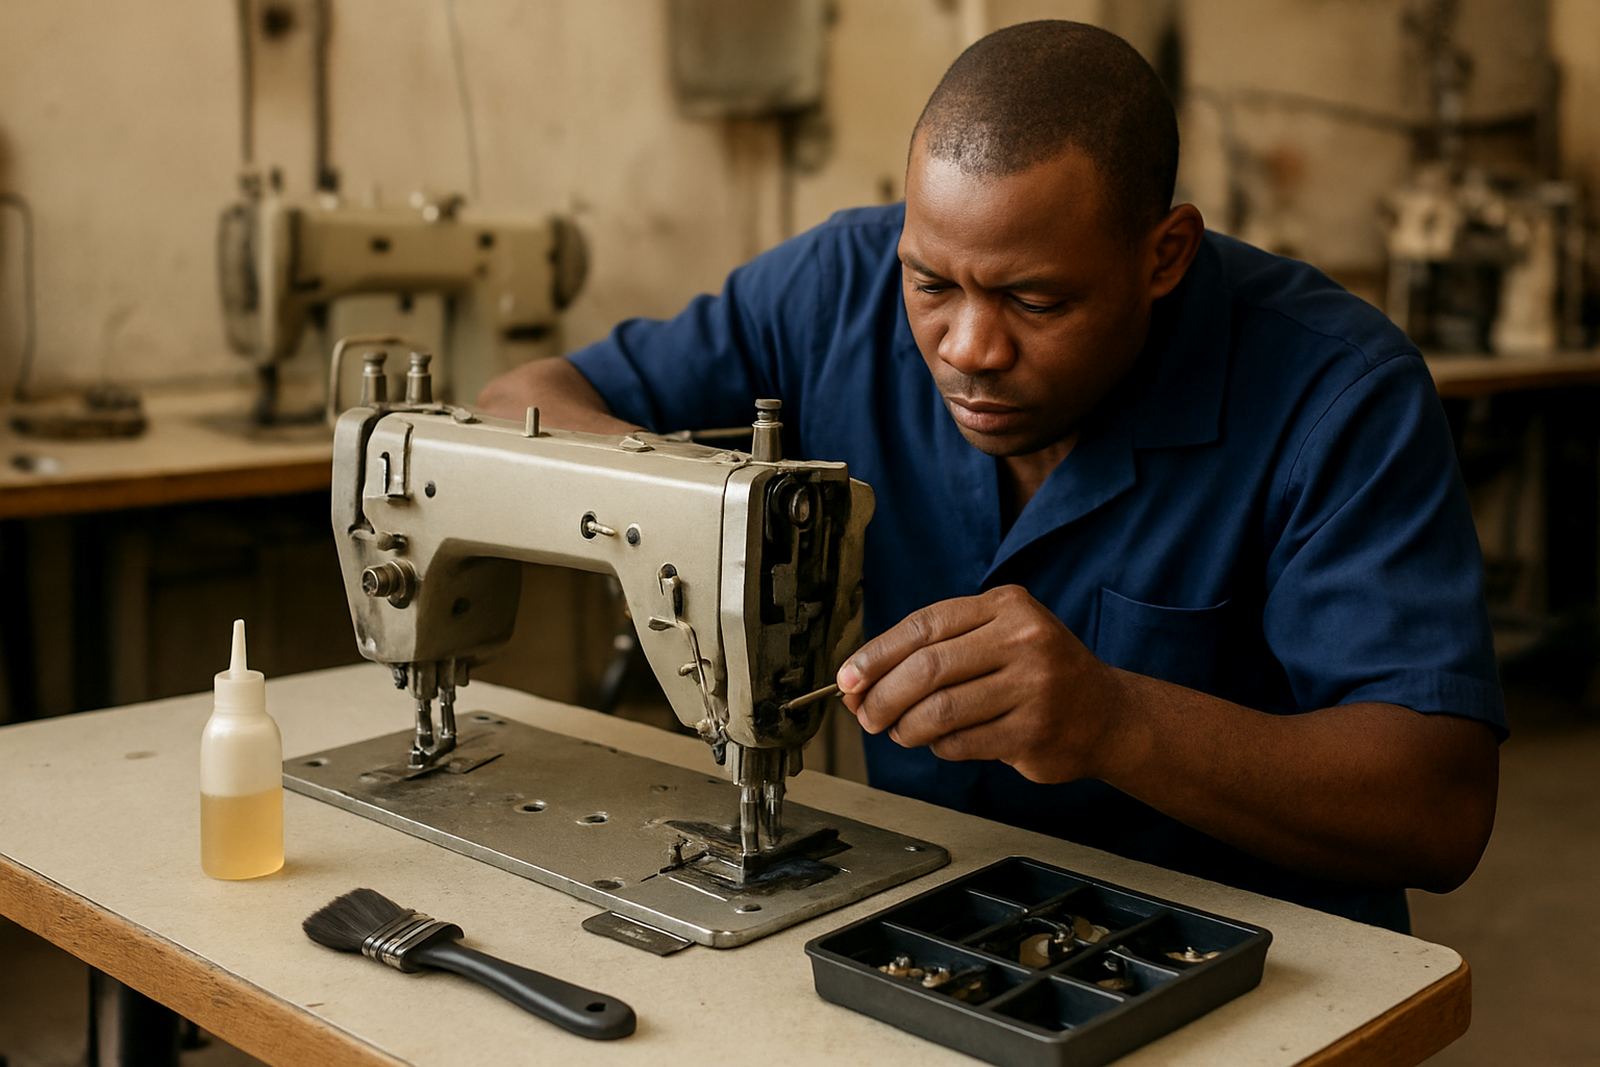
When these signs show up, a proper workshop check is better than guessing. A quick adjustment now can save a lot of wasted thread and damaged work later, and it prevents operators from overcorrecting the machine in ways that make the issue worse.
A local example from a busy Gauteng workroom
A tailormade embroidery order in Pretoria can look straightforward on paper: a run of school badges on polycotton shirts, using one machine and a tight deadline. But if the thread is old, the needle is slightly worn and the design is too dense for the fabric, the job can stop every few minutes. The operator may think the issue is just bad luck, when in fact three small faults are working together.
Once the machine is checked properly, the fix is usually practical rather than dramatic. Replace the needle, clean the path, lower the tension a touch, slow the speed, and test the design on a spare garment. If the pattern is still too full, the artwork may need a lighter stitch structure before the full order runs. That is the kind of adjustment that saves the batch.
For factories, schools and home sewers across Johannesburg CBD, Fordsburg, Mayfair, Soweto, Germiston, Pretoria, Randburg and Alberton, the lesson is the same. Thread breaks are not a mystery. They are a signal that the machine, the design or the consumables need attention.
What to check before you call for service
A quick inspection can solve many thread break problems without stopping production for long. It helps to work through the machine in order, from the spool to the fabric and back again. If the same fault keeps returning, then the issue likely needs a technician or workshop repair.
- Confirm the thread is fresh, dry and suitable for embroidery use.
- Check the needle for wear, bending or a damaged eye area.
- Clean lint from the path, tension discs and bobbin area.
- Test on a different fabric section to rule out the material.
- Watch whether the break happens on one colour, one shape or one machine only.
If you are setting up a new embroidery machine, or an existing machine has started breaking thread after a move or service, it is worth having the tension, timing and stitch settings checked properly. A few small corrections can restore reliable running and reduce waste fast.