
Start with the fabric, not the needle
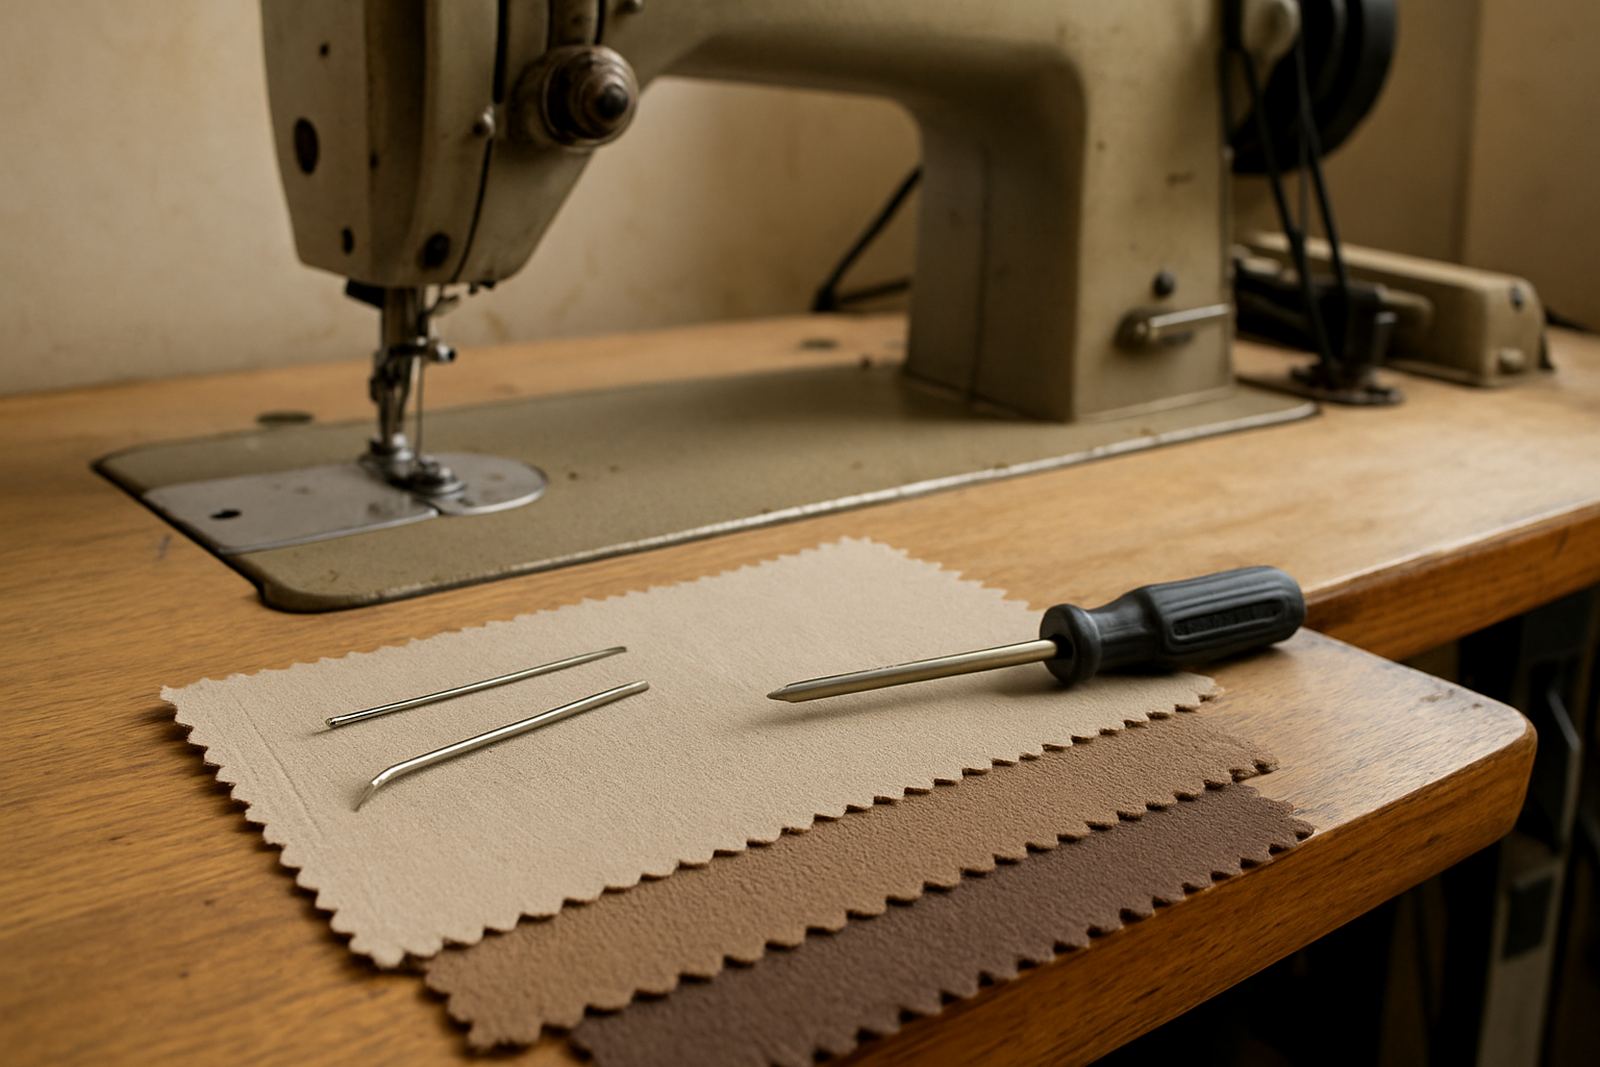
Before you even fold the edge, look at the fabric type. A denim hem behaves very differently from a thin polycotton shirt hem, and stretch fabric needs another approach again. In Johannesburg, where many workrooms handle mixed orders in one day, this step saves time and rework. A heavier cloth often needs a longer fold and a stronger needle, while light fabric needs a finer touch so the edge does not ripple.
For most neat hems, the cut edge should be even and free of fraying before you fold. If the fabric has already stretched, trim it back square and let it relax for a few minutes before pressing. This matters on garments cut in a hurry, especially when a room is busy and operators are moving from one job to the next. If the cloth is damp from steam or from a coastal delivery in humid weather, let it settle first so the hem does not shift after sewing.
- Check grain before folding so the hem hangs straight.
- Match the needle size to the cloth weight.
- Use a thread that suits the finish, not just the colour.
- Test on a scrap offcut if the fabric is slippery or stretchy.
Use a guide that matches the hem width
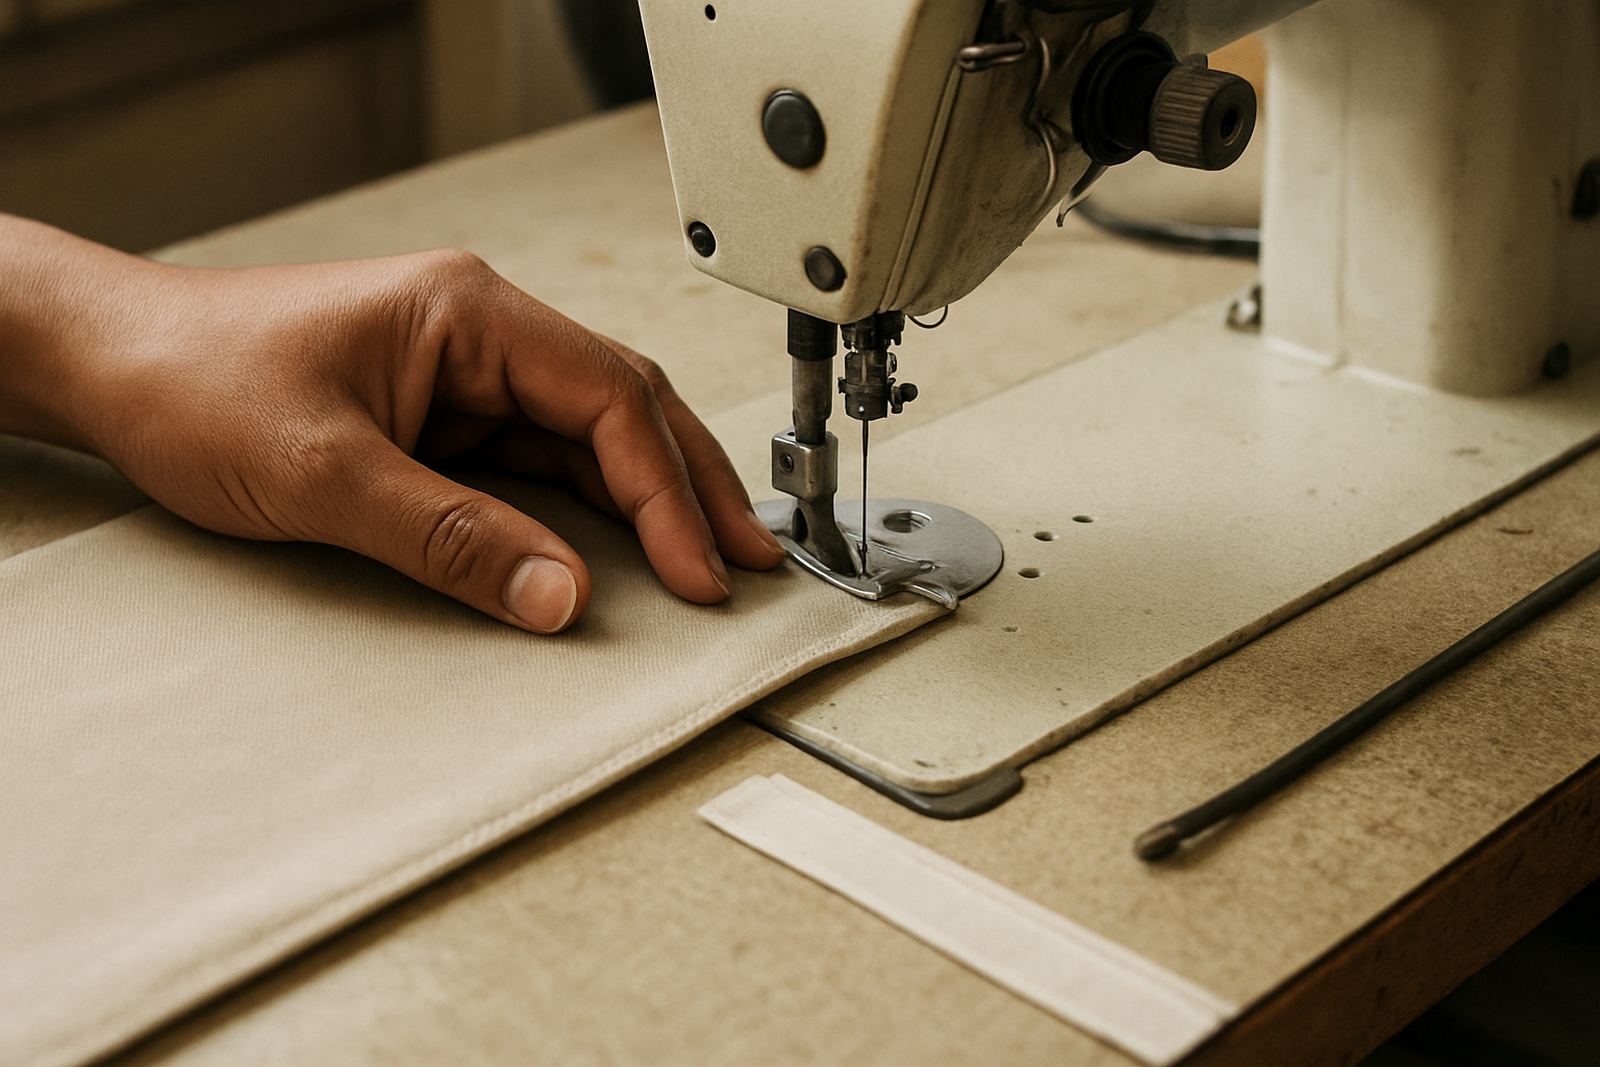
A clean hem depends on consistency. A folding guide, hemmer attachment or marked workroom guide helps keep the width the same from one end to the other. Without that, the hem can wander by a few millimetres and the garment starts looking uneven. On school skirts, chef trousers, trade uniforms and curtains, that small difference shows quickly.
For a narrow hem, the fold must be controlled very neatly. For a deeper hem, especially on curtains or long trousers, the first fold should be firm and the second fold should sit flat without bulking up. Many tailors in Fordsburg, Mayfair and Germiston keep different guides for different jobs because one setting does not suit every fabric. A good guide also reduces strain on the operator, which is useful in factories where sewing runs long hours and load-shedding interrupts the rhythm of the day.
- Keep one guide for narrow hems and another for deep hems.
- Set the guide before the batch starts, not halfway through.
- Watch the fold line for thickness, twisting or puckering.
- Replace worn attachments when the edge stops feeding evenly.
Pressing is what makes the hem look finished
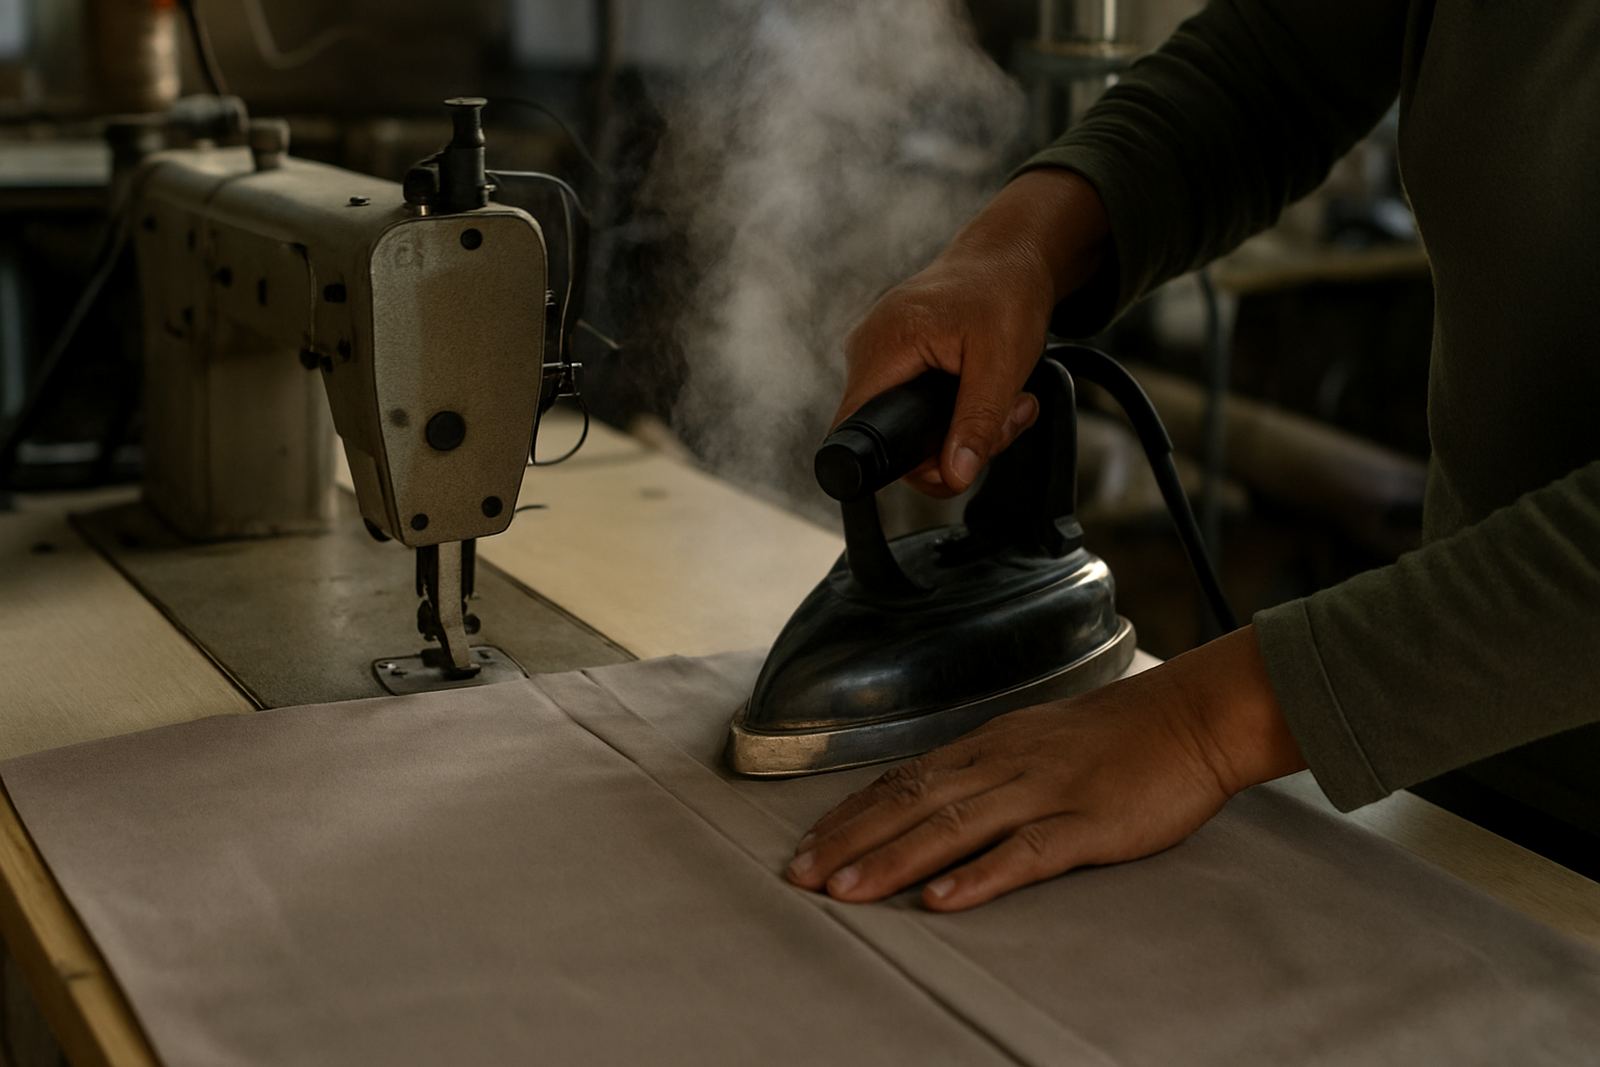
Many people think the stitching is what gives the hem its neat look. In practice, pressing often makes the bigger difference. A hem that is pressed before sewing sits flat, and a second press after sewing settles the fold into the cloth. Without that, even a good stitch can look untidy. This is especially true on cotton, linen and schoolwear, where every crease is visible in daylight.
Pressing should not scorch the cloth or flatten the shape out of it. Use the correct temperature and enough steam to shape the edge without shining the fabric. On synthetic fibres, too much heat can make the fold hard and shiny. On heavy fabric, a proper press helps the hem hold its line and prevents the edge from curling back up. If you are finishing garments for clients in Pretoria or Soweto, a clean press gives the work a more professional look before it leaves the room.
Some workrooms in Johannesburg CBD keep a dedicated pressing station for hems, with a flat surface, a sleeve support and a pressing cloth. That saves time and improves repeatability, even on busy days. It also helps when different operators are sharing the same machine, because the press sets the shape before the next seam is sewn.
Avoid the small mistakes that make hems look untidy
Most hem problems are not dramatic. They are small faults that become obvious once the garment is worn or hung. A hem that twists, bubbles or shows uneven stitching can usually be traced back to the guide, the fold or the pressing habit. If you catch the issue early, it is easier to correct than to unpick and start again.
Common causes include feeding the fabric too quickly, using the wrong foot or attachment, and not checking the hem depth at the start of the line. A missed tension adjustment can also make the stitch look tight on one side and loose on the other. For factories and schools that send out regular batches, it helps to train operators to check the first 20 centimetres carefully before continuing. That habit saves thread, time and frustration, and it is especially useful when the room is busy or the power has gone off and the machine is restarting.
- Do not rush the first fold, that is where most errors begin.
- Keep the fabric supported so it does not stretch while sewing.
- Check the machine tension before a new batch starts.
- Unpick and correct a bad hem early, before it reaches the end.
Why machine setup matters for a better hem
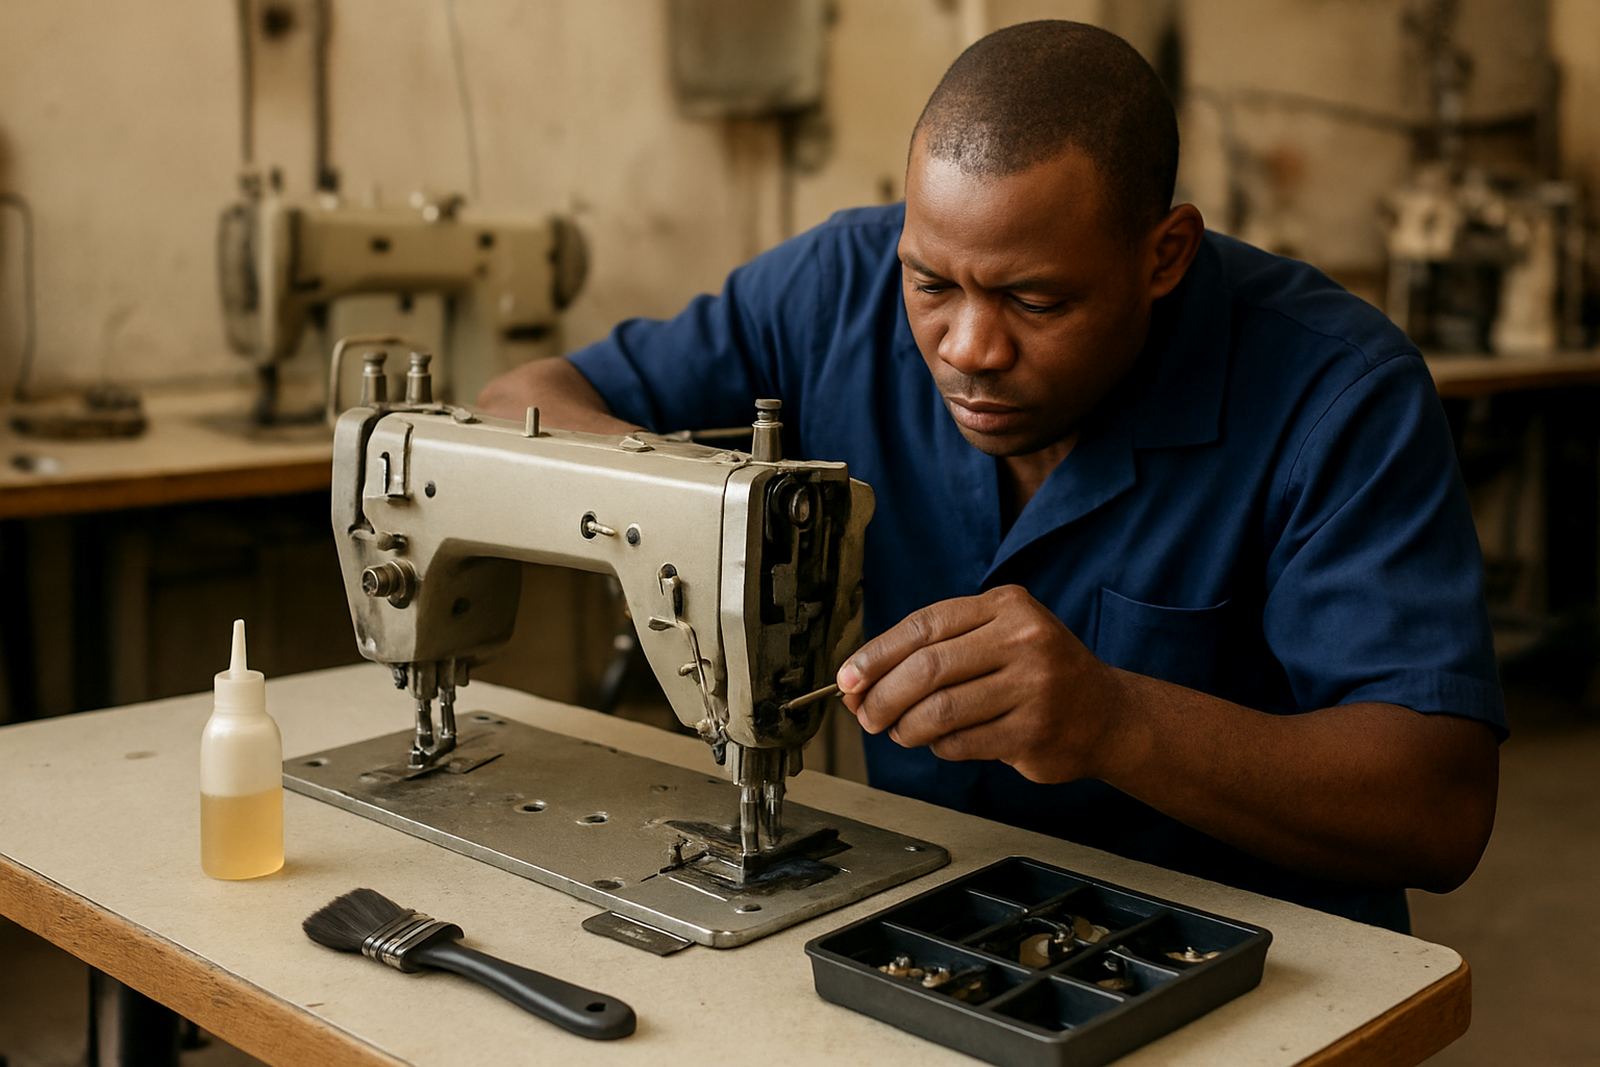
Even a skilled sewer will struggle if the machine is not set up properly. Timing, motor response, stitch length and feed action all affect how the hem sits. If the machine is pulling, skipping or hesitating, the fold will not stay even. That is why routine servicing matters just as much as technique. A machine that is cleaned, oiled and adjusted properly is easier to control, and the finish improves at once.
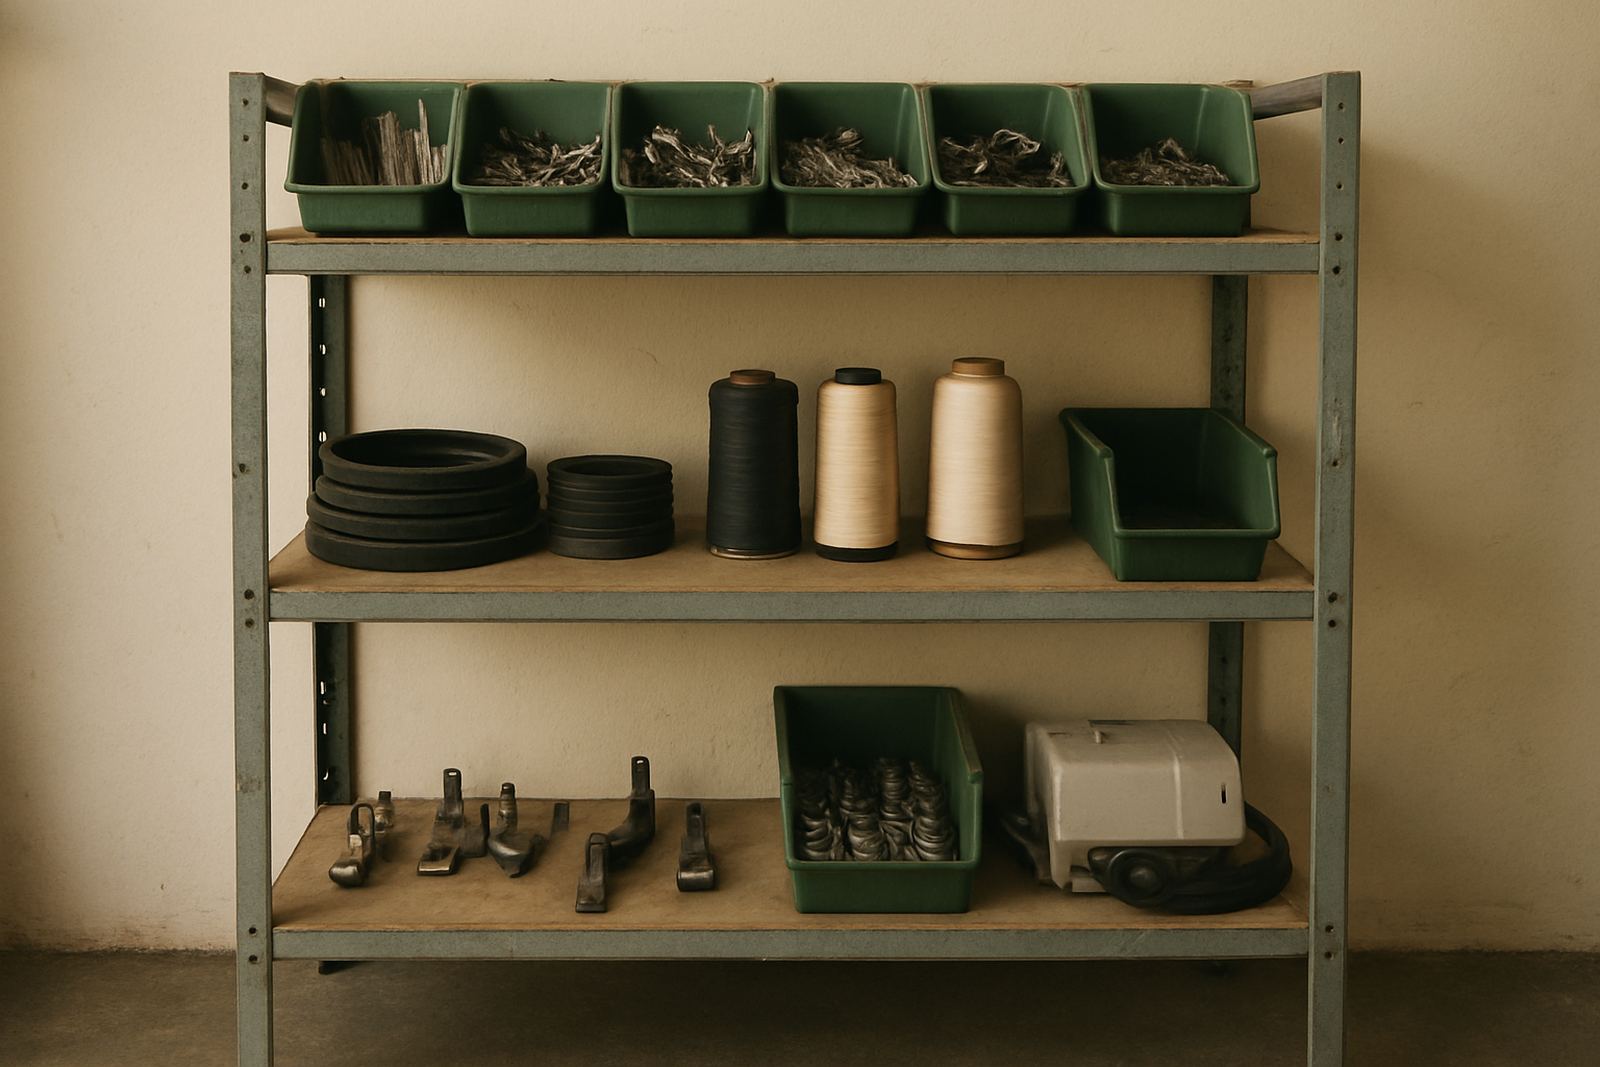
In our Johannesburg CBD base, we often see hem issues linked to blunt needles, incorrect presser foot pressure or worn feed parts. For household machines used at home, that can mean skipped stitches on curtains or uneven hems on dresses. For industrial machines in busy workrooms, it may show up as a repeated fault across many garments. A workshop check, on site repair or timing adjustment can solve the problem before it affects the whole order.
When a machine is set for the right fabric and the operator knows the guide to use, hems become much more consistent. That is true whether the job is a single school uniform or a production run for a garment maker in Germiston.
A simple hemming routine for everyday work
The best hemming routine is practical and repeatable. It should work in a school sewing room, a small tailoring shop or a factory floor. Keep the steps simple so different operators can follow the same method and get the same finish. That consistency matters when orders move between Johannesburg CBD, Randburg, Alberton and Pretoria.
Try this order for cleaner hems:
- Measure and mark the hem depth before folding.
- Trim and neaten the edge if needed.
- Press the first fold firmly and let it cool slightly.
- Fold again using the same guide or mark.
- Stitch at a steady pace without stretching the fabric.
- Press the finished hem again so it lies flat.
If you are hemming a lot of similar items, set up one test piece first and compare it to the finished sample before the batch continues. That small check can prevent a room full of uneven hems. It also helps new staff learn the standard more quickly, instead of guessing their own fold width.
Local jobs need local practical solutions
In Gauteng, hemming often happens under real working conditions, not perfect ones. A school may need trousers altered before Monday. A tailor in Fordsburg may be finishing garments late in the afternoon. A factory in Soweto may be working around load-shedding and trying to keep the line moving. In those situations, a good guide and a reliable pressing habit make a visible difference.
Asia Sewing Machines supplies and services sewing machines, embroidery machines and fusing presses from our Johannesburg CBD base, with support across Gauteng. Our team handles installation, on site repairs, workshop repairs, routine servicing, motor conversions, timing adjustments, embroidery setup, fusing press service, pressing station service, parts sourcing, operator training and workroom planning. If hems are coming out uneven, it is often worth checking both the technique and the machine setup at the same time. That approach usually gets the quickest result.
For factories, tailors, schools and home sewers, neat hems are not about fancy tools. They come from the right fold, the right pressure and a machine that is properly set up. Once those basics are in place, the finish looks better straight away and the work moves more smoothly too.