
Start With Straight Seams, Not Fancy Finishes
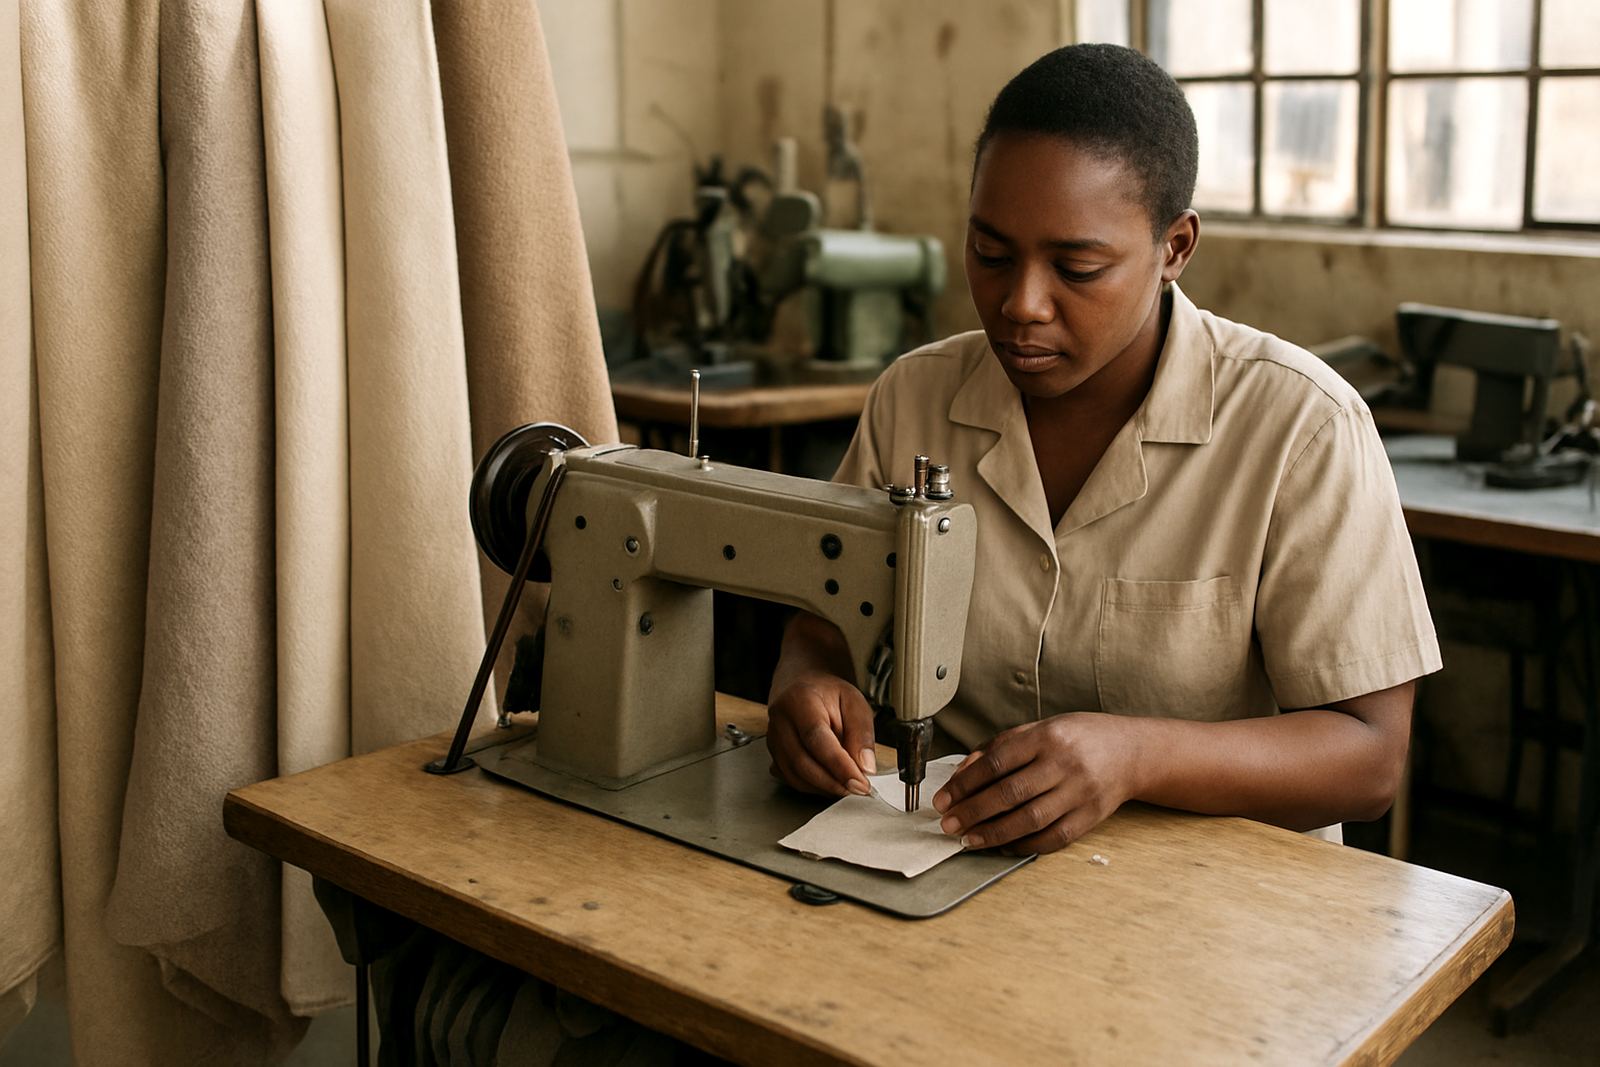
When someone sits down at a sewing machine for the first time, the best lesson is not how fast they can sew but how steady they can keep the fabric. Straight seams teach hand control, foot control and eye control at the same time. That matters whether the learner is a school pupil in Germiston, a home sewer in Pretoria or a tailoring assistant in Soweto trying to get through a stack of practice pieces before the morning rush.
At the beginning, plain woven cotton is often the best choice. It feeds evenly, shows mistakes clearly and does not stretch around the needle. A learner can mark guide lines with chalk or a washable pen, then practise following those lines at slow speed. The goal is simple: equal seam allowance, smooth starts, clean stops and no tugging on the cloth.
In our Johannesburg CBD workshop, we often see beginners trying to correct every little wobble with speed. That usually makes the line worse. A better habit is to pause, raise the needle, lift the presser foot and reposition the cloth calmly. Good habits formed early are easier to keep than bad habits are to unlearn.
Set Up the Machine for Safe, Easy Practice
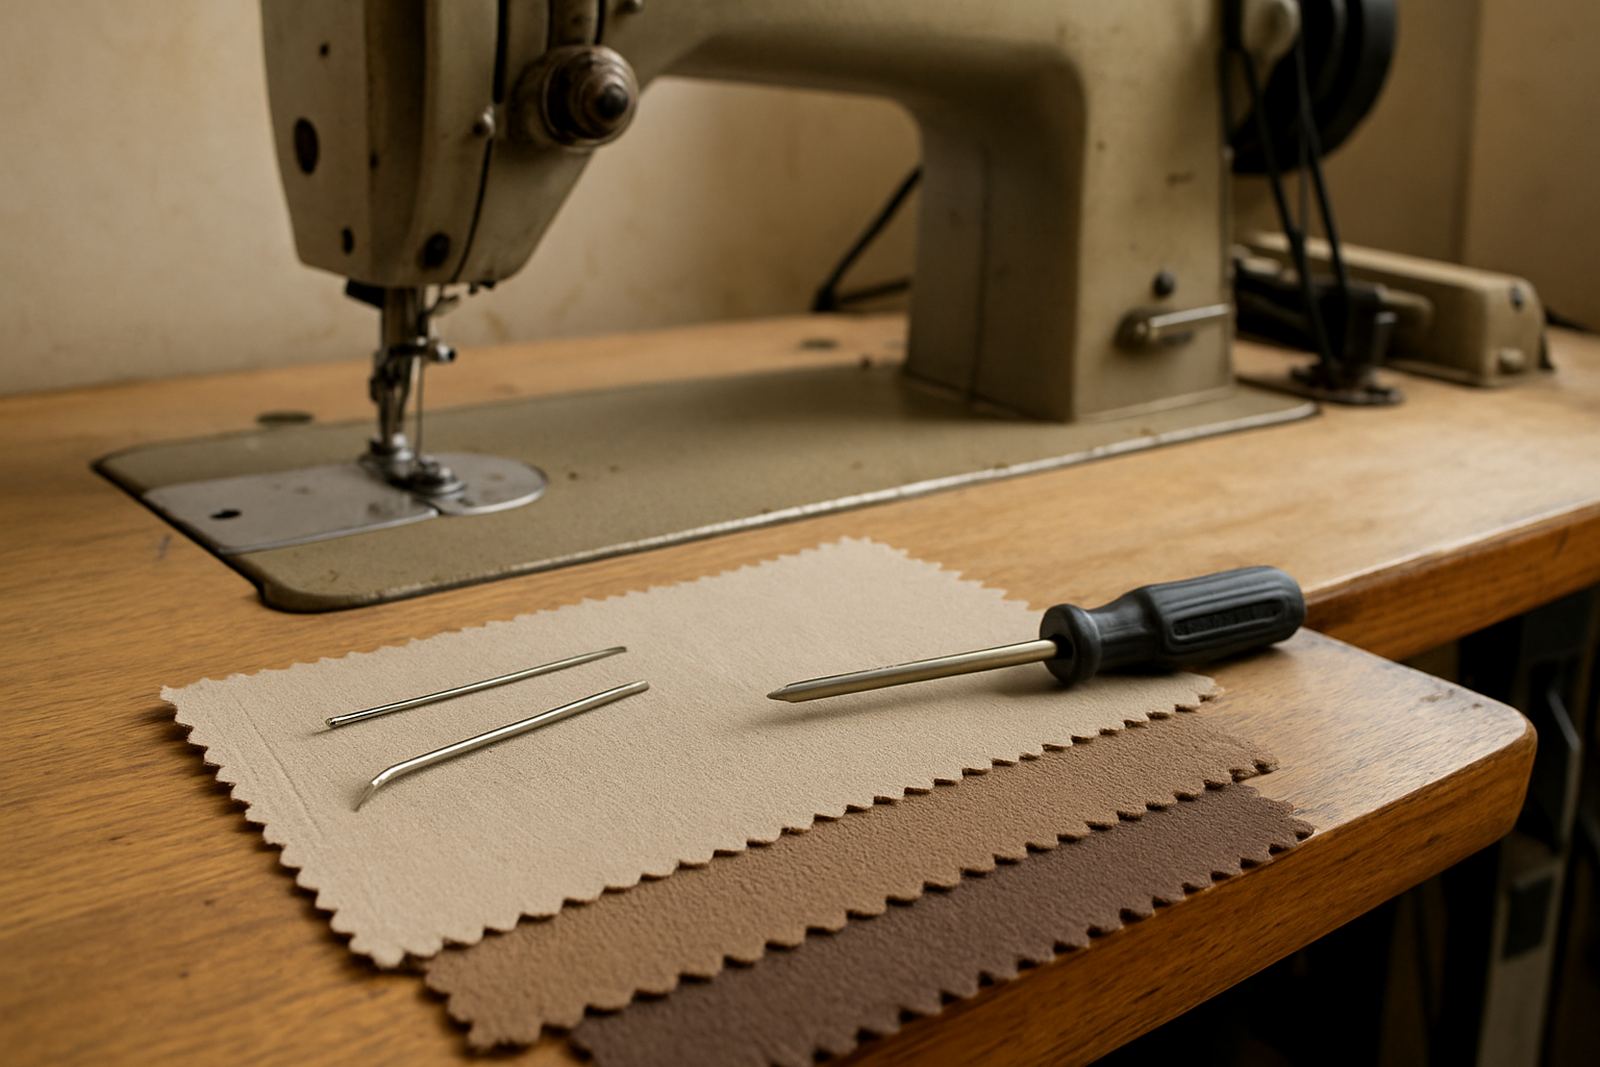
A beginner does better on a machine that is properly set up than on one that is fighting them. The needle should match the fabric and thread, the tension should be balanced, and the feed should move the cloth without pulling or puckering. If the machine is noisy, skipping stitches or leaving loops, the learner ends up blaming themselves for a fault that is mechanical.
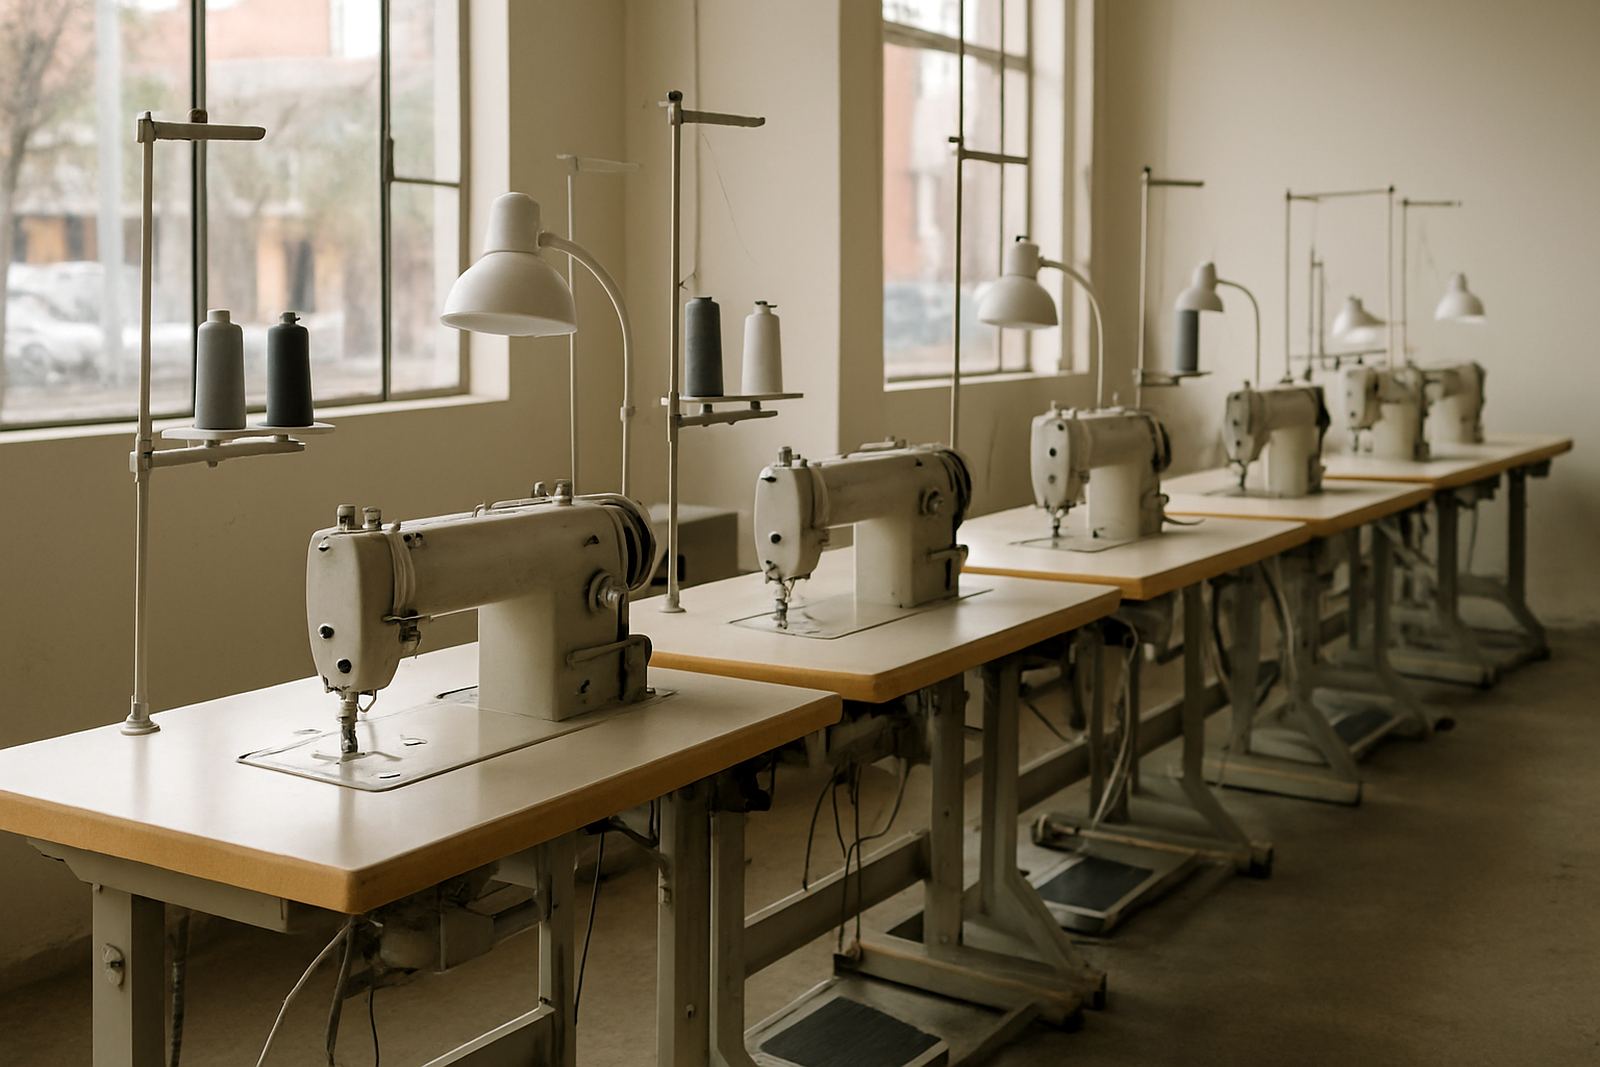
For family homes, schools and small workrooms, a short pre-use check helps prevent accidents and wasted time. It also keeps learners from getting used to unsafe handling. Before sewing, make sure the work area is tidy, the machine is stable and the power lead is in good condition. In areas where load-shedding interrupts the day, switch the machine off at the socket before power returns so the start is controlled, not sudden.
- Check that the needle is straight and fitted correctly.
- Use the correct thread thickness for the fabric.
- Keep fingers well clear of the needle path.
- Test on offcuts before sewing the actual piece.
- Keep scissors, pins and tools within reach but out of the feed area.
Teach Hands, Eyes and Feet to Work Together
Good stitching is a coordination skill. The learner needs to watch the seam line, guide the fabric gently and keep the foot control steady enough to stop and start without jerks. If any one of those parts is too rushed, the seam shows it. That is why short practice sessions often work better than long, tiring ones.
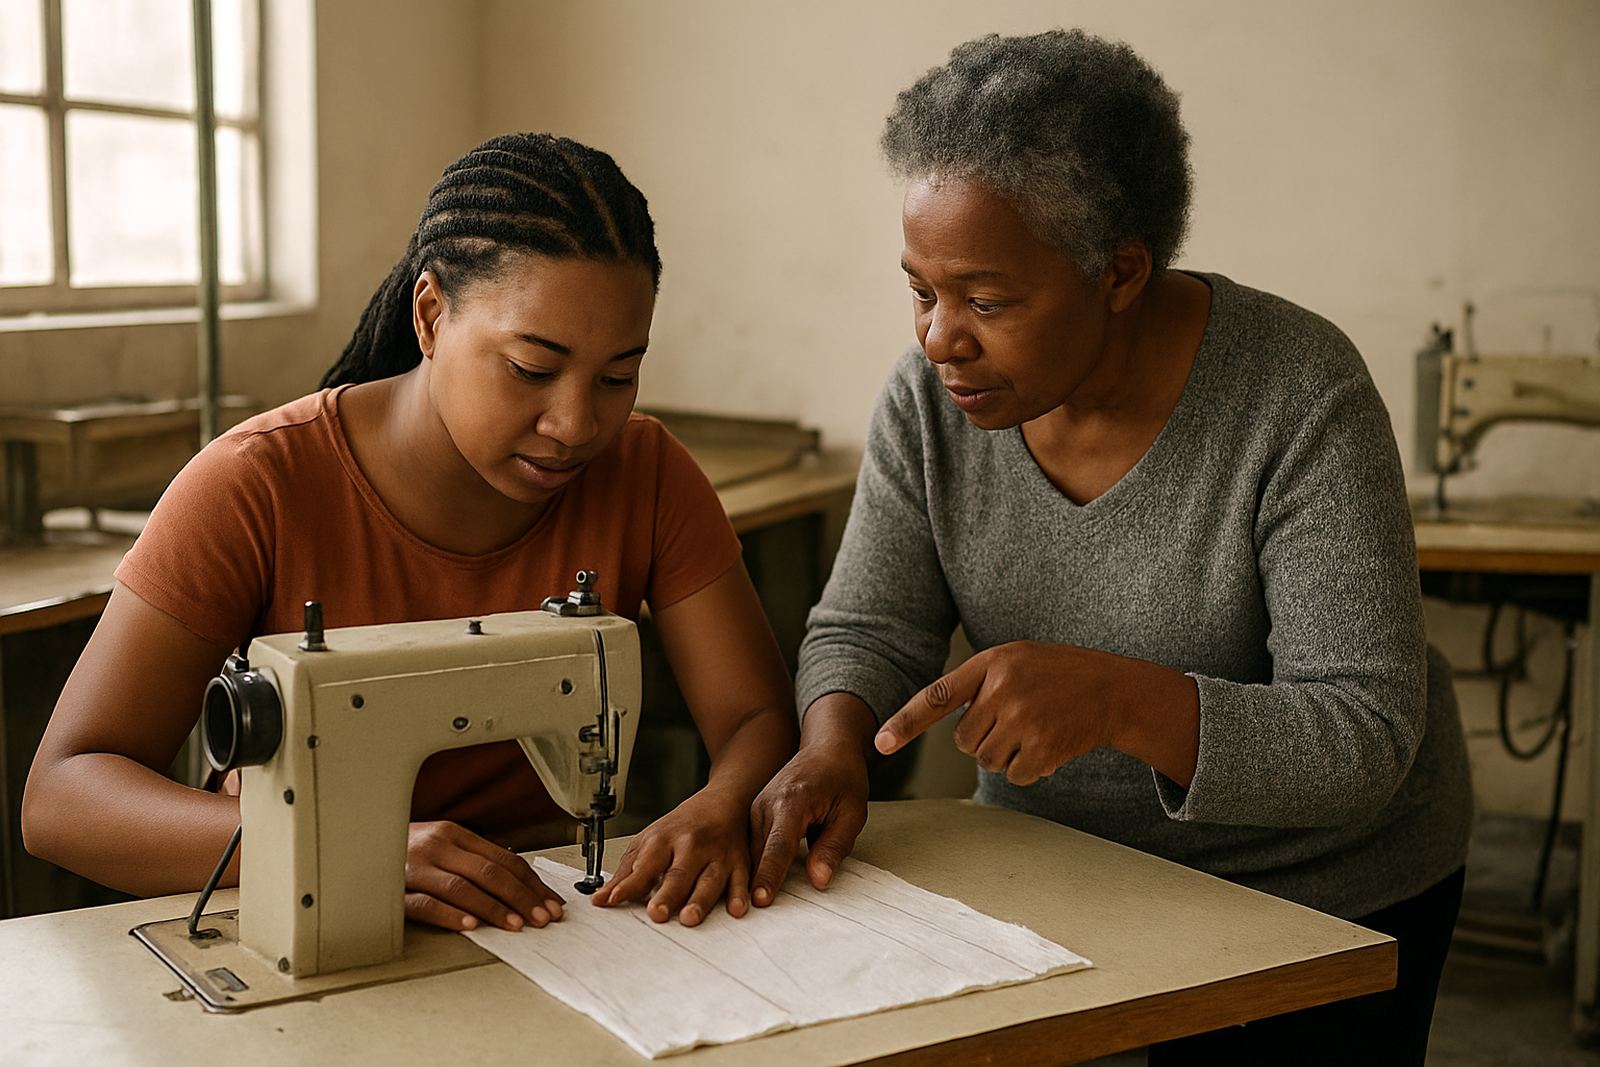
We recommend breaking the lesson into small tasks. First, practise stitching on a marked line without backtracking. Then practise turning at corners. After that, practise stopping exactly at a point and starting again without a knot at the beginning. These small exercises build confidence and accuracy. A learner who can turn a square neatly is usually ready to move on to hems, bags and simple garments.
For training in a school or community centre, it helps to keep the same machine settings for a while. Changing too many things at once confuses beginners. Once the learner is steady, you can introduce different stitch lengths, thicker thread or different fabric weights. That is the practical order: control first, variety later.
Beginner Drills That Build Real Confidence
Simple drills make a big difference because they show progress clearly. A learner can see when the line is improving, and that keeps them interested. In our experience, the best drills are the ones that feel ordinary but teach useful control for real work.
- Sew along two parallel chalk lines to keep a straight seam allowance.
- Practise stopping and starting exactly on a corner mark.
- Stitch a square, then a rectangle, then a long narrow strip.
- Make a sample with both forward sewing and reverse stitching.
- Compare the first sample with the fifth so the learner can see improvement.
These drills also reveal machine issues early. If the stitches keep tightening on one side, the tension needs attention. If the fabric drifts to one side, the presser foot pressure or feed may need adjustment. Sorting these problems early saves a lot of frustration later on, especially in busy workrooms where time is money and every offcut counts.
Why Safe Habits Matter in Homes, Schools and Workrooms
Safe habits are not just about avoiding injury. They also protect the machine and the job. A learner who snatches fabric, sews over pins or pulls the cloth from behind can damage the needle, bend the timing or leave poor stitch quality that has to be unpicked. That slows everyone down.
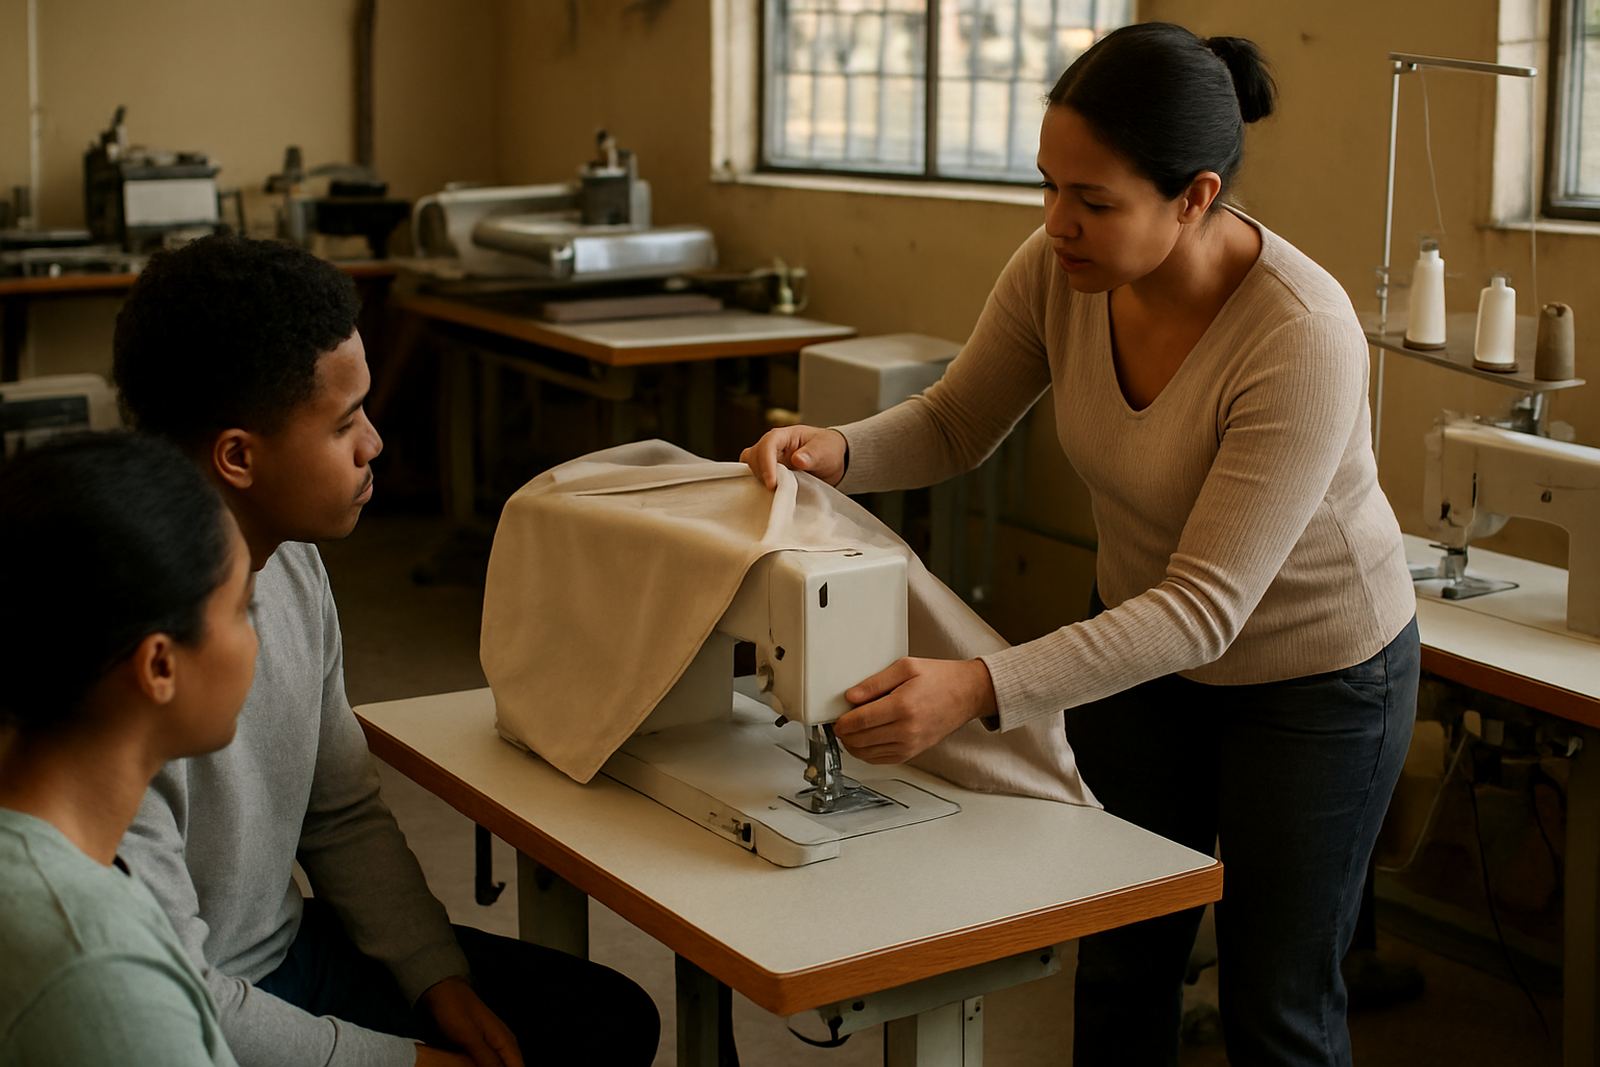
In a school setting, safety also means keeping younger learners supervised and setting clear rules for machine use. In a home, it means keeping children away from the machine while it is running and unplugging it after use. In a factory or tailoring room, it means making sure each operator knows where the emergency switch is and how to stop the machine properly if something jams.
We often remind clients across Johannesburg CBD, Fordsburg, Mayfair and Alberton that a neat seam starts before the first stitch. Clean tables, correct seating height and clear lighting all help the beginner stay in control. Those details may seem small, but they are what make steady learning possible.
When a Machine Needs Attention Before Training Continues
Sometimes a learner is blamed for poor stitching when the real issue is the machine. If the machine is skipping stitches, making uneven seams, resisting the handwheel or pulling thread badly, training should pause until the fault is sorted. Otherwise the learner is practising against a problem they did not create.
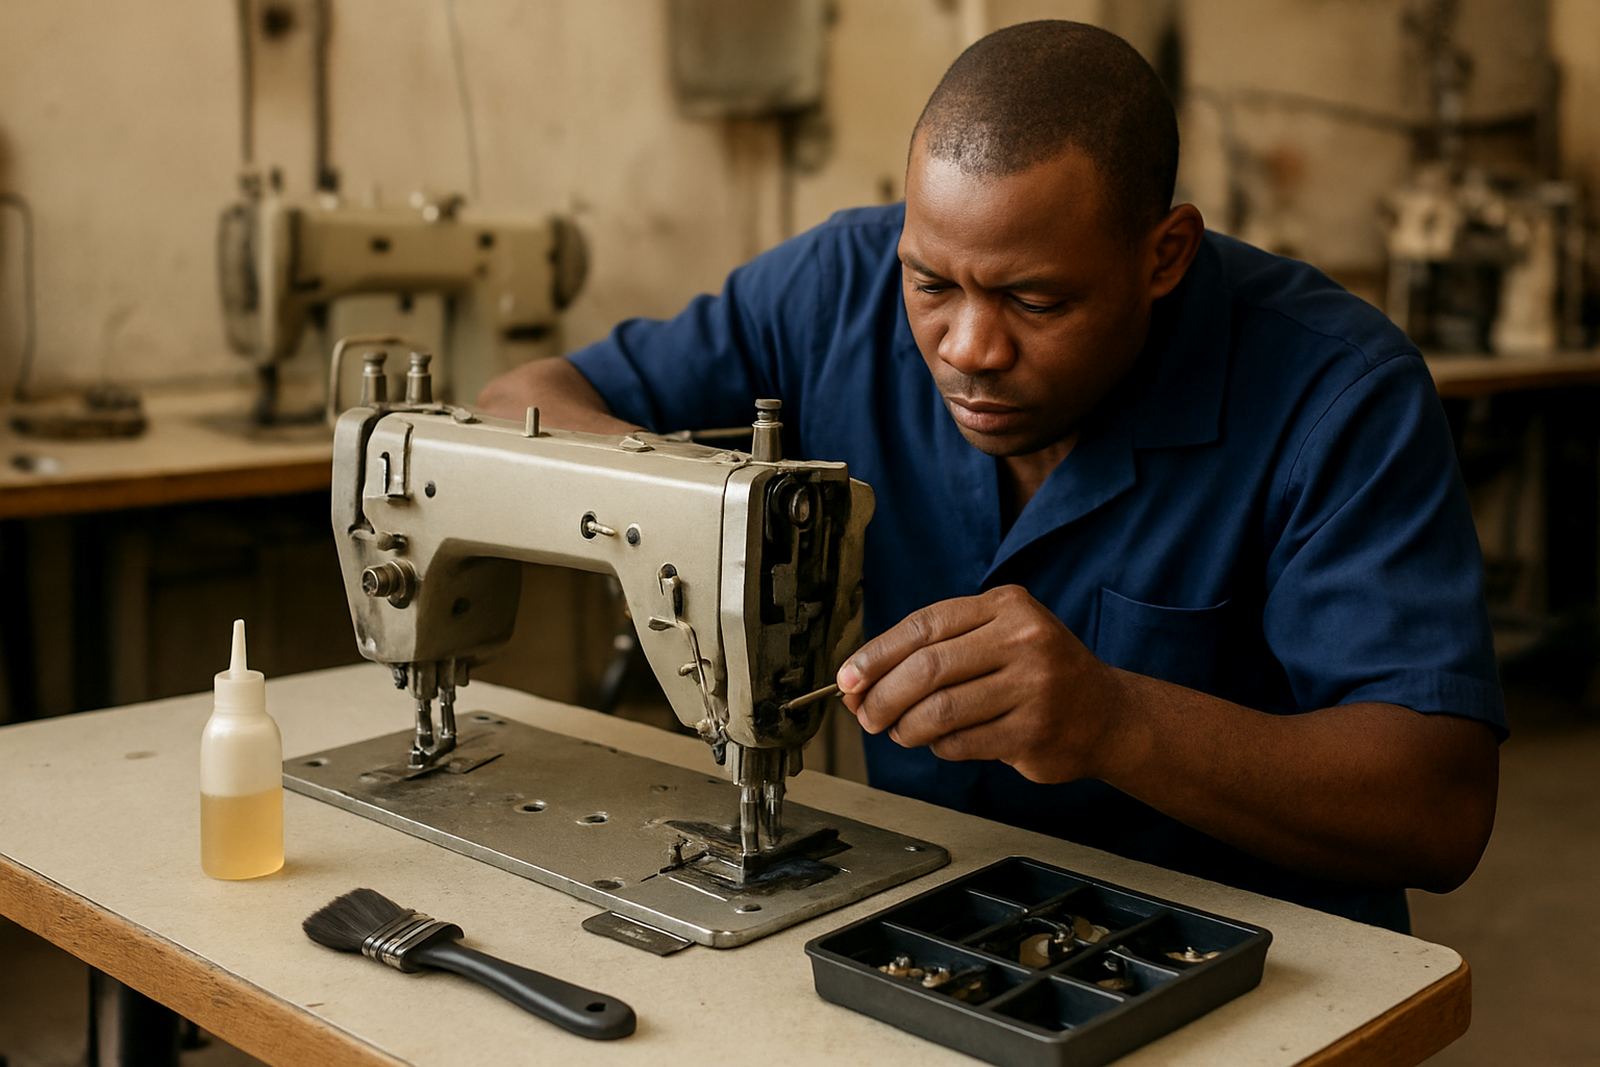
That is where installation, servicing and workshop repairs matter. A proper check can include timing adjustments, motor conversions, embroidery setup, fusing press service or routine servicing depending on the equipment in use. For a factory, school or home user, the aim is the same: a machine that starts easily, runs smoothly and gives the beginner a fair chance to learn.
In the Johannesburg CBD and surrounding areas such as Randburg, Germiston and Pretoria, we work with clients who need practical support, not general talk. If your training machine is noisy, hard to control or overdue for service, sort that first. Then the first seams become a lesson in skill, not a lesson in frustration.
What Progress Should Look Like After the First Few Lessons
Progress in beginner sewing is not measured only by how much has been stitched. It is measured by control. A good sign is when the learner can sit correctly, thread the machine with less help, sew a straight line with fewer stops and recognise when something feels wrong. That is real growth.
After a few lessons, the learner should be able to handle simple practice pieces without constant correction. They should know how to backstitch, how to turn a corner and how to keep their seam allowance even. If they can do that, they are ready for more useful work such as cushion covers, school items or simple garments. From there, the machine becomes a tool they can trust, not something they fear.
That is the purpose of teaching first seams well. It is not about rushing to finished products. It is about building a foundation that holds under pressure, whether the learner is sewing at home after school, in a small workroom in Mayfair or in a busy workshop serving customers across Gauteng.