Why interlining matters in everyday garment work
Interlining sits between the outer fabric and the facing or inner layer, and it gives a garment structure where the cloth would otherwise collapse. In work shirts, school uniforms, jackets and tailored blouses, the right interlining helps edges stay neat, keeps collars crisp and supports button stands so they do not stretch out after a few wears.
For factories and small workrooms in Johannesburg CBD, Fordsburg or Mayfair, the main challenge is not just choosing a product, but matching it to the cloth and the job. A light polycotton shirt needs something different from a heavier suiting front. If the interlining is too stiff, the garment feels boardy. If it is too soft, the shape fades fast and the customer notices.
One common mistake is using the same interlining across a whole order to save time. That often causes trouble at the collar point, the cuff and the placket. These areas take strain, so the support has to be chosen with care and tested before full production starts.
Choosing the right weight and type for the fabric
The first question is always what the outer fabric is doing. Is it light, medium or heavy? Does it stretch? Will it be washed often? For a fine shirting fabric, a lighter interlining usually gives a better finish. For a coat front or a school blazer, a firmer option may be needed so the front keeps its line after pressing and wear.
Heat-applied interlining is common because it speeds up production, but it must be matched carefully to the fabric. If the adhesive is too aggressive, it can mark the cloth or make it shiny. If the melt point is not right, the bond may fail after repeated washing or during a hot press cycle. In humid areas like Germiston or Pretoria East, storage matters too because damp stock can affect bonding and handling.
- Test a small cut piece before full cutting begins
- Check the handle after fusing, not only the look
- Use a sample wash and press if the garment will be laundered often
- Keep different weights clearly marked in the store room
At times, a sewn-in interlining is better than a fused one. This is more common in specialist tailoring or where the outer fabric reacts badly to heat. It takes longer, but it can save the job from bubbling, shrinkage or a patchy finish.
Collars, fronts and plackets need different support
Not every part of a garment needs the same level of support. A collar stand needs firmness at the edge, but the collar leaf may need a softer hand so it rolls properly. The front edge of a shirt or blouse needs enough body to stop wavering, yet it must still sit flat under buttons or fasteners.
Plackets are often where poor choices show first. If the interlining is too thick, buttonholes may gape or become hard to sew. If it is too light, the placket twists after pressing and the garment starts looking untidy. The same is true for pocket flaps, cuffs and facings, where the support must suit the shape and the amount of handling the area will take.
When setting up a line in Soweto or Alberton, it helps to separate the job into zones: high strain, medium strain and appearance only. That simple approach makes sampling easier and cuts down on rework later.
- Use firmer support at collar points and button stands
- Use softer support where the garment must drape or fold
- Do not mix pieces from different rolls without checking the batch first
- Keep grain direction correct so the part does not twist
How to fuse properly without marks or bubbles
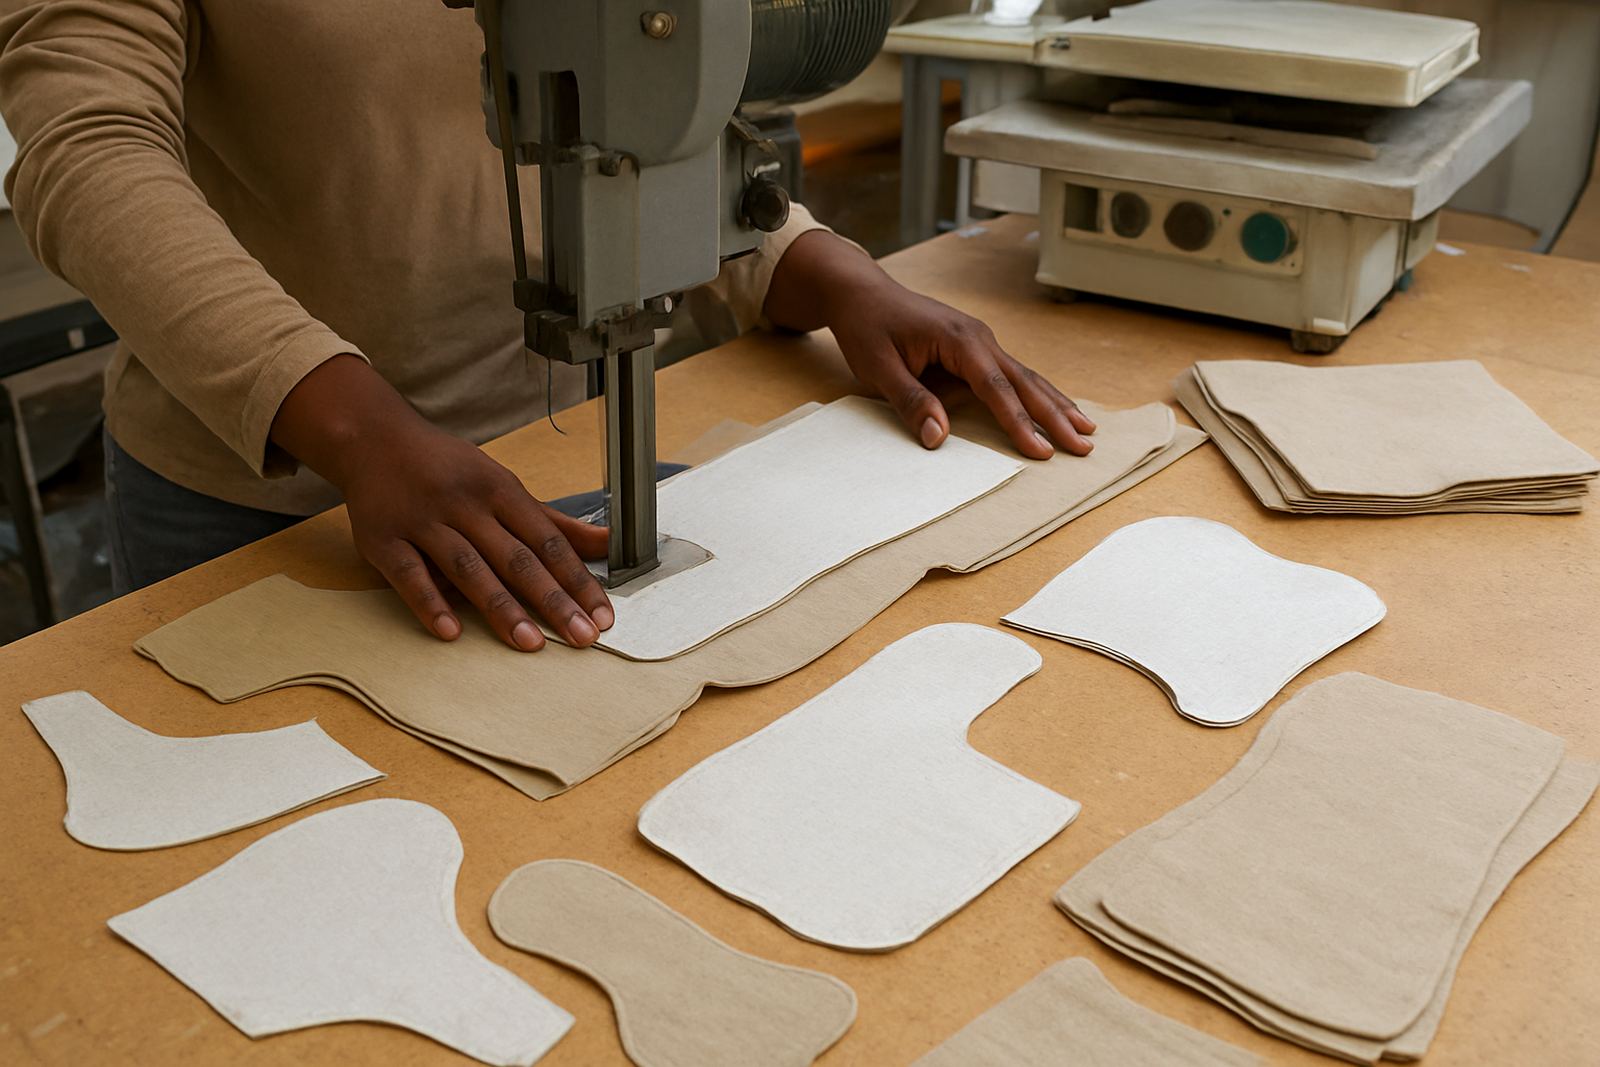
Good application is as important as good selection. Even the right interlining will fail if the heat, pressure or dwell time is wrong. Pressing too hard can flatten texture or leave a visible outline. Pressing too lightly can leave the adhesive partly unset, which causes lifting at the edges after a few wears.
Operators should keep the press plates clean and check for lint, old glue build-up and uneven heat. A fusing press that has hot spots can cause one side of a collar to bond differently from the other. In a busy workroom, especially where load-shedding interrupts routines, it is worth checking settings each time the machine is started up again.
Before bulk production, do a simple test run:
- Fuse a sample piece and let it cool fully
- Flex it at the edge to check for lifting
- Look for shine, bubbles or glue strike-through
- Press the sample again to see if the shape holds
If the sample passes, keep the same operator notes for the rest of the order. That small habit saves time and avoids complaints when garments reach the customer.
Common faults and what they usually mean
When interlining goes wrong, the signs are often easy to spot. Bubbling usually points to poor temperature control, trapped moisture or a mismatch between adhesive and fabric. Delamination, where the layers separate, can come from weak bonding or poor storage. If the garment feels stiff on the bench but softens after a short wear, the support may simply be too light for the job.
Another issue is distortion after washing. This can happen when the outer fabric shrinks more than the interlining. It is common with mixed fibres if the pieces were not pre-tested. Sewing teams in factories around Fordsburg and Pretoria often deal with repeat orders, so once a problem appears it is worth tracing it back to the exact roll, press setting and operator note.
- Shine marks often mean too much heat or pressure
- Edge lifting often means poor fusion or contamination
- Wrinkling can point to grain misalignment before pressing
- Hard hand feel may mean the interlining is over specified
Do not blame the press alone. Cutting, storage, handling and fabric prep all play a part. A clean, flat work surface and a disciplined process usually solve more than a bigger machine ever will.
A practical Johannesburg example for small and large orders
Imagine a uniform maker in the Johannesburg CBD preparing shirts for a school order and a small batch of corporate wear. The shirts need tidy collars, stable fronts and neat plackets, but the fabrics are not the same. The school shirt is a lighter blend for daily wear, while the corporate shirt has a firmer cloth and will go through more pressing.
The right approach is to sample both fabrics separately, then set the support by function rather than by habit. The collar stand may need one level of firmness, the front another, and the cuff another again. When the team records the results properly, the next repeat order moves faster and the finish stays consistent. That is how smaller workrooms stay efficient without cutting corners.
For tailors, schools and factories across Gauteng, good interlining practice is part material knowledge and part machine discipline. If the choice is right and the fusing is controlled, the garment looks cleaner, lasts longer and is easier to press later on. That saves time at the machine and makes the final piece feel properly made.