
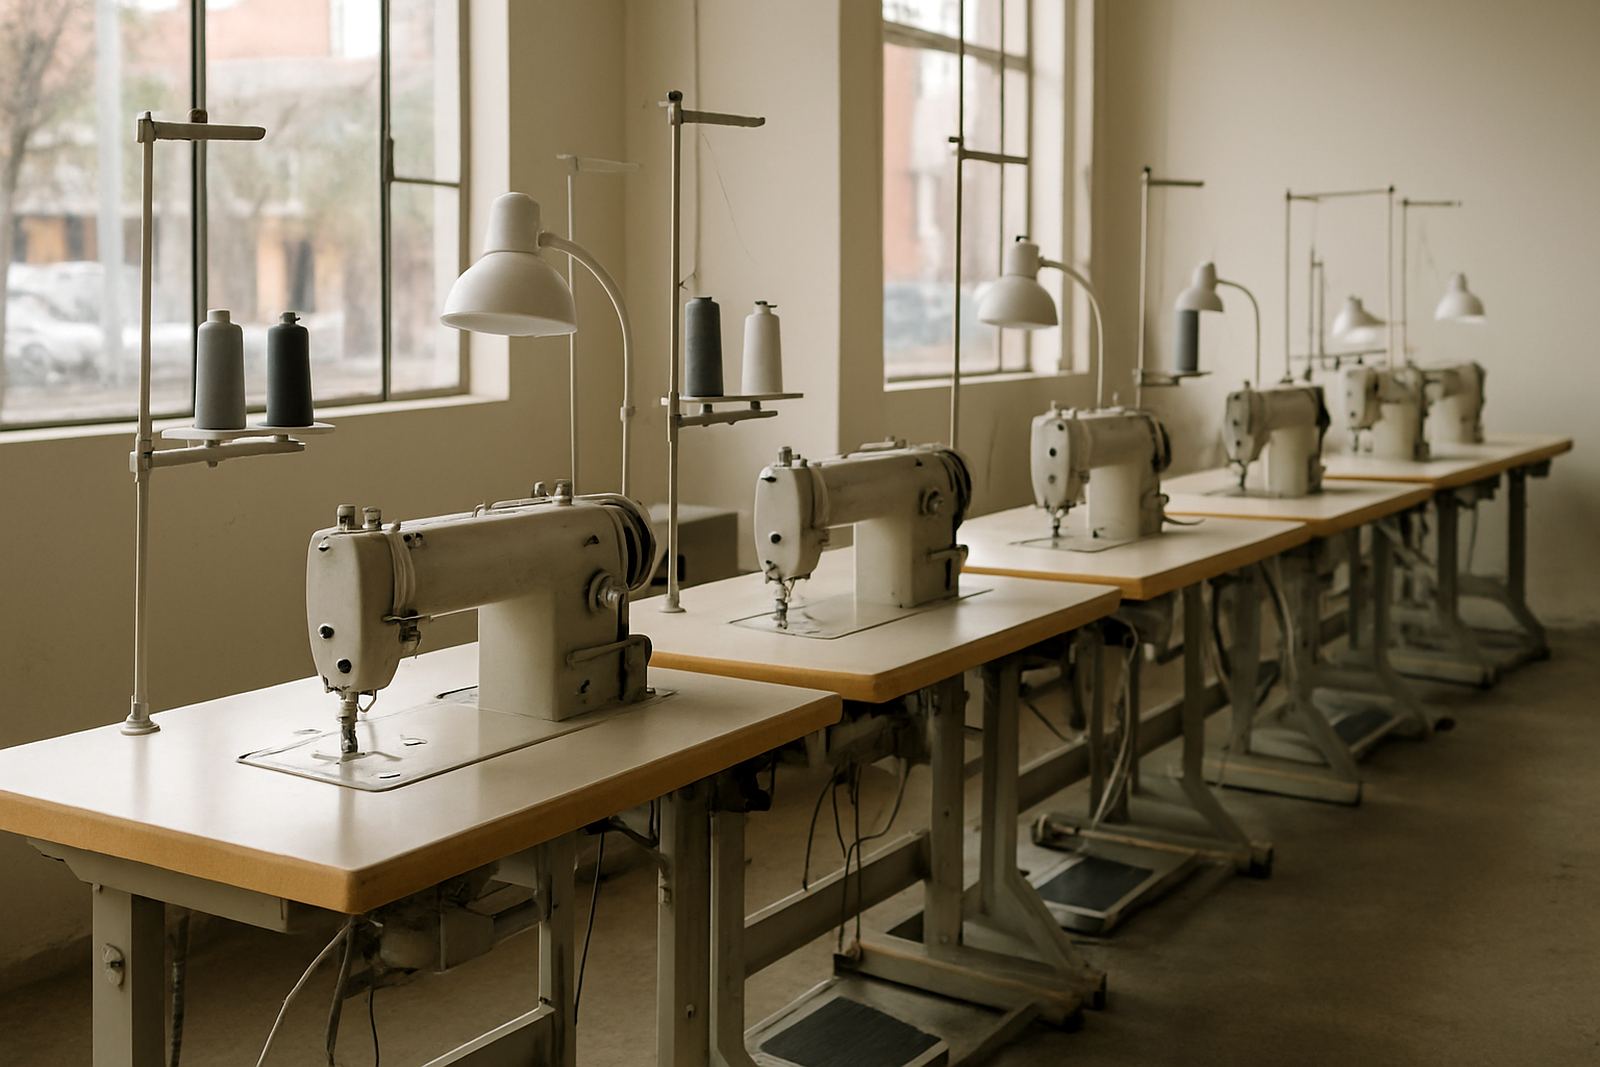
Why zip work goes wrong so often
A zip looks simple until it is sewn into a waistband, skirt seam or school uniform and the teeth sit off centre. The most common mistakes we see in Johannesburg workshops are not complicated faults. They are usually small setup errors that become obvious only after the garment is pressed and worn.
The biggest issue is alignment. If the zip tape is not matched to the seam line from the start, the slider ends up pulling to one side and the garment hangs badly. The second issue is foot choice. A general purpose foot can push the tape away from the needle path, while the wrong presser foot pressure can cause the fabric to creep. On fine fabric that is enough to make the stitch line look untidy.
In many cases the machine itself is not faulty. The problem is that the operator is fighting the zip instead of letting the right setup do the job. A straight stitch machine with the correct foot, neat tension and a steady hand will usually give a better result than rushing the job on a machine that is not suited to close work.
Alignment mistakes that show up in the finished garment
When a zip is visible, as with jackets or skirts, the eye catches every slight offset. If one side is sewn 2 mm higher than the other, the whole garment can look off centre. That becomes a bigger issue with checks, stripes and schoolwear where the seam lines should meet cleanly.
Common alignment errors include:
- Marking the seam allowance too lightly and losing the line during sewing
- Pinning the zip tape unevenly so one side stretches more than the other
- Starting to stitch at the top without checking where the slider will finish
- Failing to baste first on slippery fabric
- Not matching the top stop to the waistband or collar edge
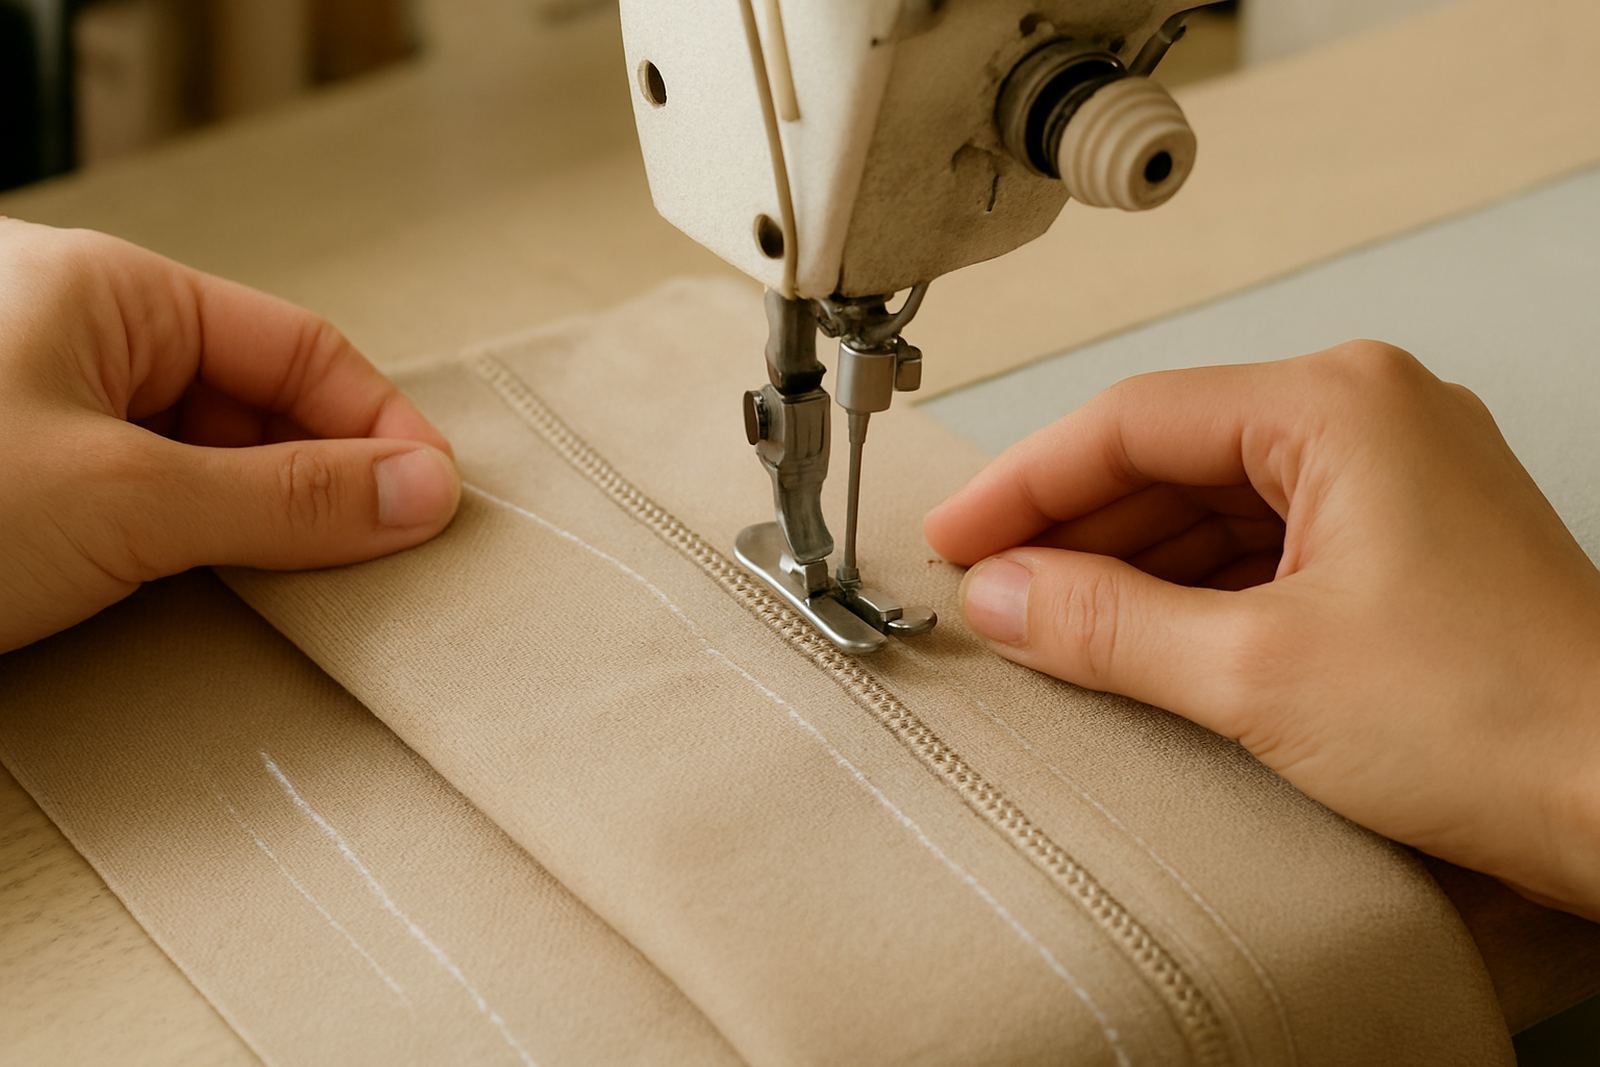
For better control, mark both sides clearly and compare the zip before the first stitch goes in. On thicker garments, a quick baste with long stitches helps hold the tape flat. If the fabric is likely to shift, use clips or fine pins placed across the seam allowance, not along the stitch path. It saves time later, and less unpicking too.
The wrong foot can ruin an otherwise good sew
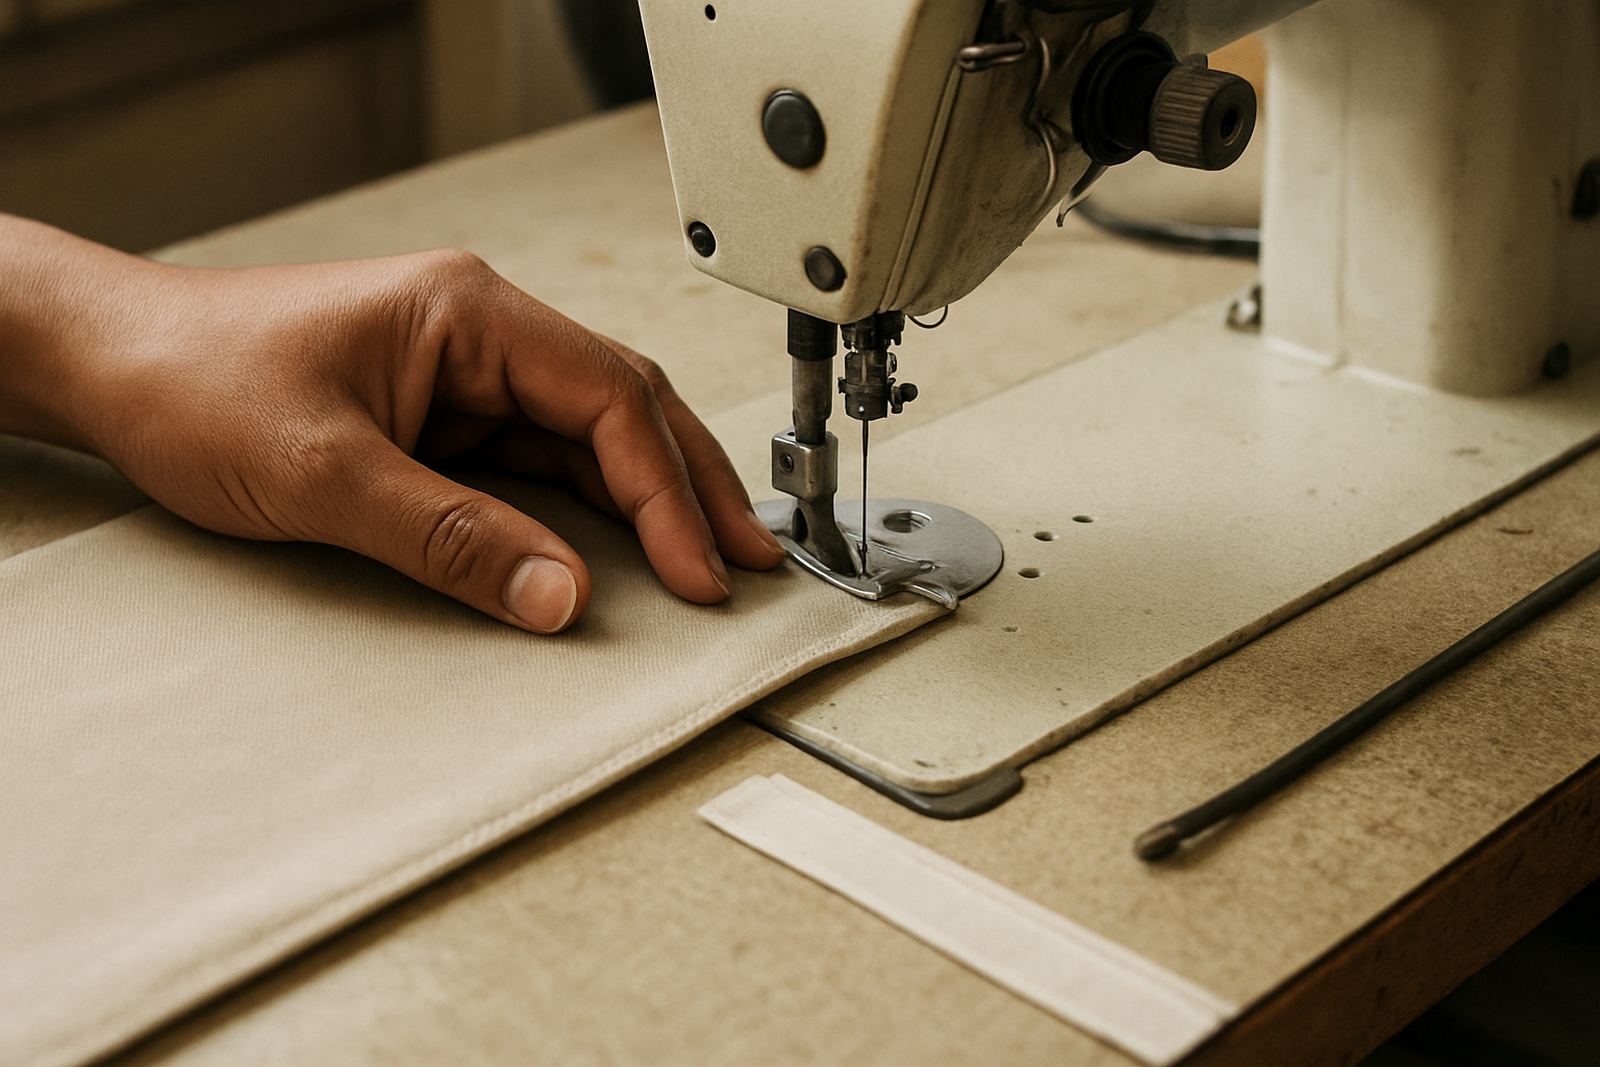
Many zip complaints are really foot complaints. A standard foot often sits too wide for clean zip work, especially close to teeth or coils. The needle then lands too far from the edge, or the foot bumps the teeth and forces the seam out of line. If the machine is also set with too much pressure, the fabric can drag and leave a ripple beside the zip.
For this kind of work, the operator needs a foot that lets the needle get close without obstruction. The foot should also suit the type of zip being fitted. Some jobs need a narrow foot for one side and a different position for the other. On industrial machines, it helps to test the foot on scrap before touching the garment. That small check avoids a spoiled panel and a very unhappy client.
One Johannesburg CBD tailor we assist had repeated complaints from customers about lopsided dress zips. The machine was sewing fine on plain seams, but the foot was too broad for the style of zip used on the garments. Once the foot choice and pressure were adjusted, the problem stopped within a single morning. Same machine, same operator, better setup.
Needle, tension and stitch settings that matter
Even when the zip is aligned properly, poor stitch settings can make it fail later. A needle that is too blunt or too thick leaves visible holes and can snag the tape. Tension that is too tight pulls the zip in and creates a wavering edge. Too loose, and the seam does not hold up after a few openings and closings.
Check these points before starting:
- Use a fresh needle suitable for the fabric weight
- Match upper and bobbin tension so the stitch sits balanced
- Keep stitch length sensible for the material, not too short on bulky seams
- Test on offcuts from the same fabric, not random scrap
- Listen for sudden changes in machine sound, which can point to drag or poor feeding
Load-shedding can make operators rush when power comes back, but a rushed restart often means skipped checks and bad stitching. If the machine has been idle for a while, run a few test stitches first. That simple habit catches a loose tension disc, a bent needle or thread that has picked up moisture from the workshop air.
How zip faults differ by fabric and use
Not every zip problem means the same fix. Lightweight blouse fabric behaves very differently from denim, workwear or school uniforms. A hidden zip in a dress needs precise seam control. A heavy-duty jacket zip needs feeding power and steady pressure. In humid parts of Gauteng, thread and fabric can also behave differently from one week to the next, especially if stock is stored near open doors or in a warm storeroom.
Some fabrics need a walking action or better feed control to stop the layers from shifting. Others need the seam to be eased in stages, with the zip first anchored at the top and bottom before the middle is completed. For nylon coil zips, too much heat from pressing can distort the tape. For metal zips, the operator must keep the needle clear of the teeth or it will chip and wear faster.
If the zip is for a school uniform, the finish must also survive repeated washing and rough handling. That means the stitching needs to be neat, but also practical. A pretty seam that opens after two school terms is not a good result.
Workshop habits that prevent repeat zip repairs
Good zip work is mostly about routine. The best workshops do the same small checks every time, and the results show in fewer returns. That matters whether you are running a factory line in Germiston, a tailoring room in Fordsburg or a home sewing corner in Pretoria.
A useful zip routine includes:
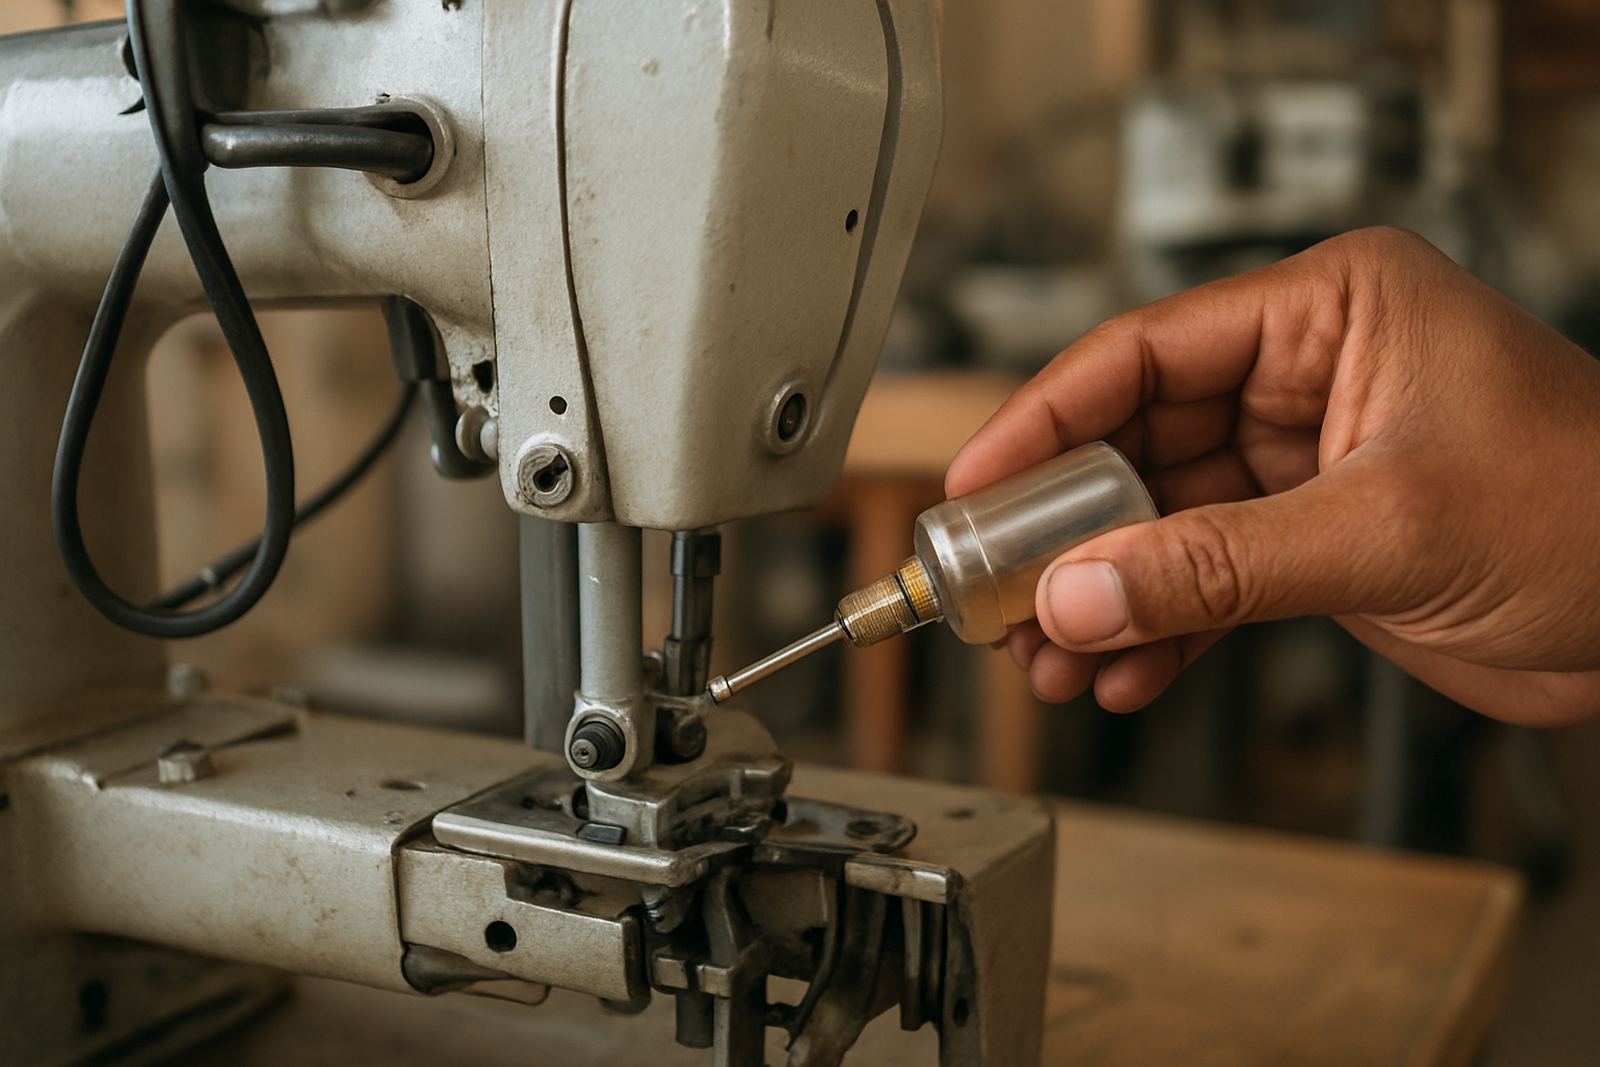
- Checking the machine is clean around the feed dogs and bobbin area
- Confirming the foot fits the job before the garment is positioned
- Testing stitch quality on a scrap of the same fabric
- Measuring both sides of the zip before sewing
- Pressing gently at the end so the seam sits flat, not crushed
Training also helps. An operator who understands why the zip is moving can correct the issue before it becomes a repair. In busy workrooms, that saves thread, labour and time. It also reduces the number of garments that end up back on the cutting table for rework.
When to call for machine setup or repair
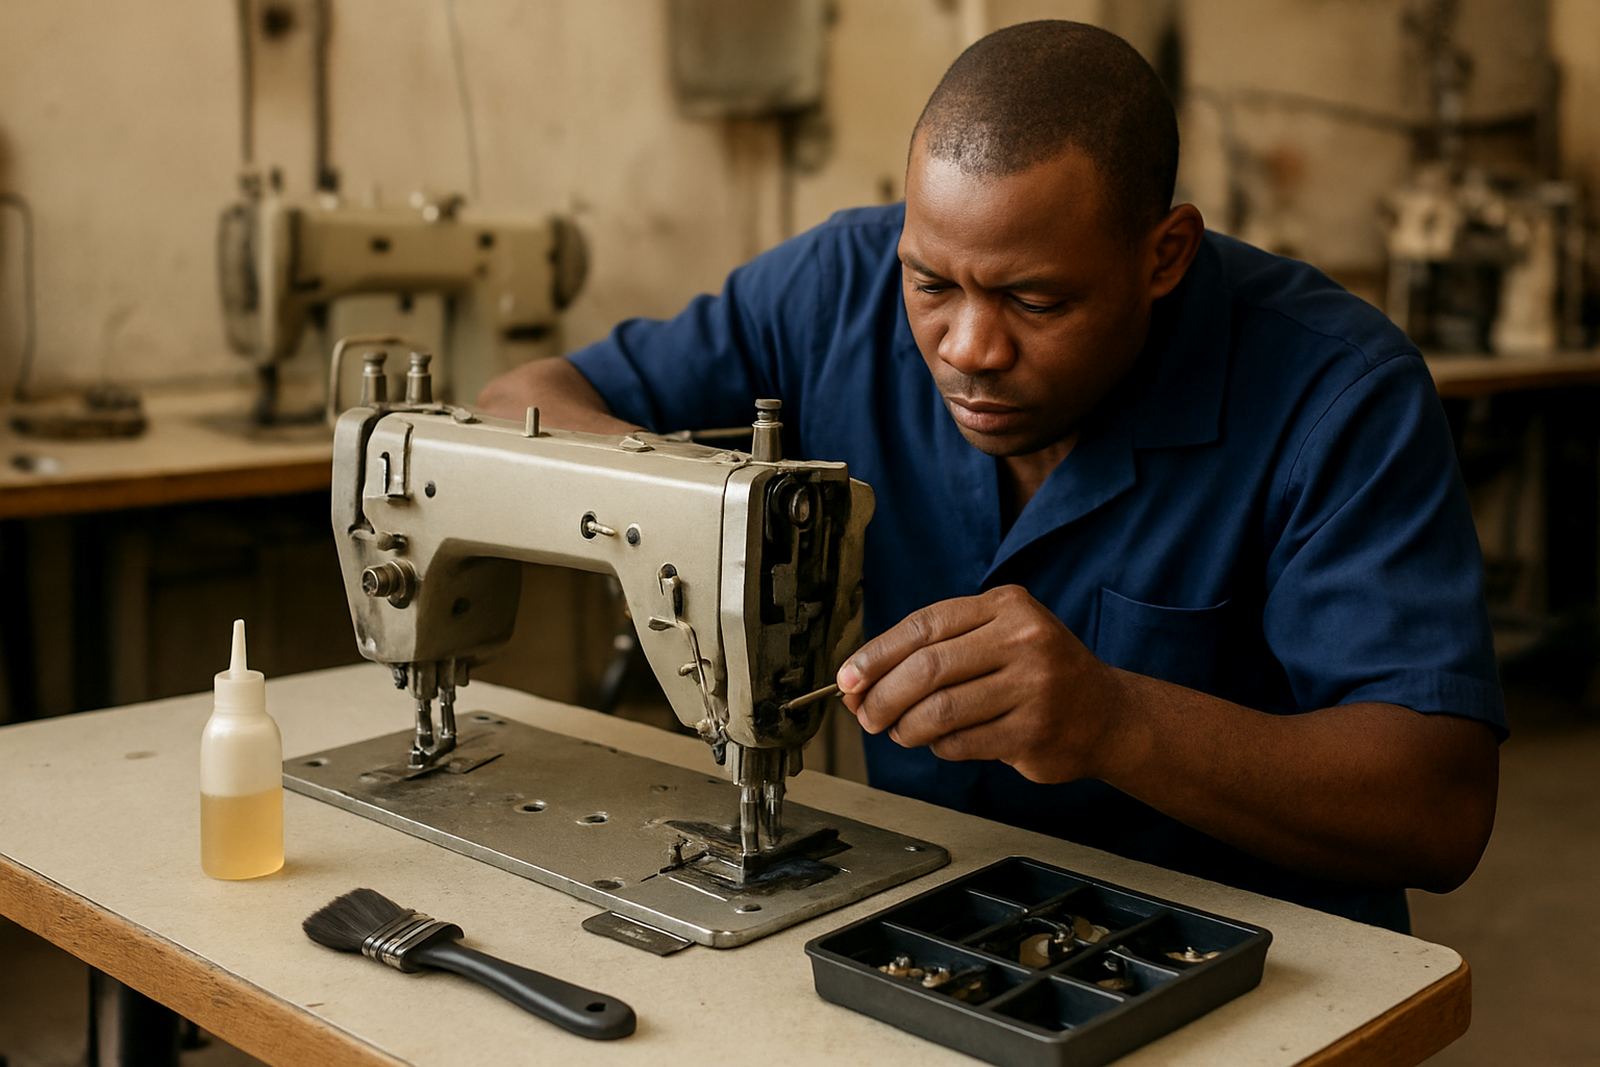
If the same zip fault keeps appearing after foot changes, new needles and proper alignment, the machine may need attention. Worn timing, incorrect feed balance, damaged plates or a weak motor can all show up as poor zip stitching. These faults are not always obvious to the eye, but they make the operator work harder and slow production down.
It is worth getting help when the machine:
- Skips stitches only on close edge work
- Pulls the fabric to one side even after tension checks
- Leaves uneven stitch length near the zip teeth
- Feels rough or noisy when sewing at a slow pace
- Needs frequent rethreading to finish one garment
For businesses across Johannesburg CBD, Soweto, Alberton, Randburg and Pretoria, a proper setup can make zip work far less frustrating. The machine should support the operator, not fight them. Once the foot, feed and timing are in order, the finished zip sits straighter and the whole garment looks better.