Community brief for a room that had to earn its keep
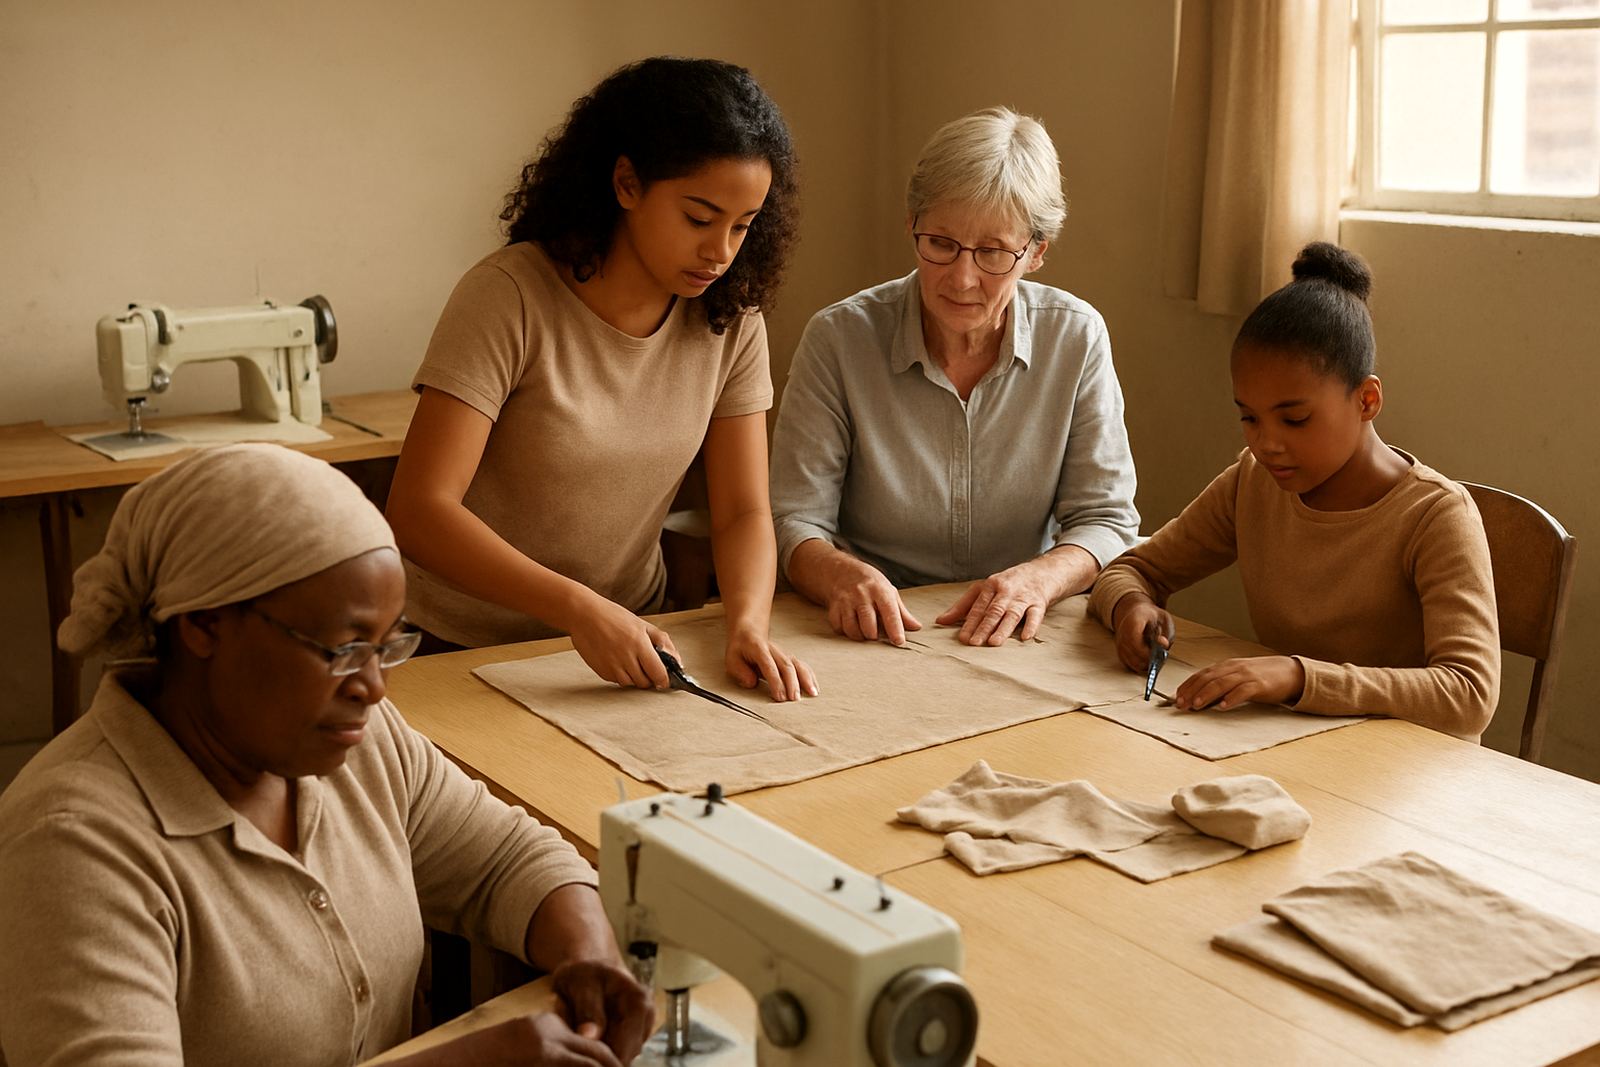
The client was a community project group in Lenasia supporting skills training, schoolwear repairs and small sewing work for local residents. They wanted one room that could serve more than one purpose, from beginner classes to paid piecework, without becoming difficult to manage. The goal was simple: a tidy, durable sewing room that could stay productive through load-shedding and still be easy to supervise.
The brief covered industrial sewing for general garment work, a household machine for lighter teaching tasks, one computerised embroidery unit for branding and fundraising items, and a fusing press for collars, cuffs and small production runs. They also needed storage for threads, needles, bobbins, feet and common spares so the room would not lose time searching for bits and pieces.
- Shared use for training, community projects and small income work
- Equipment that could be run by different skill levels
- Simple layout for supervision and safe movement
- Support for electrical interruptions and occasional power limits
What the room had to work around in Lenasia
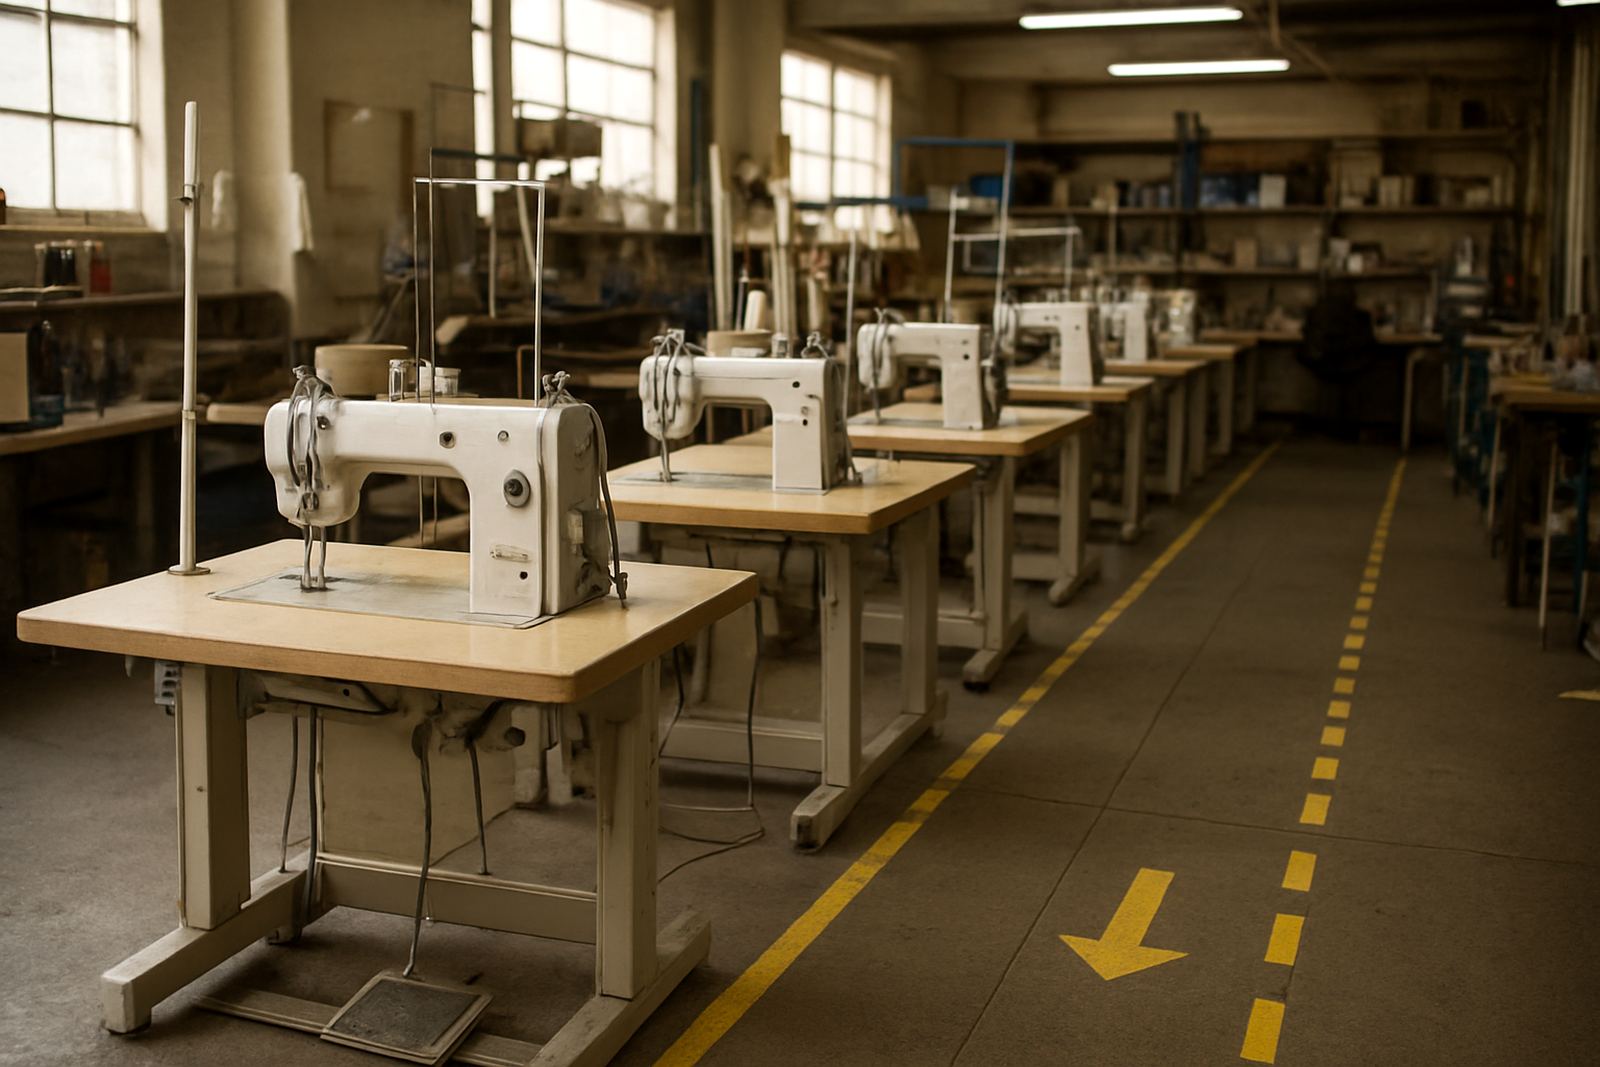
The space was inside a busy community building with limited floor area, moderate natural light and a standard single-phase supply. The room had to be arranged so learners could move between stations without crowding, and so the operator could keep an eye on work quality. Noise also had to be kept reasonable because the room sits close to other activities in the building.
Because the project was in Gauteng, we also considered dust, heat in the afternoon and the effect of load-shedding on daily output. The room needed equipment that could be switched on and off without fuss, plus a practical plan for surge protection and safe storage. In a shared room, every extra metre counts, so the layout had to stay compact not cramped.
- Single-phase electrical supply with protection against spikes
- Compact layout for a shared room of roughly 30 to 40 square metres
- Allowance for sewing, pressing and storage in one space
- Clear walking paths for learners and supervisors
Machines, presses and fittings supplied
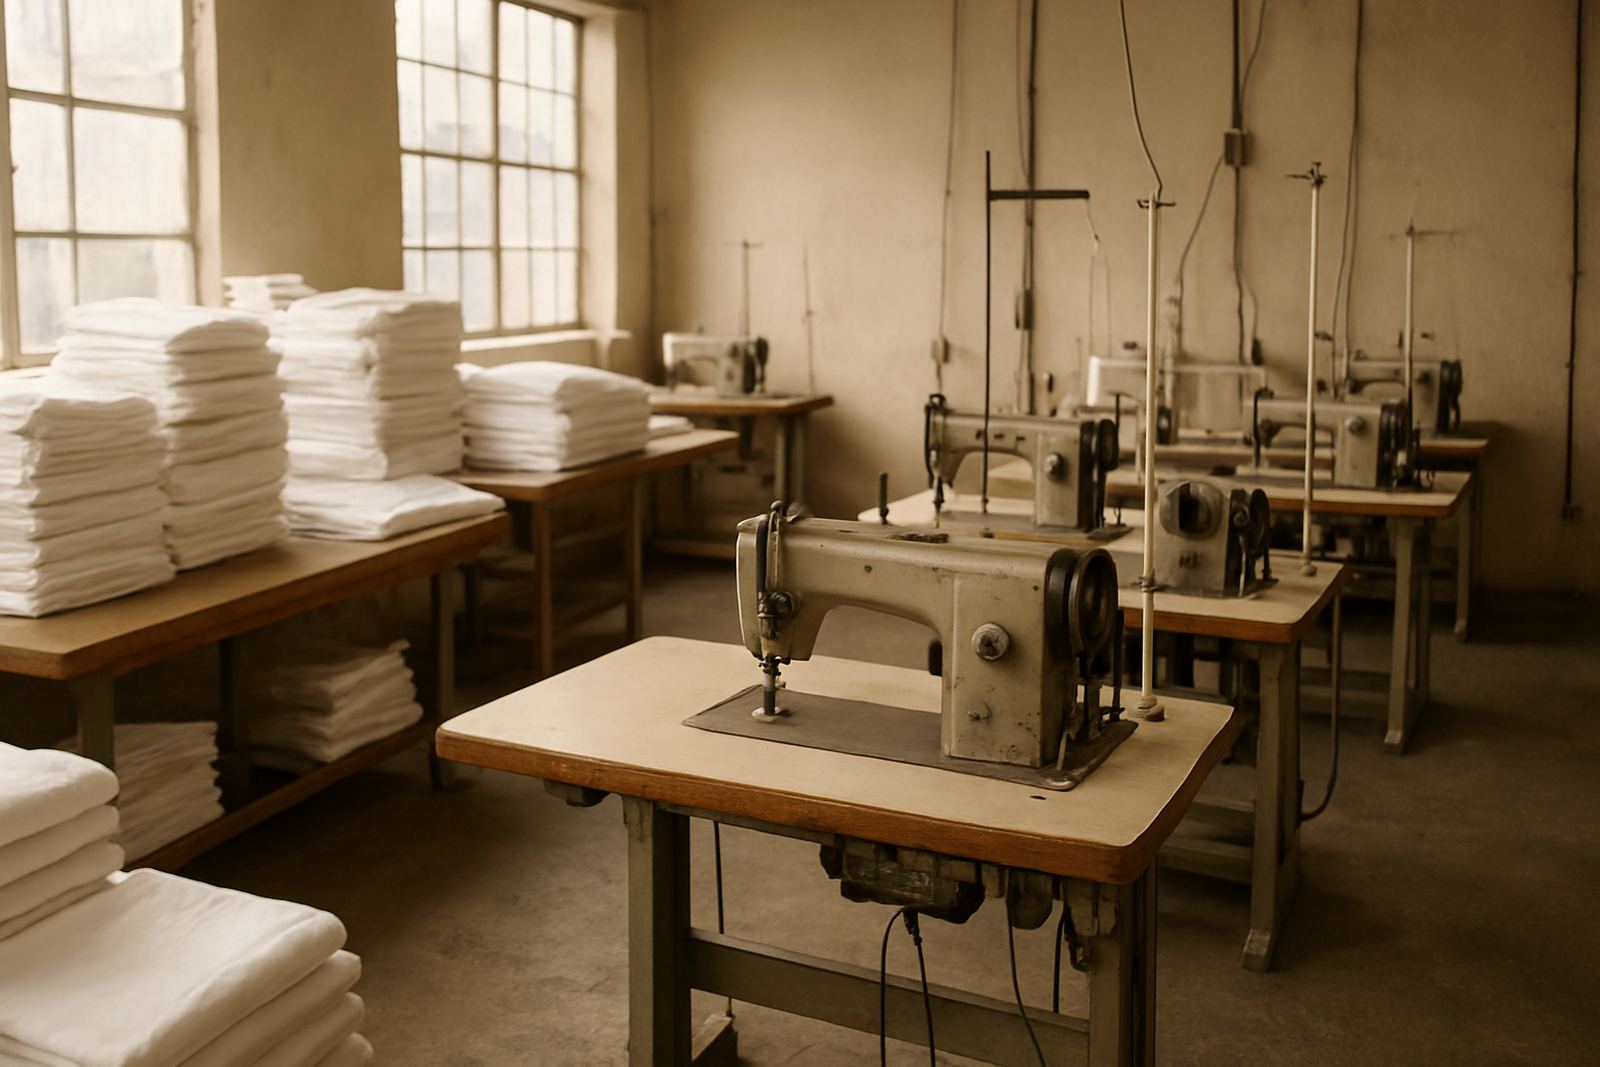
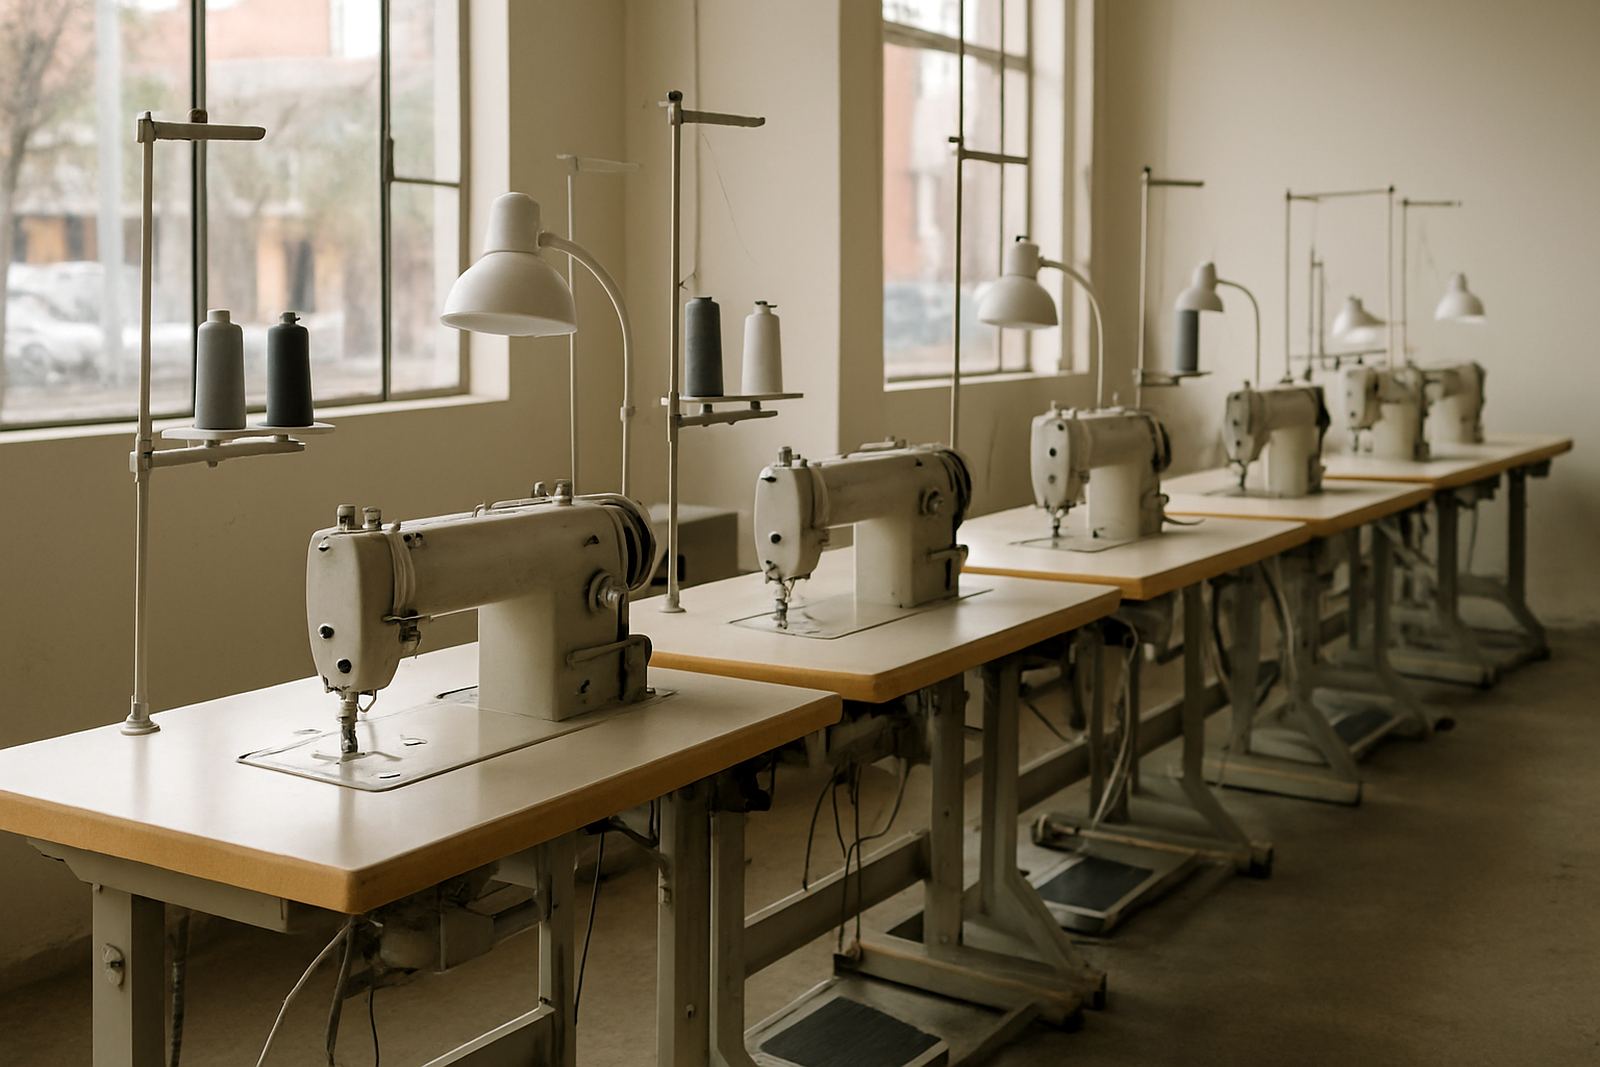
We supplied and installed a working mix suited to mixed sewing tasks. That included industrial straight-stitch machines for general seam work, a household machine for teaching basic threading and stitch practice, a computerised embroidery machine for logos and decorative work, and a fusing press for garment finishing. We also added attachments and consumables for day-to-day operation so the room could start properly from week one.
Our team set the machines, checked motor direction, adjusted timing where needed and tested stitch formation on cotton and medium-weight fabric. The embroidery unit was set up with a starter library of sample patterns, and we gave the group guidance on stabilisers, hooping and thread tension. The press was commissioned for even heat and pressure across the full platen, because poor fusing leads to rework very quickly.
- Industrial sewing machines for plain seams and general construction
- Household machine for beginner training and lighter fabric tasks
- Computerised embroidery machine for names, badges and branding work
- Fusing press for collars, facings and finishing work
- Threads, needles, bobbins, feet and basic spares
Installation and commissioning over three weeks
The job ran over three weeks from first site visit to handover. Week one covered measurements, power checks and room planning. Week two covered delivery, placement, levelling and electrical checks. Week three covered final commissioning, training and a short run of test production. That pace worked well because the room could stay in use for other activities while we set up each section.
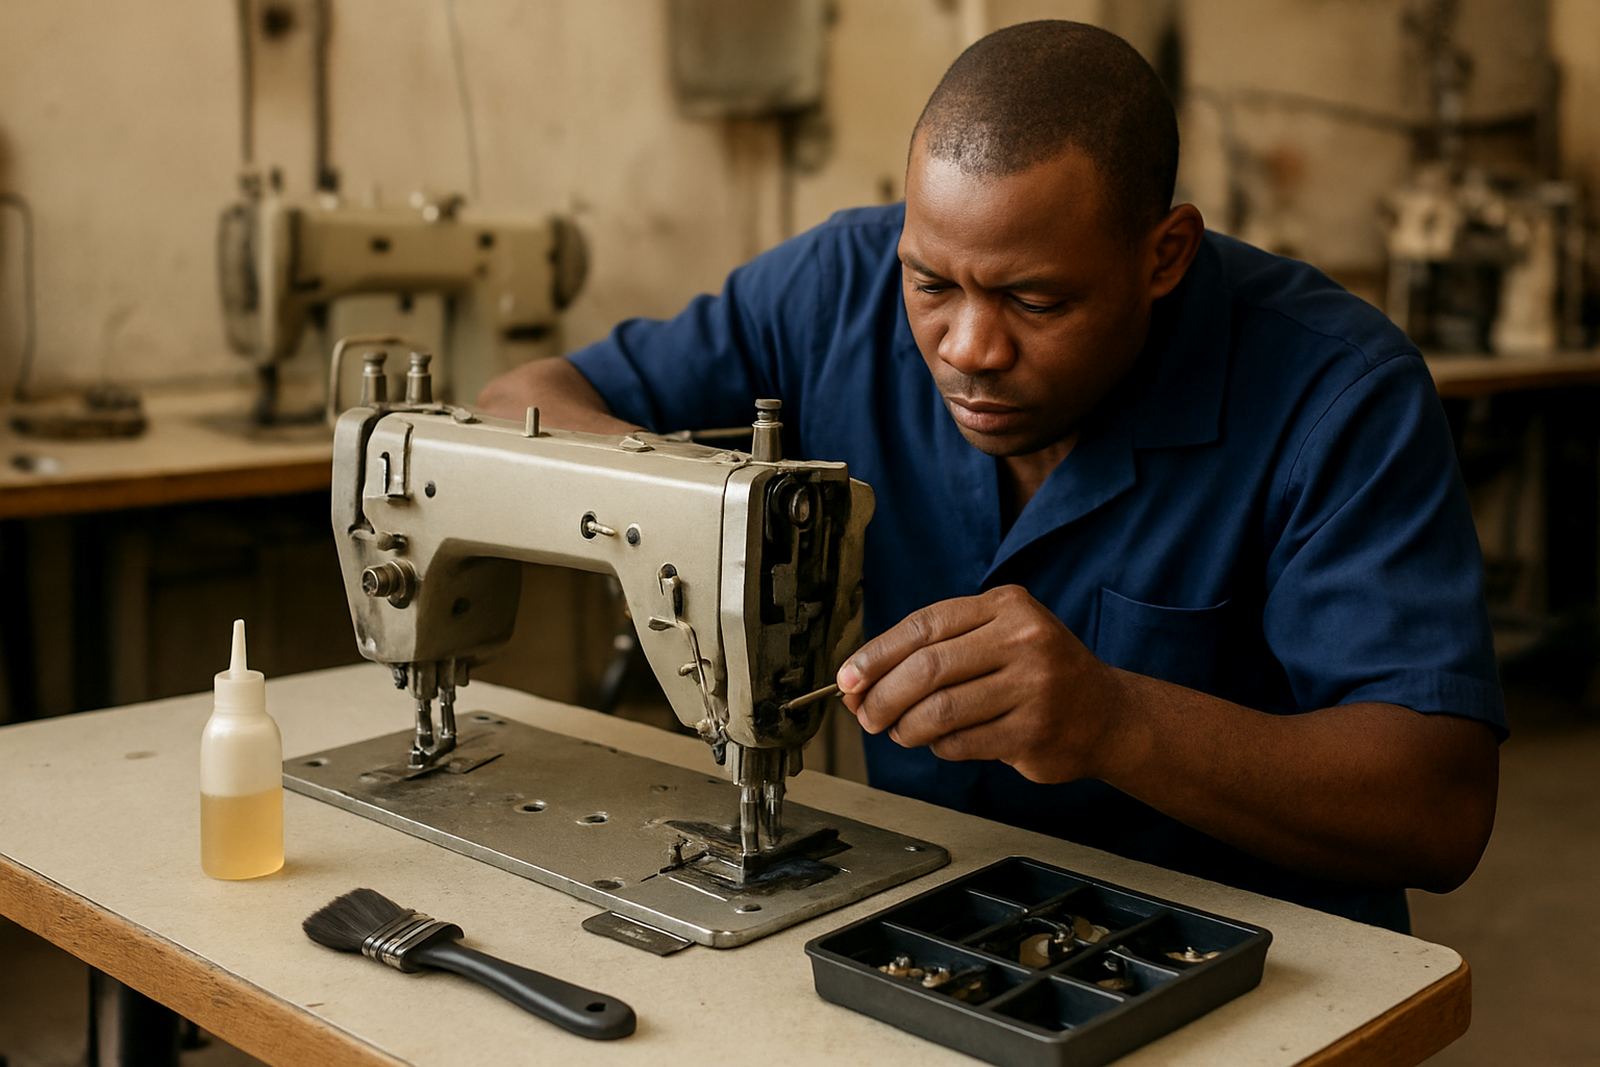
We carried out routine servicing before handover, checked drive belts and needle bars, and made sure the machines were set for the materials the group would use most often. One small issue was corrected on site when a feed setting needed fine tuning for thicker fabric, which saved the team from later frustration. The final result was a room that could start work straight away, not a pile of machines waiting for attention.
- Week 1: site assessment, measurements and workflow planning
- Week 2: delivery, installation and electrical checks
- Week 3: testing, operator training and handover
- On site adjustments made before the room was released for daily use
Training, support and practical handover
Training was given to the lead organiser and a small group of operators who would rotate through the room. We focused on threading, needle selection, basic tension control, cleaning, and safe shutdown at the end of the day. The embroidery section got extra attention because it had the steepest learning curve and needed good file handling, hoop alignment and fabric stabilising.
The handover also covered spare parts and store control. We showed them how to keep a simple logbook for needles, bobbins, oils and thread usage, because shared rooms often lose money through small items going missing. A clear stock routine helps the room stay ready for the next class or job without last-minute buying in town.
- Operator training for beginners and intermediate users
- Basic maintenance routine for end-of-day cleaning
- Spare parts and consumables control for shared use
- Embroidery setup guidance for repeatable output
Results the group could measure quickly
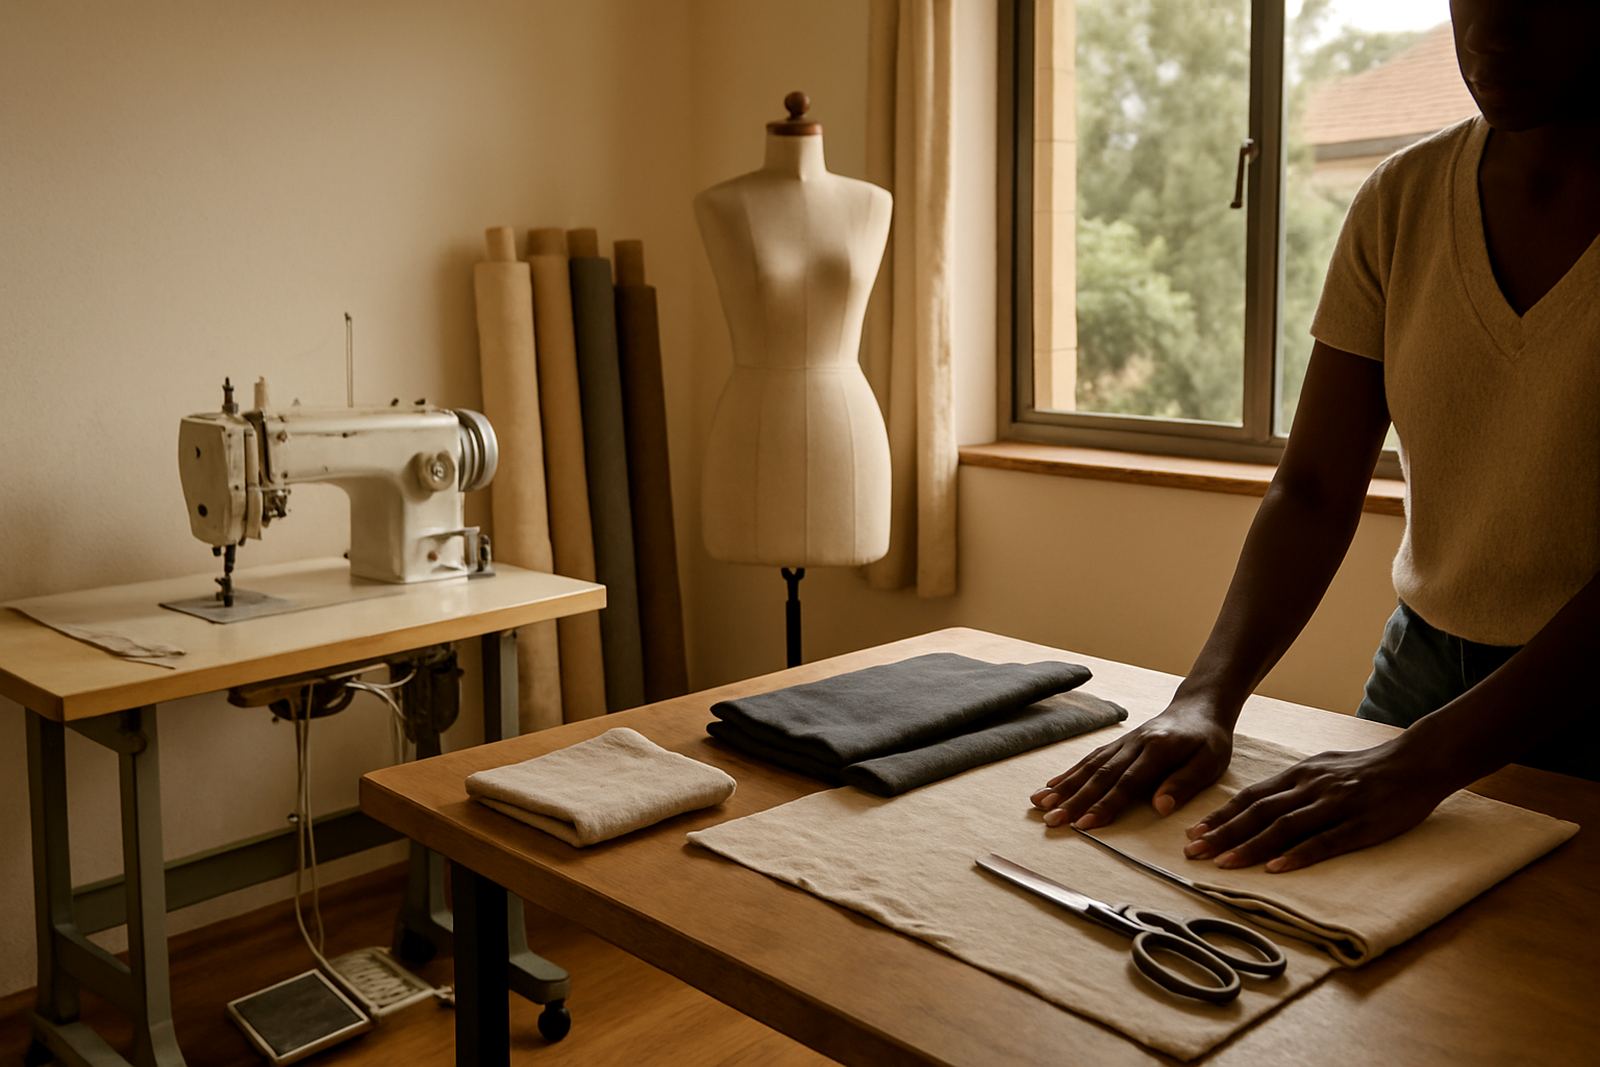
Once the room was running, the group could separate teaching from production and avoid interrupting one activity for another. Learners gained a clean space to practise skills, while the project team could accept small paid work such as alterations, school garment repairs and embroidered items for local events. That gave the room both social value and earning potential.
The setup also reduced downtime. With the right attachments, threads and a clear service routine, the team spent less time on troubleshooting and more time sewing. The embroidery unit added a useful income stream because it allowed the room to produce named items and community branding without having to send work out. For a shared facility, that matters more than flashy features.
- Better separation between training and paid sewing jobs
- Faster turnaround for small community orders
- Cleaner workflow and easier supervision
- More consistent output from novice operators
What we would repeat on a similar community room
If we were doing this again for another community room in Lenasia, Soweto or Alexandra, we would keep the same practical approach: measure first, choose machines by use case, and leave enough room for storage and movement. Too many rooms are overfilled from the start, then struggle with heat, poor access and messy cables. A smaller but better-planned setup usually works harder and lasts longer.
We would also repeat the habit of training on the exact machines installed, not on separate units in a workshop somewhere else. That gives operators confidence and reduces mistakes after handover. For community projects, that direct approach is worth more than fancy extras. It keeps the room usable, safe and ready for real work every day.
- Plan around actual room size and electrical supply
- Choose a simple machine mix that matches the work
- Train operators on the installed equipment
- Keep spares and consumables on hand from day one
Key facts
| Project type | Shared sewing room for community projects, training and small income work |
|---|---|
| Town | Lenasia, Gauteng |
| Timeline | 3 weeks from site assessment to handover |
| Key equipment | Industrial sewing machines, household machine, computerised embroidery machine and fusing press |
| Power | Single-phase supply with protection for load-shedding and surge events |
| Room use | Training, alterations, schoolwear work, embroidery and light production |