
What the Springs team needed for daily upholstery work
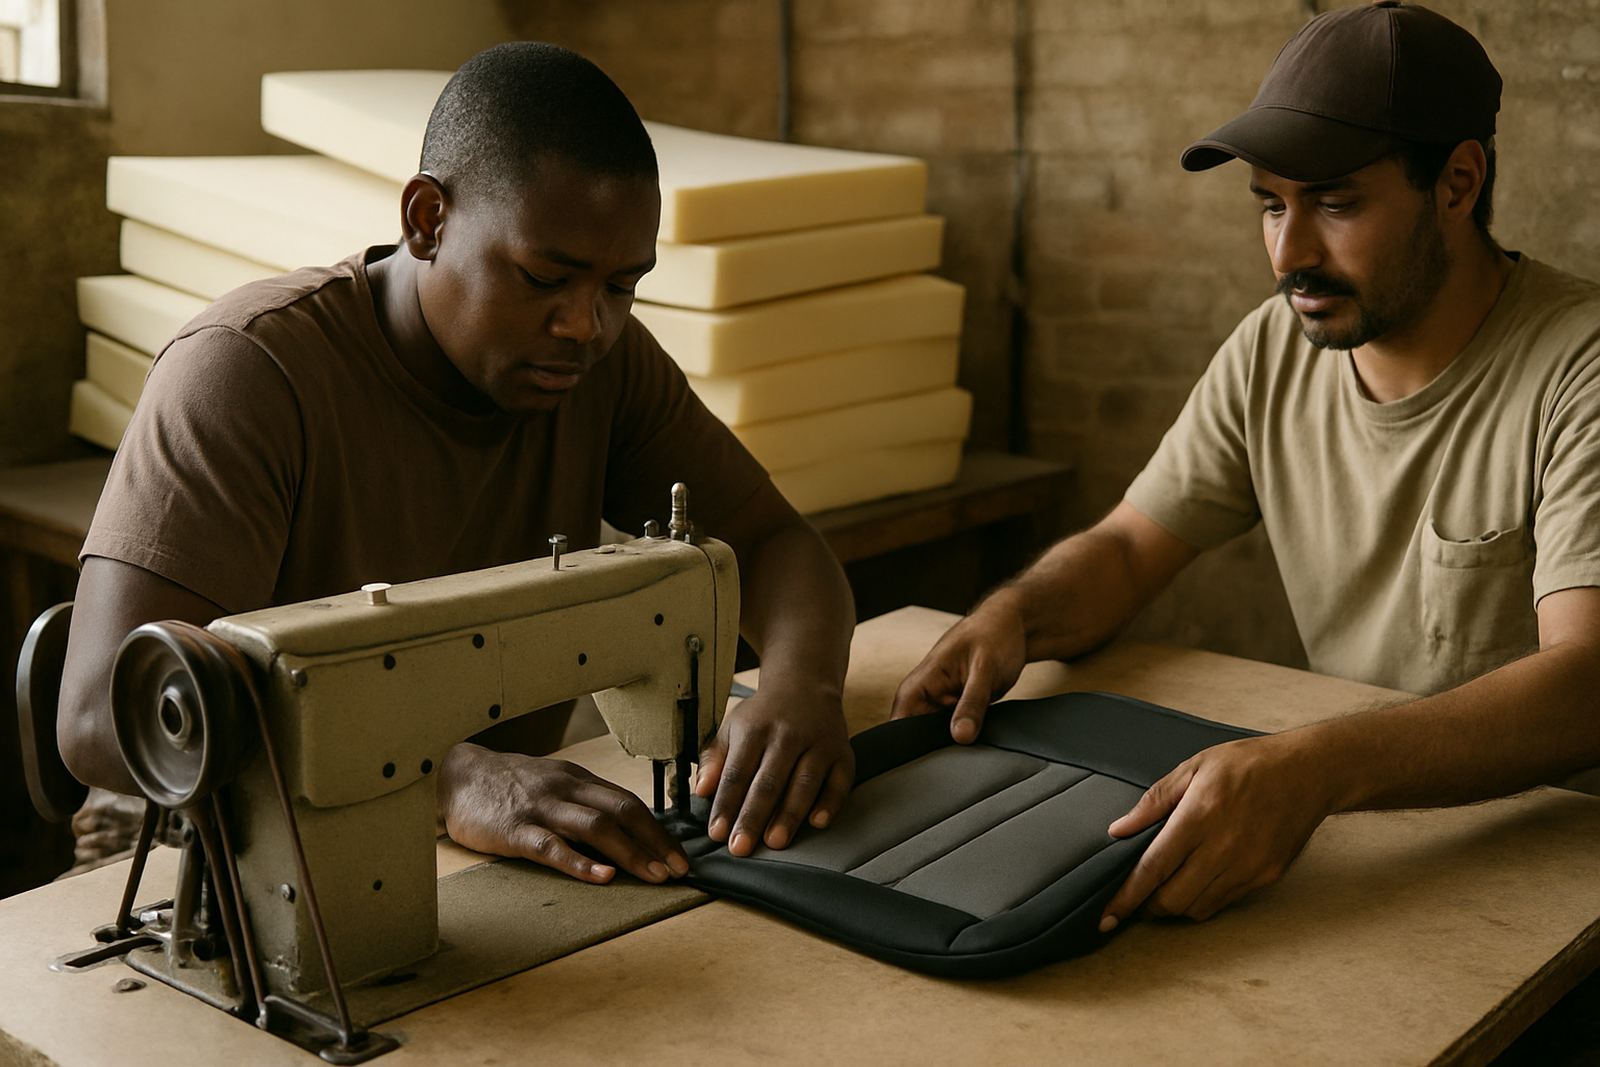
The client was a small to mid-sized upholstery business in Springs, serving residential and light commercial work across the East Rand. Their team was doing sofas, dining chairs, loose covers and replacement cushions, so they needed machines that could push through layered foam, webbing, leather-look vinyl and heavy upholstery thread without losing stitch quality.
The brief was practical. They wanted a stronger sewing floor that could keep up with order peaks, reduce skipped stitches on thick seams and give operators enough control for corner work and topstitching. They also wanted a setup that would be easy to maintain, because load-shedding and busy workshop conditions can turn small problems into lost time very quickly.
- Work type: covers, cushions, edging and seam closing
- Material range: light fabric through to heavy upholstery stock
- Main need: stronger feed, better needle control and fewer thread breaks
- Space need: compact layout with clear operator movement
Site constraints in Springs and how we worked around them
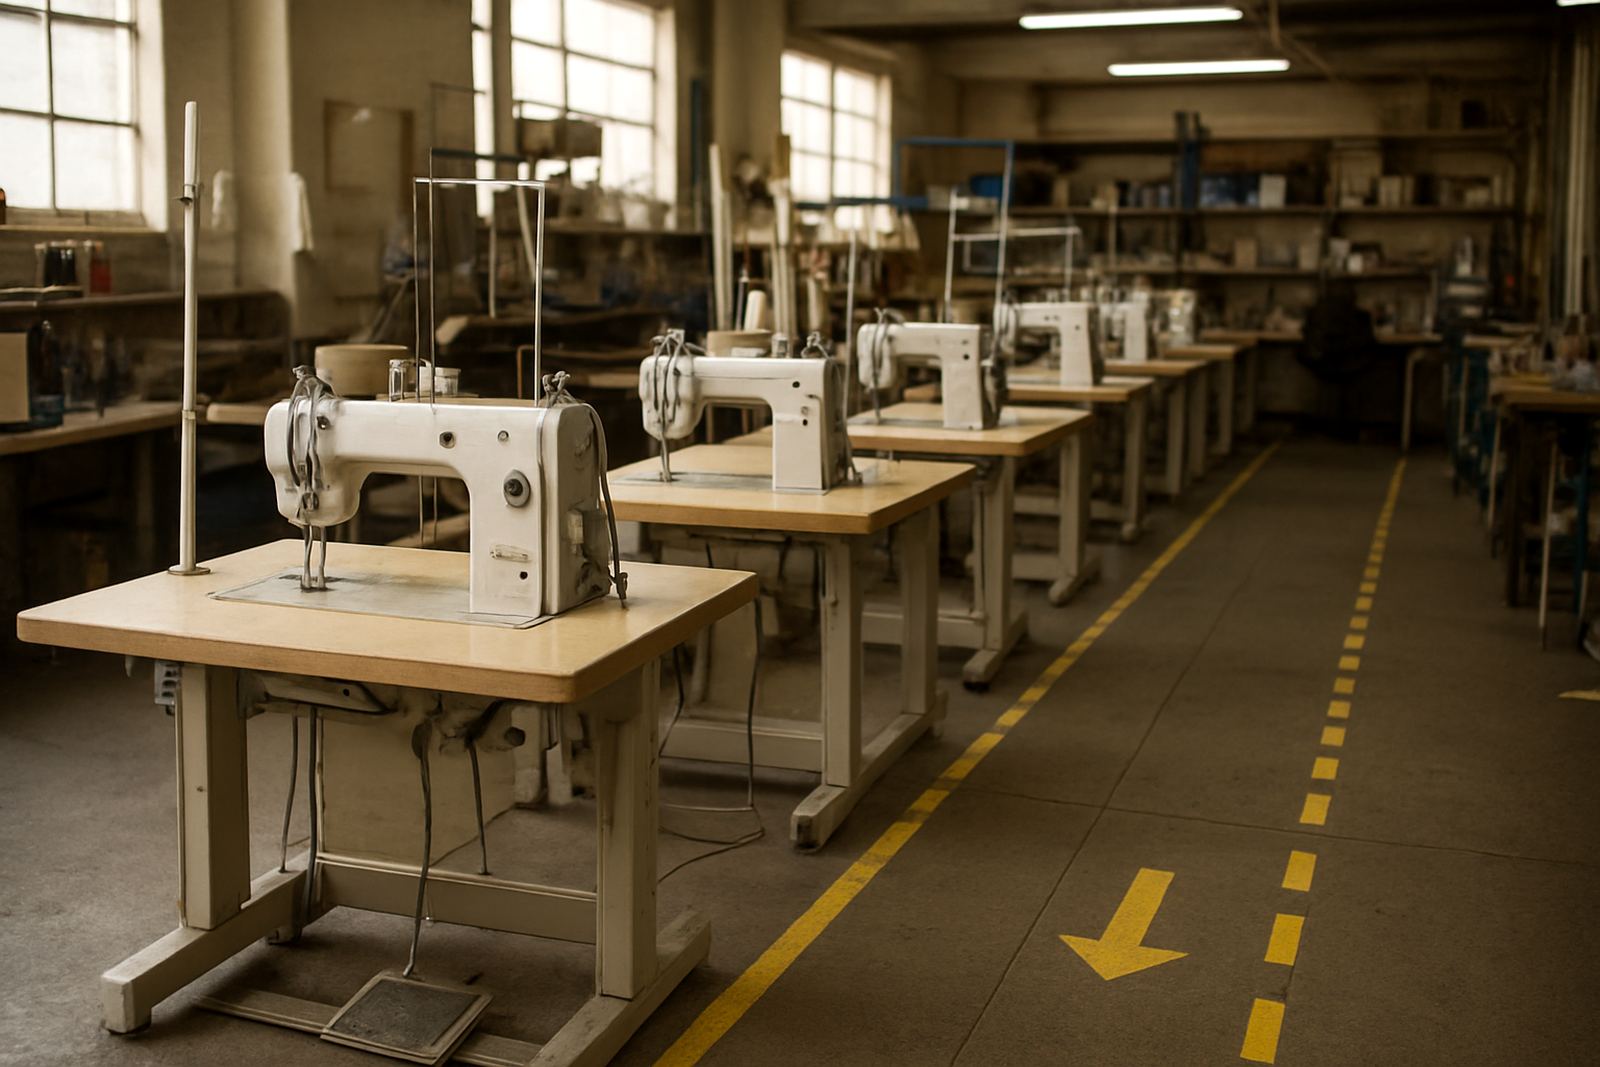
The workshop was fitted into an industrial unit with limited floor space and a narrow receiving area, so we had to plan the layout carefully. There was also a need to keep the cutting and sewing zones separate to avoid fabric pile-up and damaged work pieces. Because the building experienced supply interruptions, the team wanted equipment that would restart cleanly after power cuts and not lose timing so easily.
We also had to account for dust from foam trimming and general workshop wear. That meant good placement, proper levelling and enough access around each machine for cleaning and servicing. The client did not want a fancy layout, only something that would work day after day and still be manageable for a small staff.
- Limited floor space in a working industrial unit
- Need for clear flow between cutting, sewing and finishing
- Power interruptions and restart issues
- Dust control and easy access for cleaning
What we supplied for the heavier sewing floor
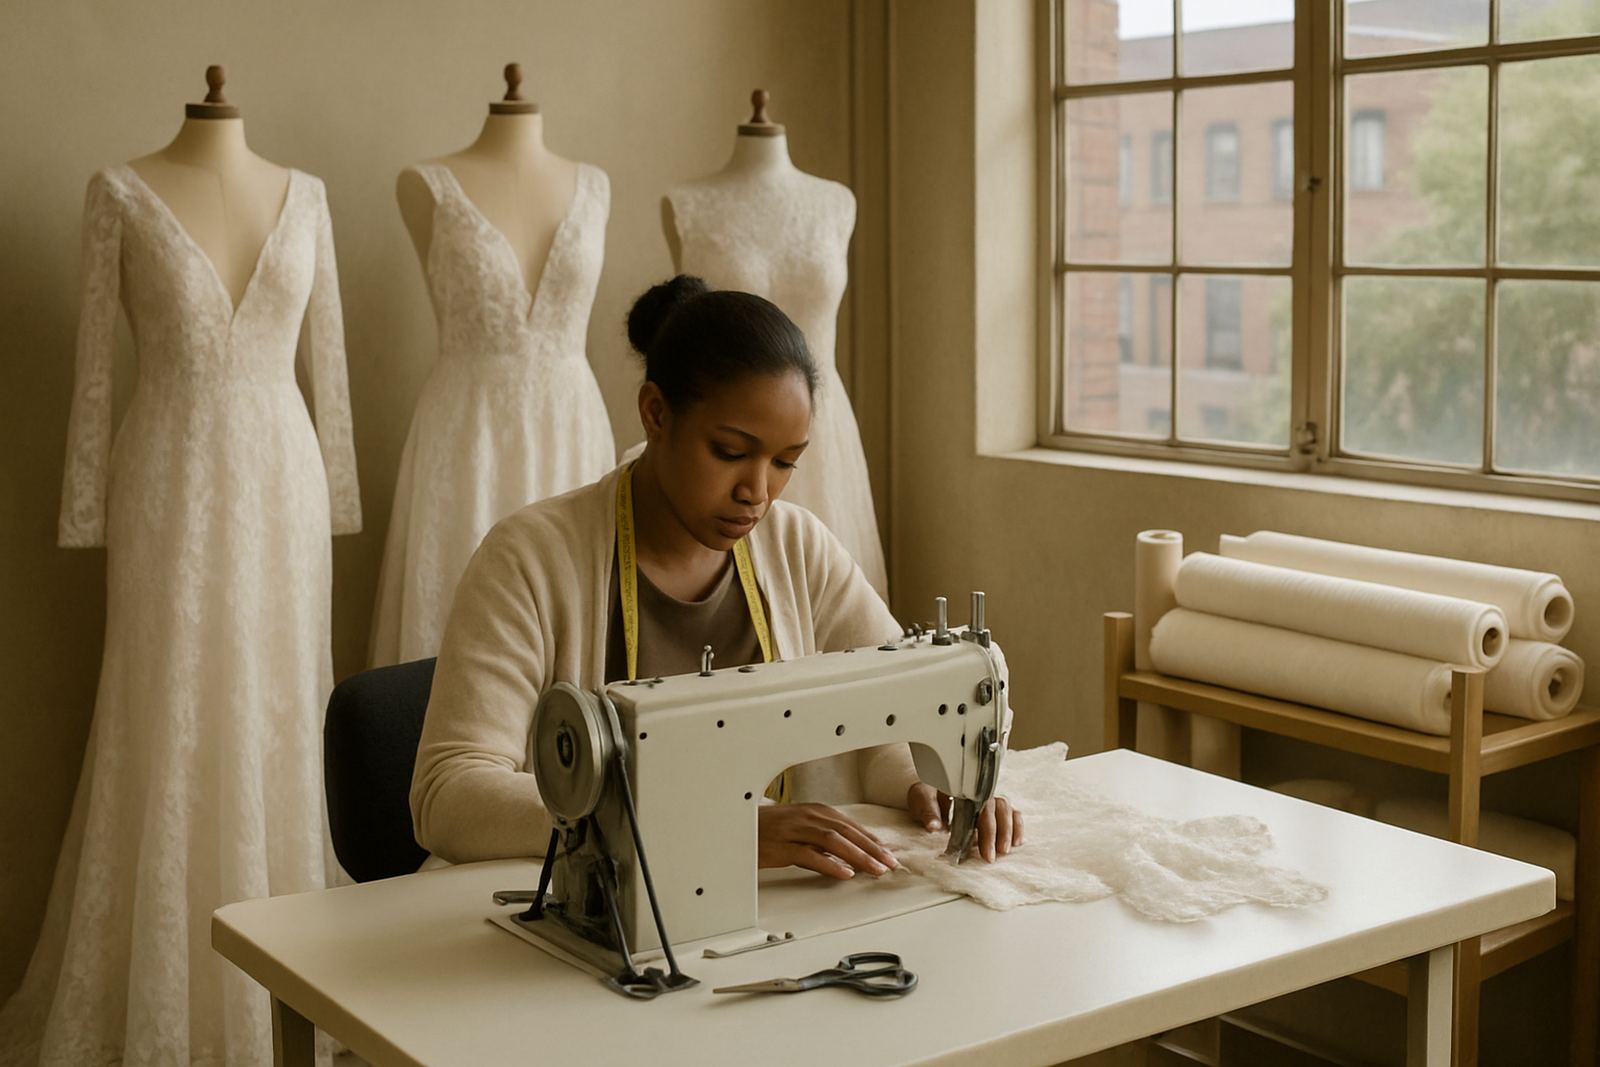
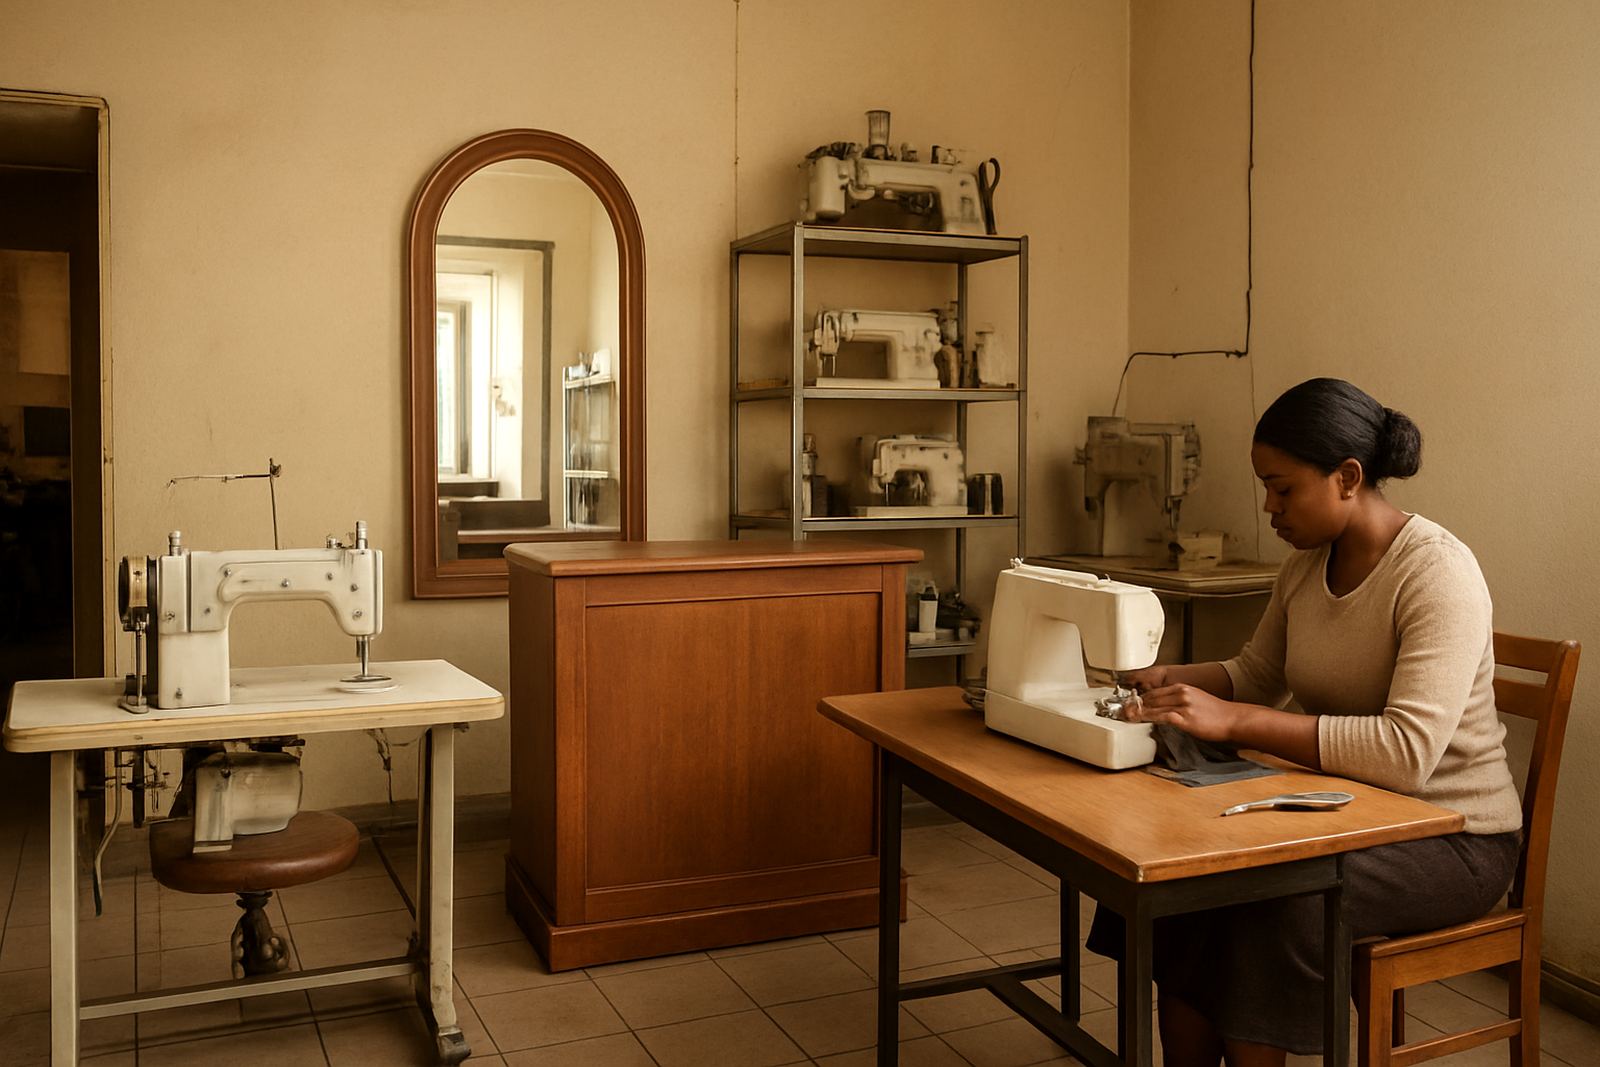
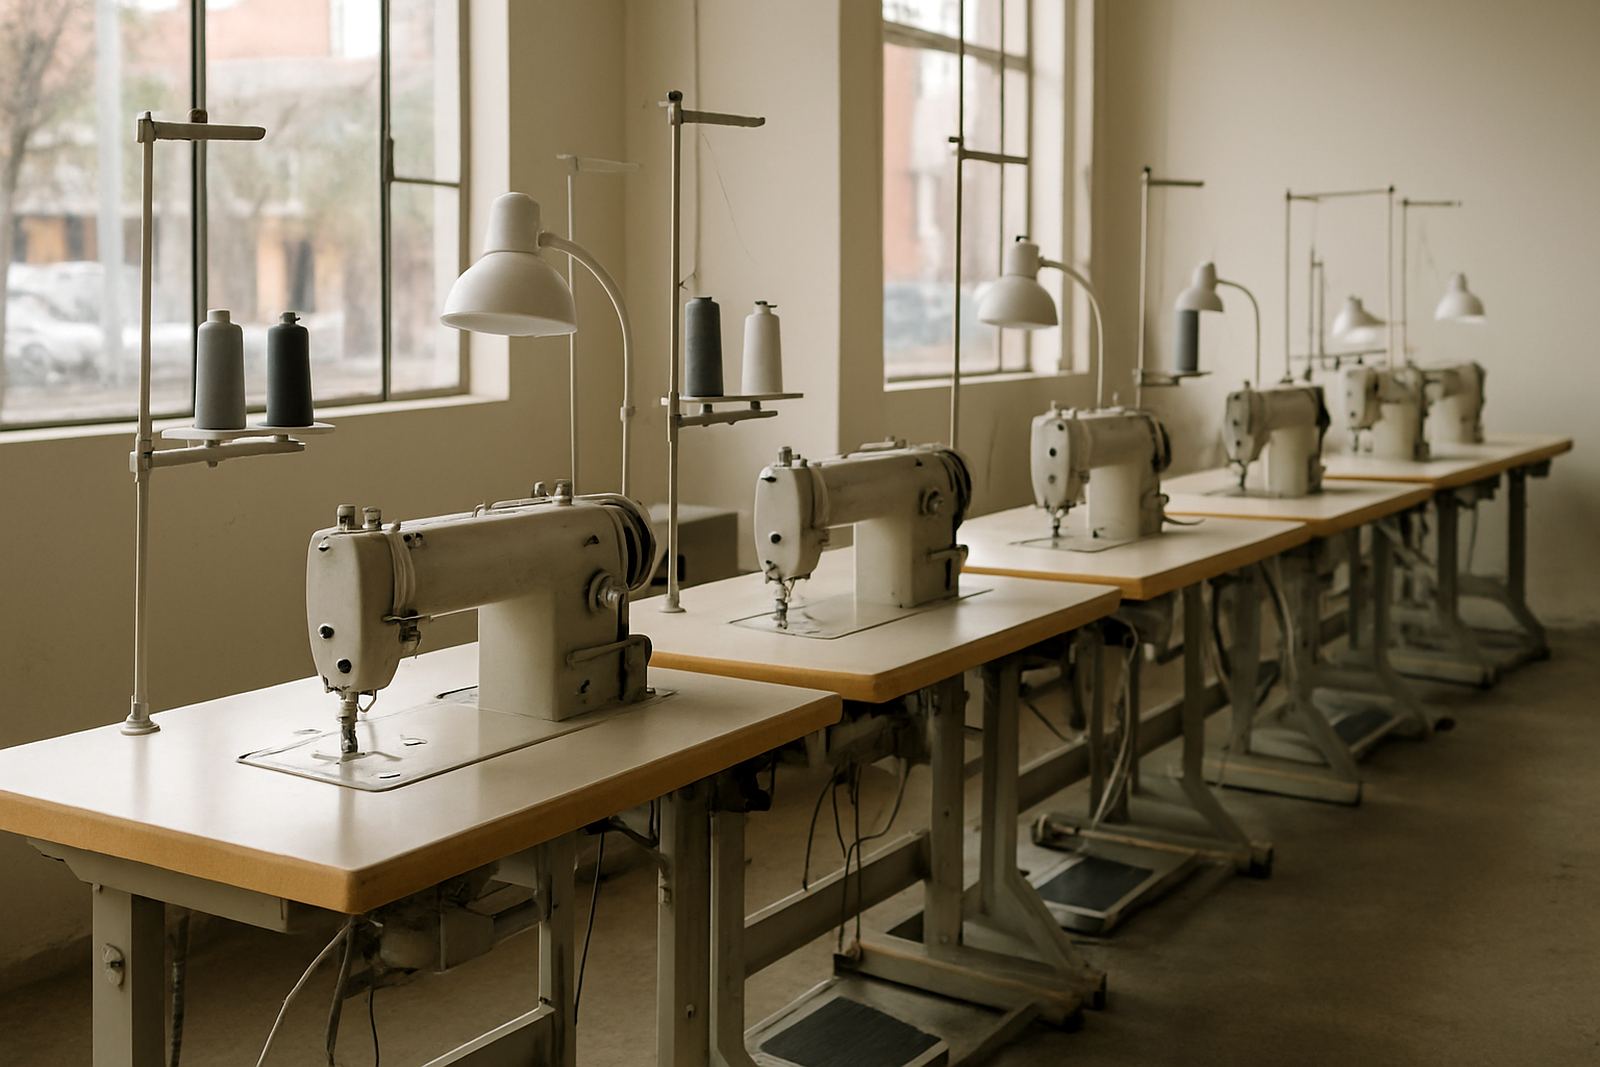
We supplied a mix of industrial sewing machines suited to upholstery work, including straight stitch units for seams, heavier walking-foot style machines for layered sections and an embroidery machine for selected decorative pieces. We also added the right attachments for piping, edge work and controlled seam finishing, plus spares and consumables so the workshop would not be waiting for small parts.
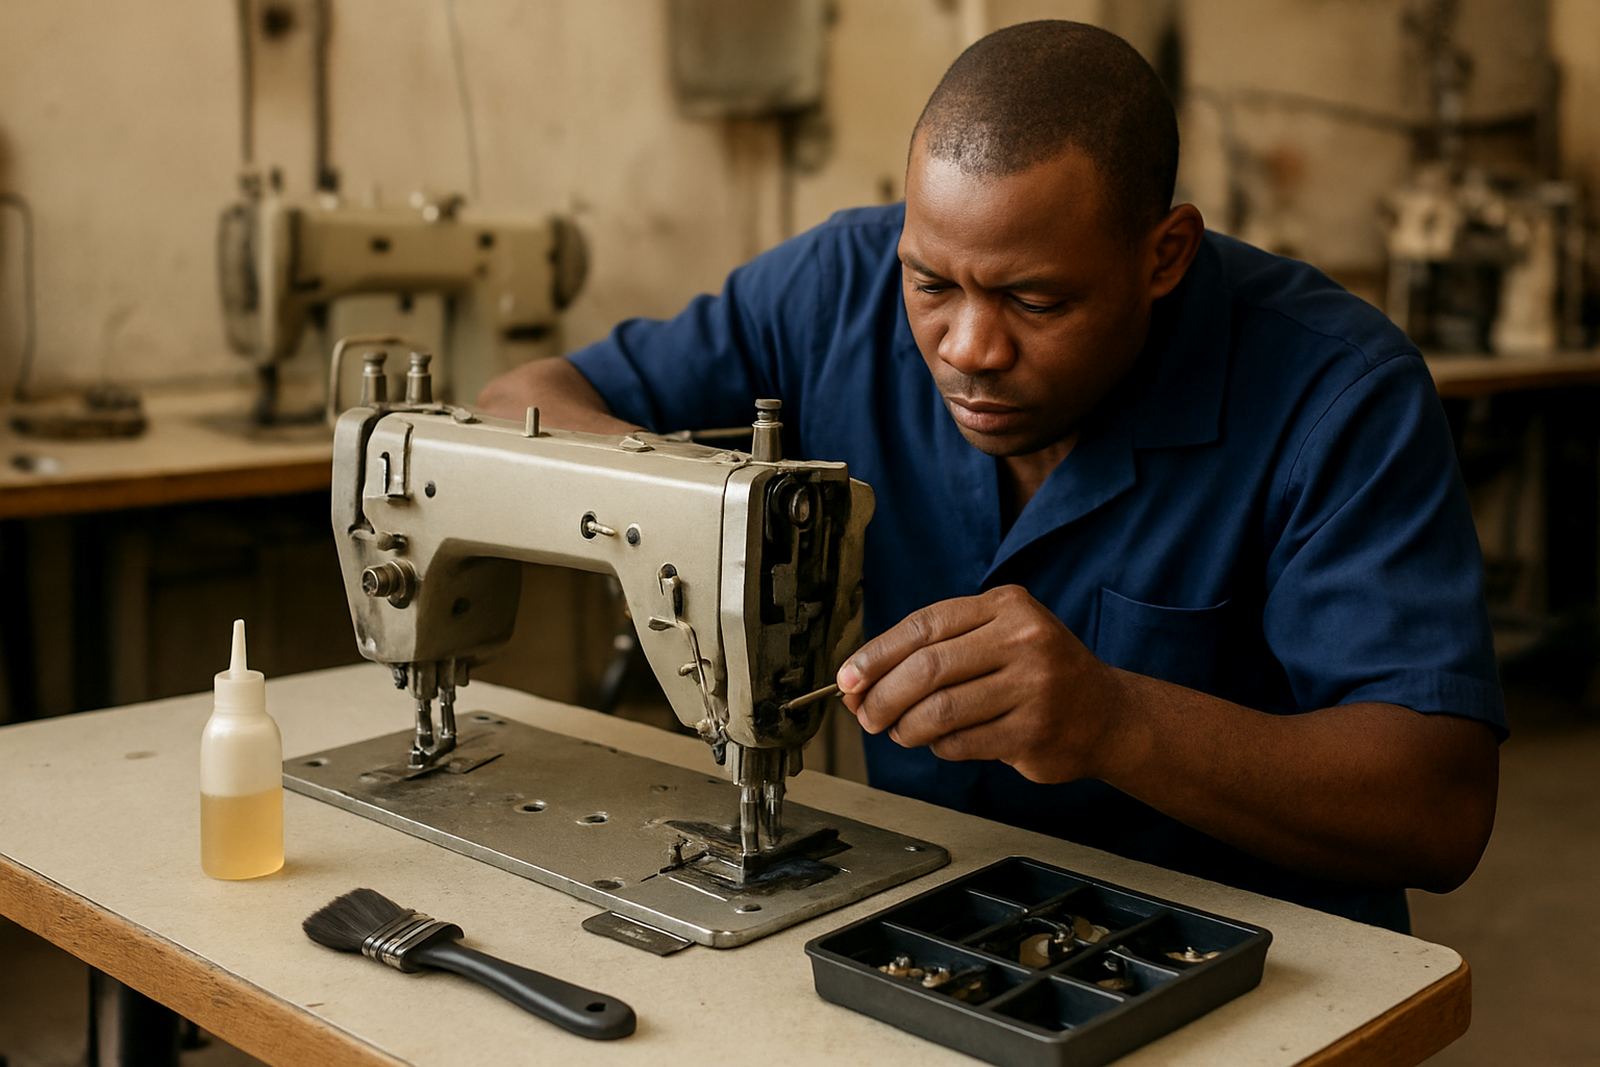
The setup included thread selection for stronger seams, needles matched to the fabric weights and a fusing press for preparation work where required. We checked motor performance, set stitch lengths for the different materials and made sure the machines were balanced for the sort of pressure upholstery work creates. A few of the heads needed timing adjustments before they could run consistently on thick corners and this was handled in workshop before install.
- Industrial straight stitch and heavier feed machines
- Embroidery machine for decorative panels and detail work
- Attachments for piping, binding and seam control
- Threads, needles, bobbins and consumables
- Fusing press for prep and finishing tasks
Installation, training and the first production run
Installation and setup took place over 3 weeks. In week one we prepared the machine list, checked the room layout and confirmed power points and bench positions. In week two we delivered and installed the machines, levelled each unit and set the controls for the team’s common fabric types. In week three we stayed on site for operator training, test runs and final adjustments to stitch quality.
The training covered needle choice, top thread tension, bobbin management, basic daily cleaning and how to handle thick joins without stalling the machine. We also showed the team how to recognise early signs of timing drift, a loose presser foot or a feed issue before it becomes a breakdown. One operator said the change was immediate, because the seam line held better on the first pass and there was less backtracking.
- Week 1: planning, room check and layout confirmation
- Week 2: delivery, installation and machine levelling
- Week 3: training, testing and final fine tuning
- Focus areas: stitch control, thickness handling and daily care
Results after the floor was commissioned
Once the new sewing floor was running, the workshop saw cleaner seam lines, fewer thread breaks and better consistency on thick upholstery pieces. The team could move from cushion work to cover work without constant machine changes, which helped them keep production moving through the week. On heavy corner joins the feed stayed steadier, so operators were spending less time fixing skipped stitches or redoing seams.
The workshop also gained better control over stock use. Because the machines were matched to the work, there was less wasted thread and fewer damaged panels from rushed sewing. The client reported that the floor felt easier to manage during busy periods and load-shedding interruptions were less disruptive because the team knew exactly how to restart and reset their machines. It was a proper improvement, not just a cosmetic one.
What we would repeat for another upholstery floor
If we were setting up another upholstery workshop of this type, we would follow the same approach: match the machine to the material, keep the room layout simple and make sure the team is trained before full production starts. That matters in upholstery because one weak link in the process can hold up the whole job, especially when the order mix changes from soft furnishings to firmer seat work.
We would also keep a small on-site parts plan in place from day one, including needles, bobbins, common attachments and thread sizes used most often. In a busy factory or tailoring room, waiting for a small part can stop a whole run. The Springs job showed that a careful install with proper setup saves time later and gives the workshop a steadier rhythm.
- Match machine choice to fabric weight and seam type
- Keep the workshop layout simple and easy to service
- Train operators before full production starts
- Hold common spares on site for quicker recovery
Key facts
| Project location | Springs, East Rand |
|---|---|
| Timeline | 3 weeks from planning to commissioning |
| Work type | Upholstery covers, cushions and durable seam handling |
| Equipment supplied | Industrial sewing machines, embroidery machine, fusing press and attachments |
| Support included | Installation, timing adjustments, operator training and routine service planning |
| Operational focus | Heavier fabrics, reduced thread breaks and better stitch consistency |