
Training Room Brief for a Turffontein Client
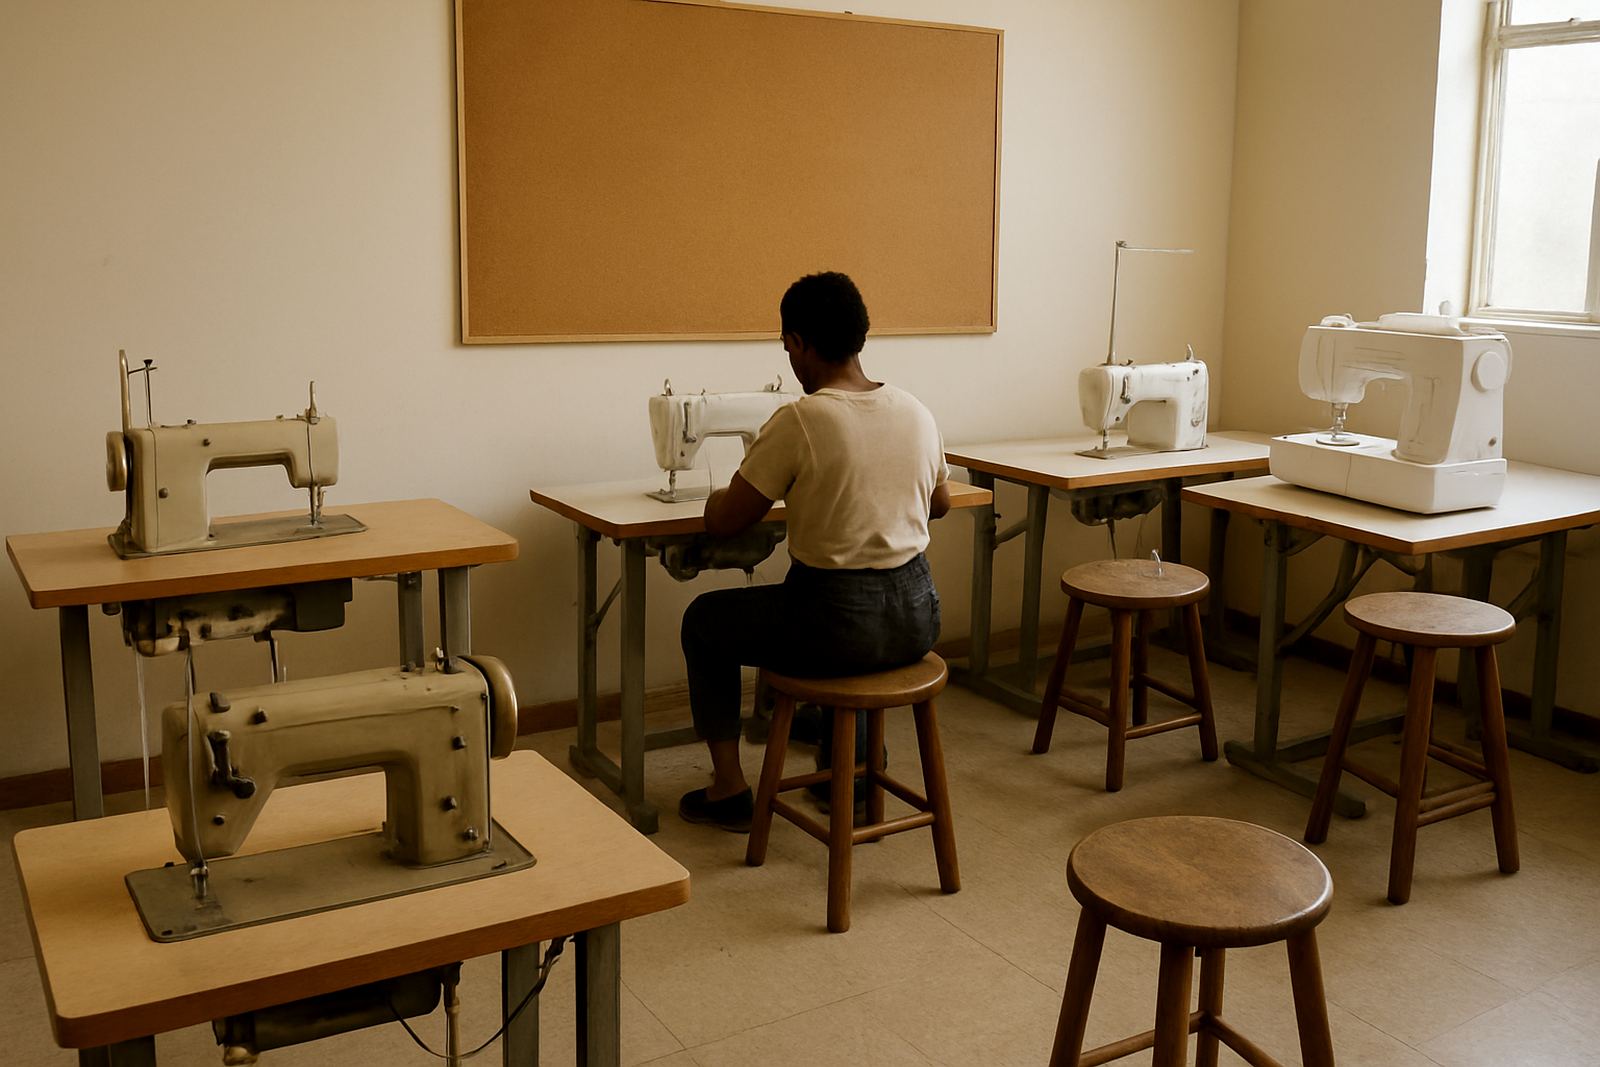
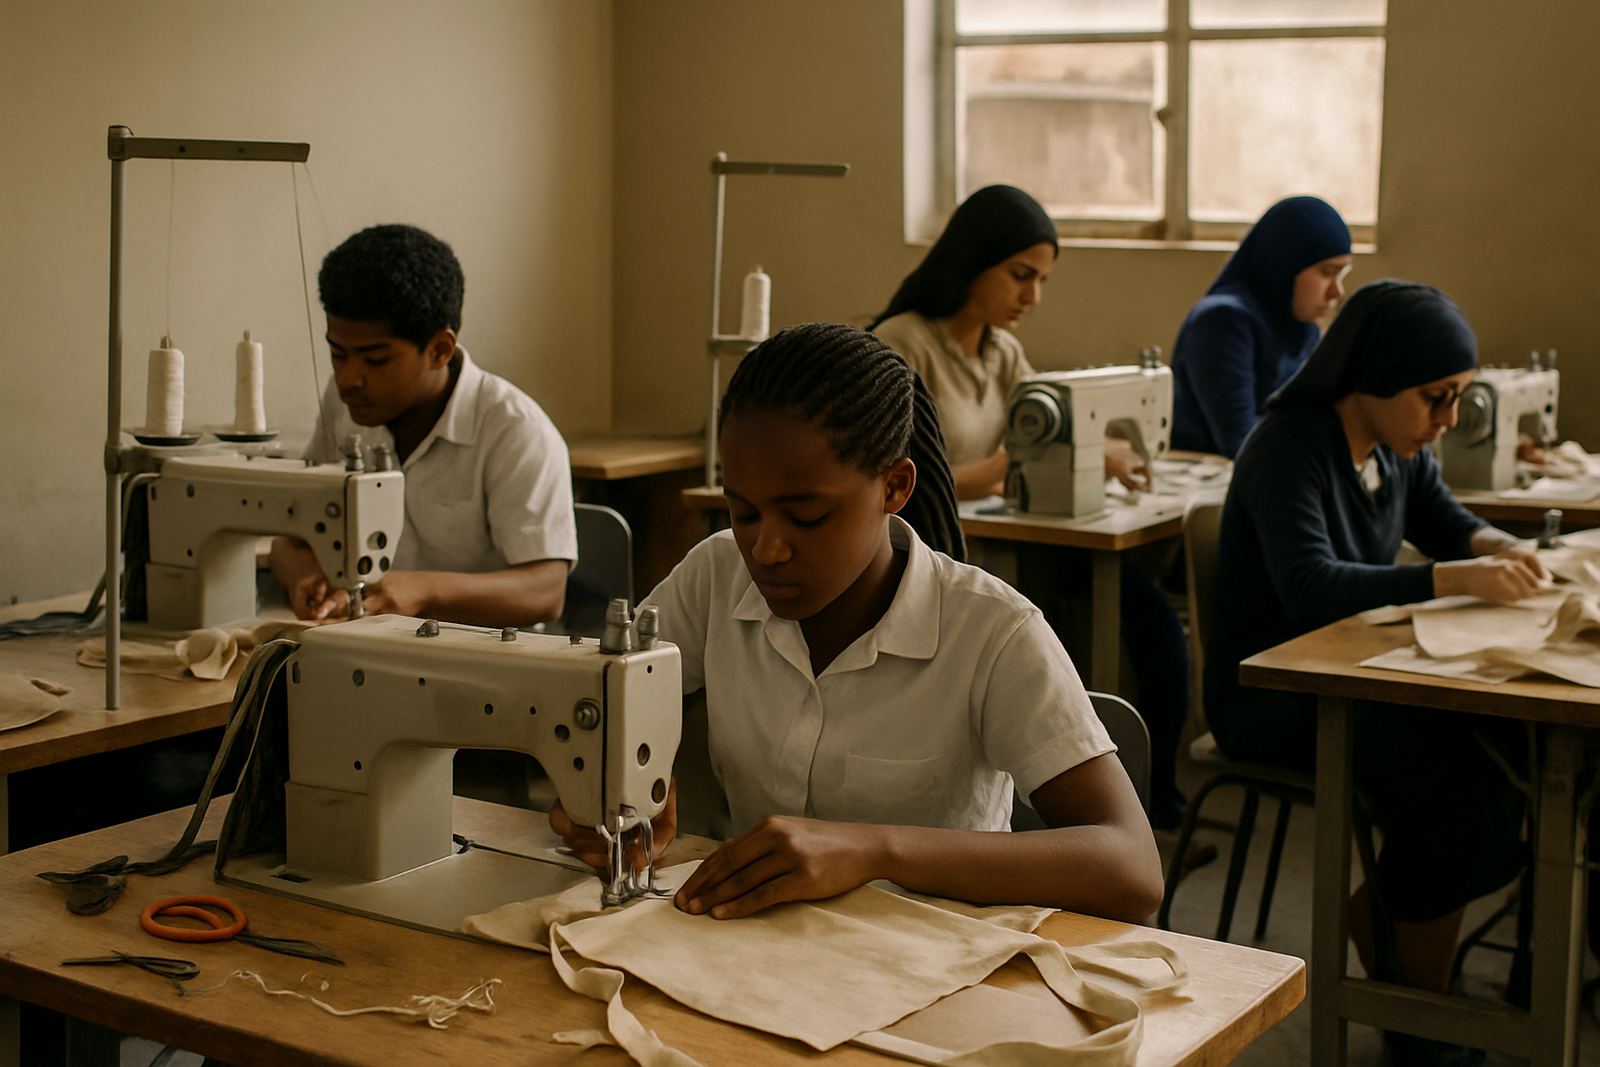
The client was a local training provider in Turffontein working with school leavers, small business starters and home sewers from the south of Johannesburg. Their brief was practical: create a room where learners could be introduced to machine control, threading, stitch selection and basic care, then move on to supervised exercises without crowding the space. They wanted a setup that could cope with daily use, a bit of rough handling from new users and the kind of power interruptions that still happen in Gauteng, especially during load-shedding.
The room also needed to support more than one machine type. The plan had to suit straight-stitch practice, overlock basics, introductory embroidery and a small pressing section for finishing. Because the building was used for other activities as well, the layout had to be tidy, easy to clean and quick to reset between classes.
Space Limits, Safety Rules and Class Flow
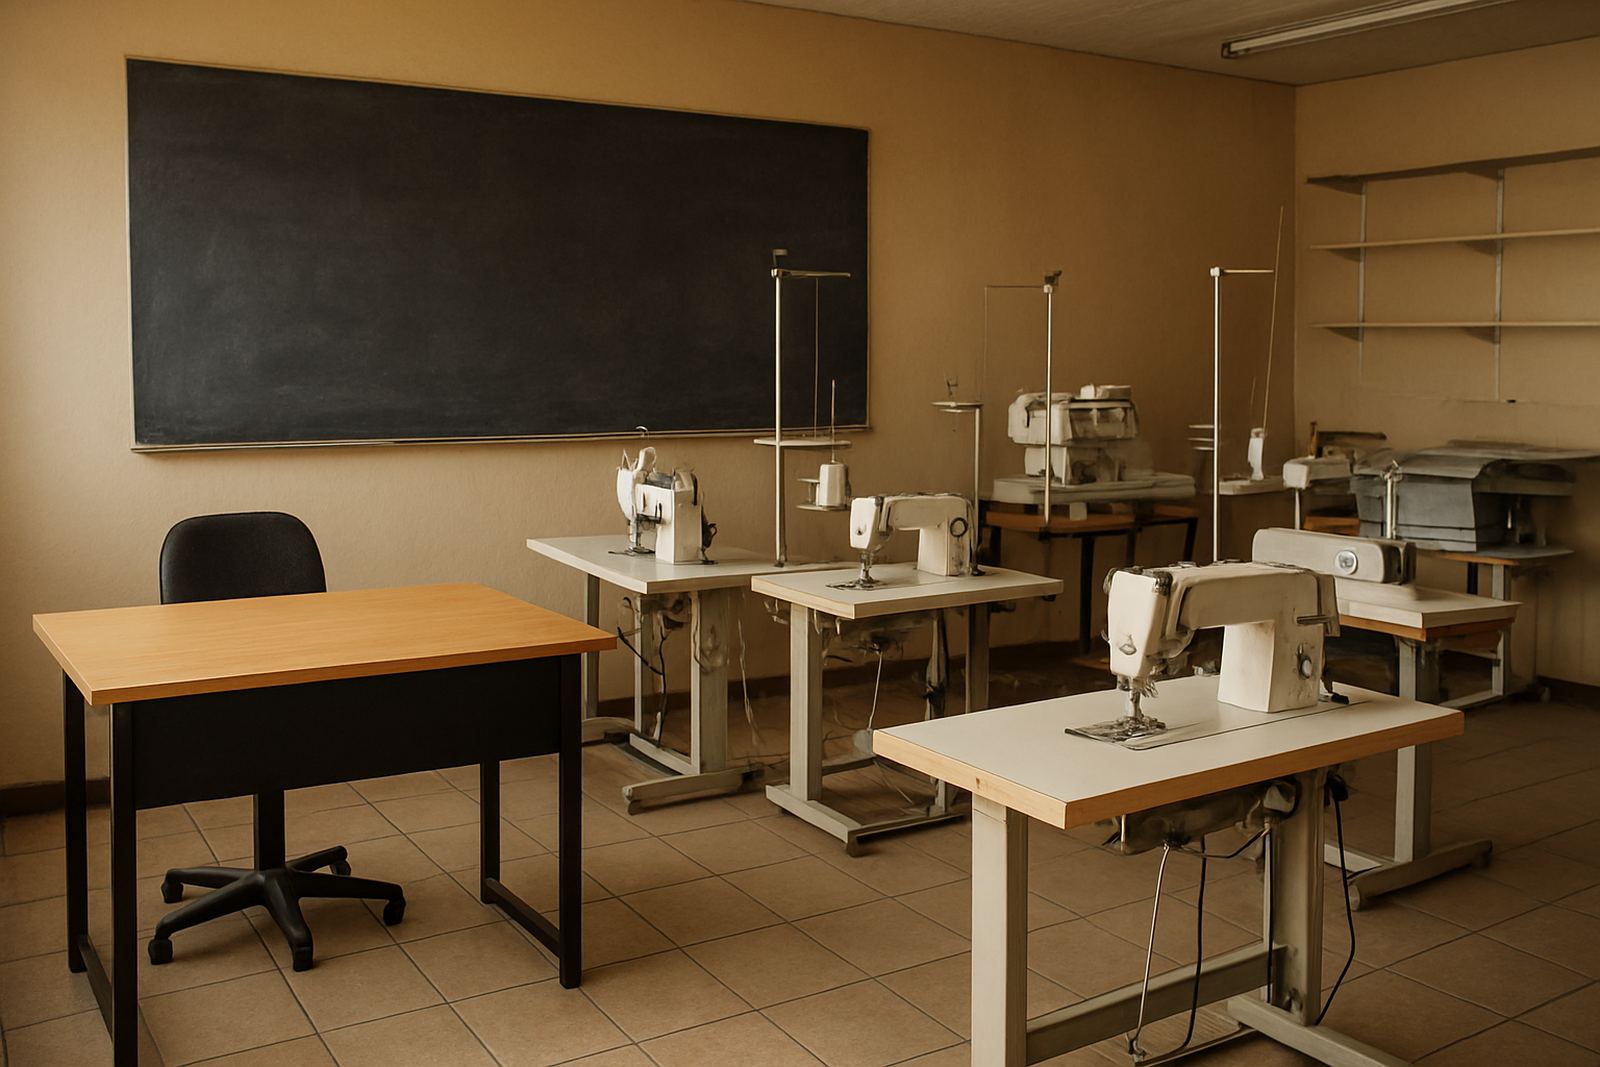
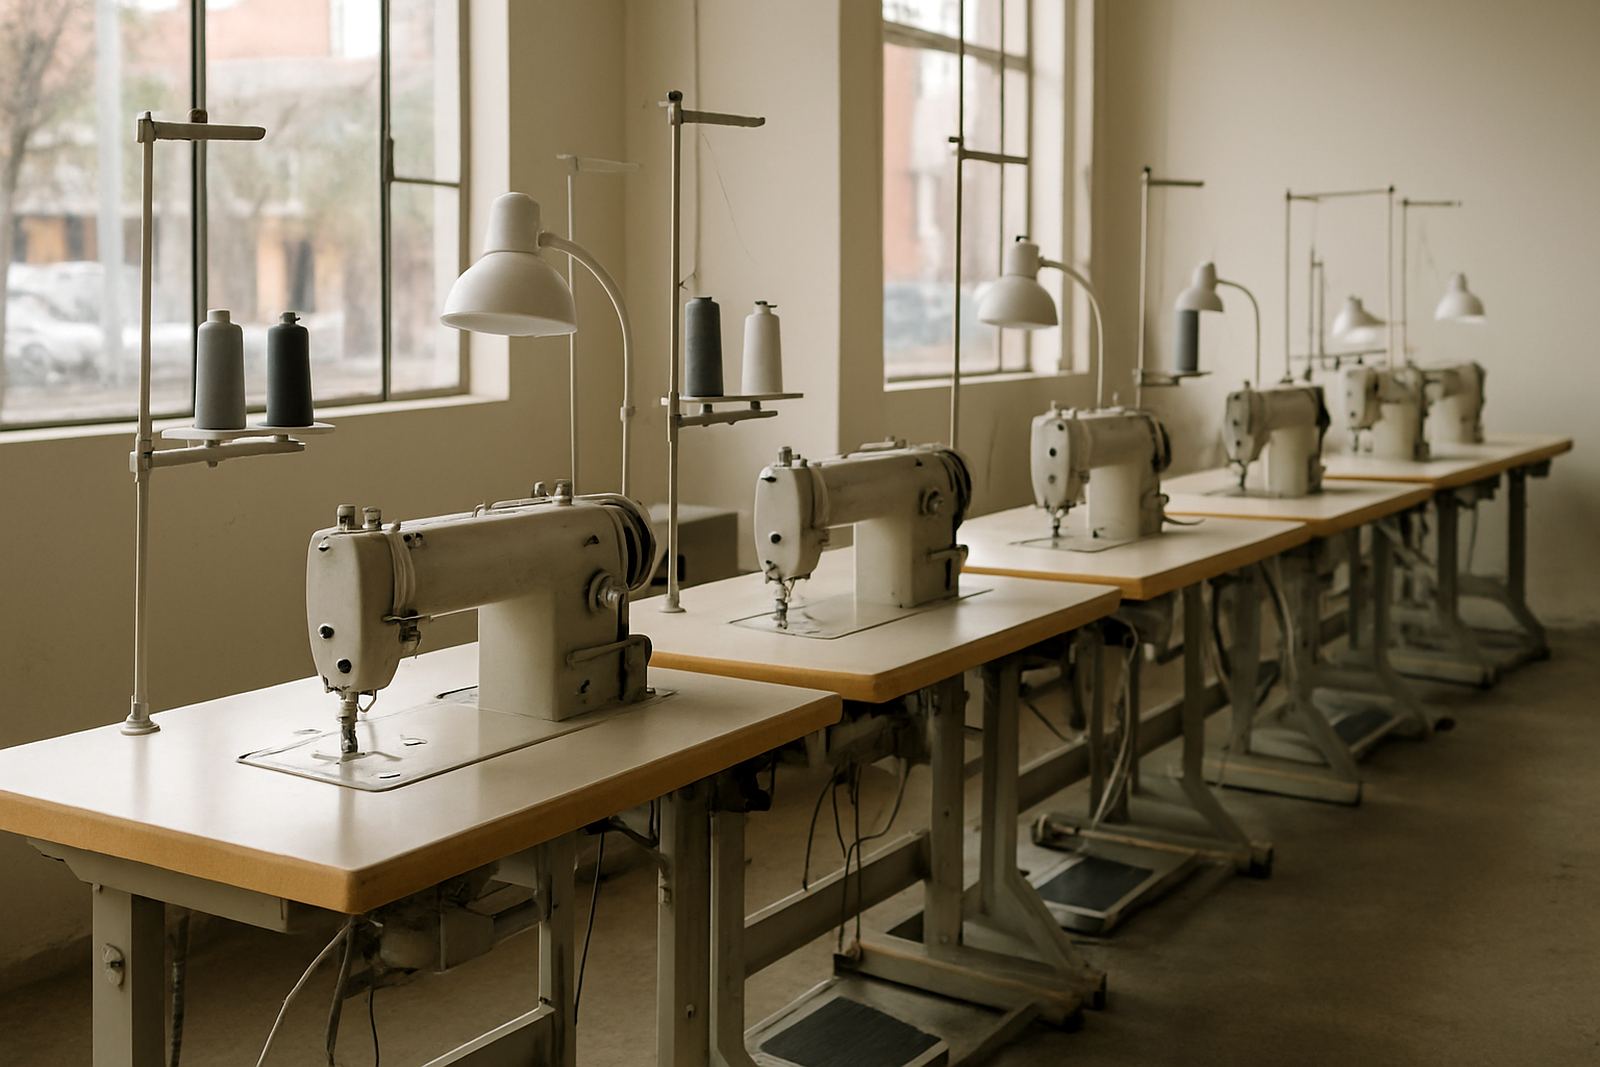
The main constraint was floor space. The room was not large, so we had to fit in learning stations, a demonstration point, storage for accessories and a clear walking path for the trainer. We also had to work around existing sockets, natural light from one side of the room and the need to keep cords away from feet and moving parts. The client did not want a layout that looked crowded or made learners lean over one another.
We planned the room around movement and supervision. The trainer needed a clear line of sight to every station, with enough room to pause a machine, correct threading or check tension without disrupting the whole class. We also kept municipal and building safety points in mind, including no trailing leads across the floor and enough space around the pressing area for hot equipment.
- Clear walkway for supervised learner movement
- Dedicated station for demonstration and fault finding
- Separate storage for needles, feet, bobbins and thread
- Pressing area kept away from fabric cutting and stitching
What We Supplied and Set Up
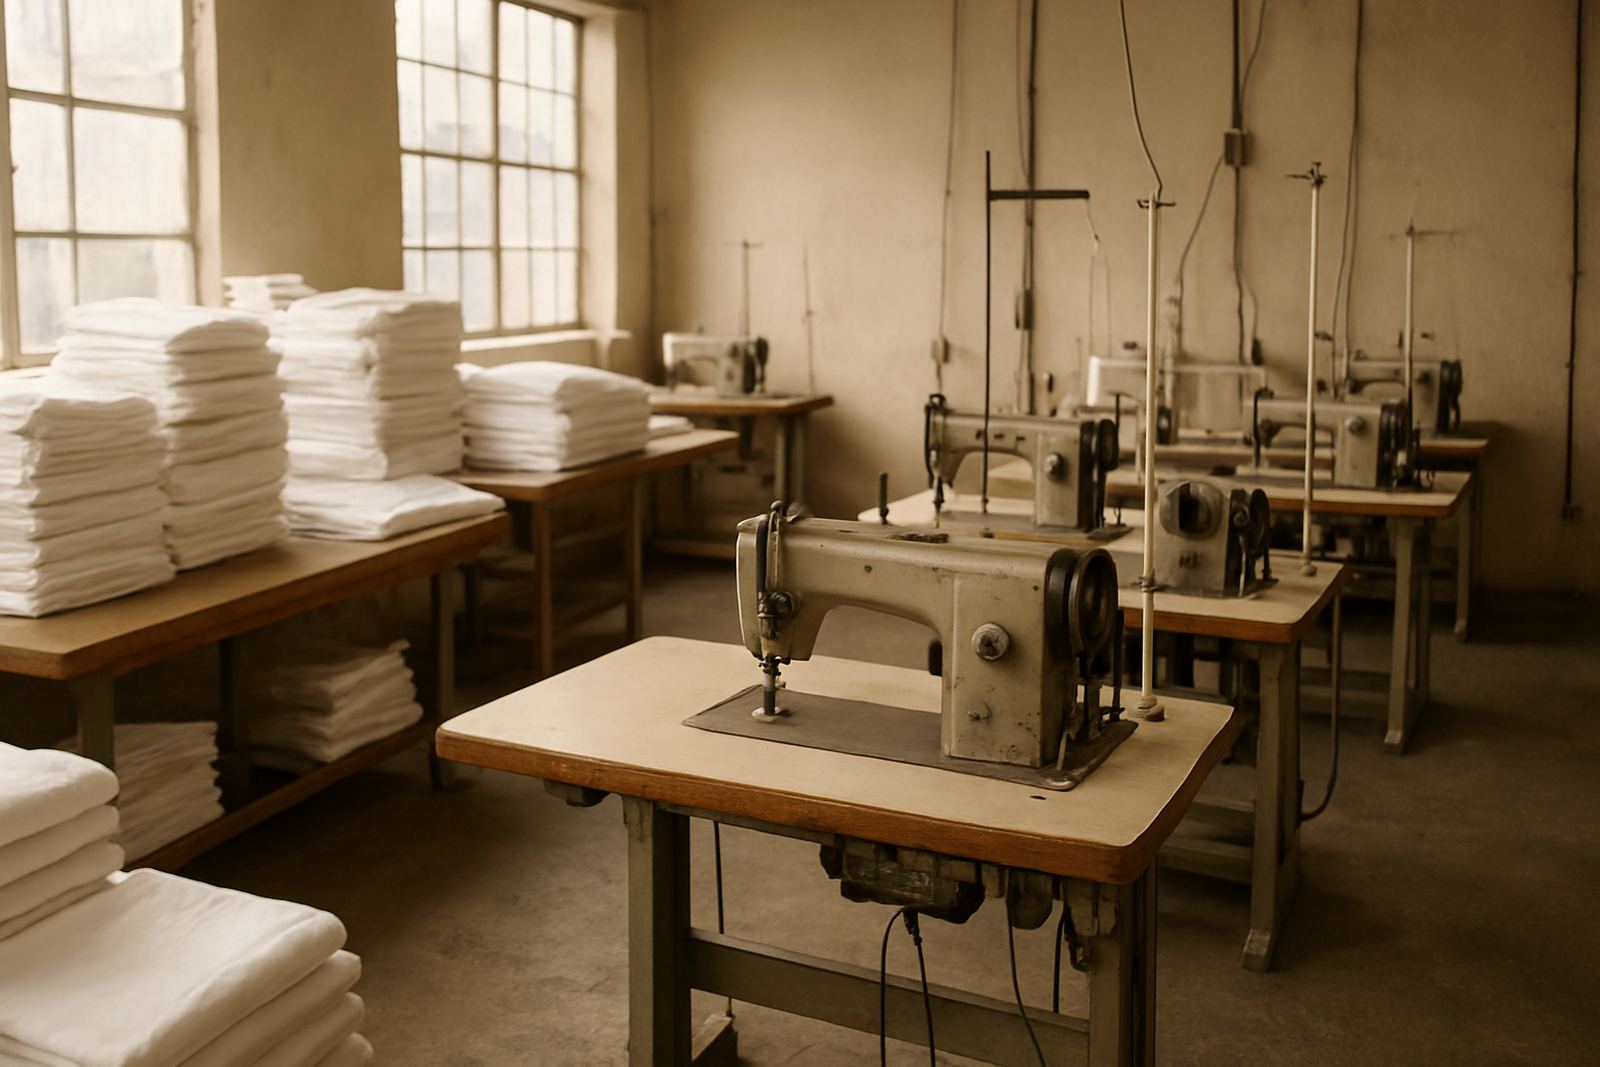
We supplied a mix of machines and workroom items suited to beginner training and regular class use. That included industrial sewing machines for core stitching, household machines for lighter work, a computerised embroidery unit for controlled introduction to digitised work, and a fusing press for garment prep and finishing. We also supplied the small items that make a room work properly: spares, attachments, threads, needles, bobbins, oil, cleaning brushes and haberdashery for class use.
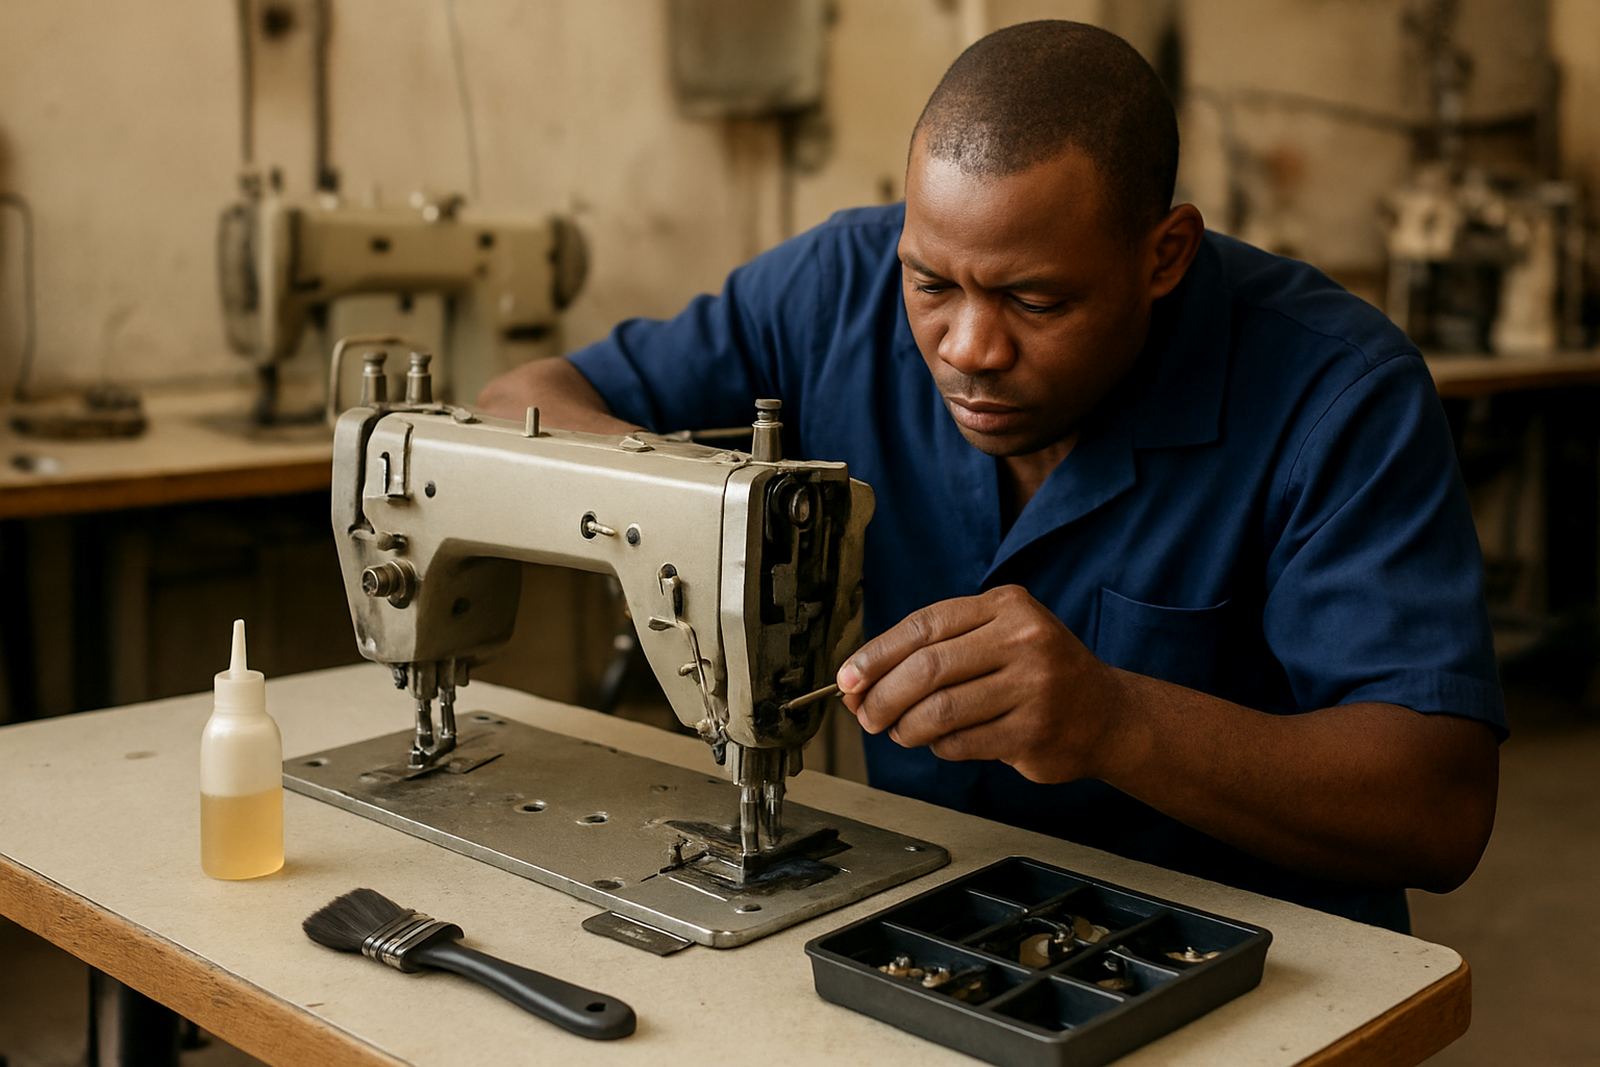
Our team handled the machine installation, bench placement, timing checks, motor conversions where required and initial setup for each unit. The embroidery section was configured with a simple operator flow so the trainer could show loading, design selection and basic maintenance without long pauses. For the pressing side, we set out the press and pressing station so learners could finish pieces safely and see how heat and pressure affect the fabric. The workshop team also checked each machine for vibration, stitch formation and thread path before handover.
- Industrial and household sewing machines installed and tested
- Computerised embroidery machine set up for beginner use
- Fusing press and pressing station commissioned
- Starter spares and consumables supplied for ongoing classes
Timeline From First Visit to Handover
The project ran over three weeks from assessment to handover. In week one, we inspected the room, measured the available wall and floor space, checked the electrical points and mapped the class flow. In week two, we delivered and positioned the machines, fitted the accessories and did the first round of setup and testing. In week three, we returned for fine adjustments, operator training and a final check of the embroidery, pressing and sewing stations.
The handover also included practical guidance for the client team. We showed them how to keep the room ready between classes, what to check after every session and how to spot early warning signs such as skipped stitches, uneven feed or excess lint. That kind of routine care matters in a training room because learners often use the equipment harder than a private sewing room would.
How the Room Performs in Daily Use
Once the room was up and running, the client had a training space that could move from one lesson to the next without much downtime. The machines were stable, the layout allowed the trainer to work from one side of the room, and the storage plan kept parts and consumables where staff could find them quickly. The client told us that learners settled faster because they could see what was happening at each station and did not have to wait long for basic corrections.
The room also held up well during power interruptions. Because the layout was simple and the equipment was installed with practical servicing in mind, the team could resume work after outages with less fuss. That matters in Johannesburg, where a training room cannot afford to lose half a day because one machine was awkward to move or reset.
- Faster class turnover between learner groups
- Less time lost to setup and searching for parts
- Cleaner supervision because every station is visible
- Better confidence for first-time machine users
What We Would Do Again on a Similar Project
We would follow the same approach again for any training centre that needs a practical sewing room rather than a showpiece. The key is to start with the room itself, then choose equipment that suits the skill level and the expected class size. A training space must be easy to service, easy to clean and easy to teach in, otherwise it becomes difficult to manage after the first few weeks.
For a similar project, we would again recommend a clear station plan, a small but well chosen parts stock, and early operator training for the staff who run the room every day. We would also keep the pressing area separate from the machine line and allow space for future additions. In our experience, that saves a lot of trouble later on and keeps the room usable for longer. It is a simple approach, but it works well.
- Plan the room around supervision before equipment placement
- Keep a basic spares kit on site from day one
- Train the staff who will actually manage the room
- Leave room for one or two extra stations later
Key facts
| Project location | Turffontein, Johannesburg South |
|---|---|
| Client type | Local training provider for beginner sewing classes |
| Timeline | 3 weeks from survey to handover |
| Main equipment | Industrial sewing machines, household machines, embroidery machine, fusing press |
| Services delivered | Installation, setup, training, servicing and parts supply |
| Outcome | A supervised training room with clear class flow and service-ready equipment |